
MiniMax H3 Camera Focal Length Control: Wide, Normal, and Telephoto Looks
AI Overview
Can you set an exact focal length in MiniMax H3?
MiniMax's official H3 guide explains zooming but does not document exact millimeter values as deterministic controls. Treat 24mm, 50mm, or 85mm as visual intent, then reinforce the look with framing, distance, perspective, and focus language.
How do you prompt an 85mm portrait look in H3?
Ask for a tight portrait from a farther camera position, undistorted facial proportions, compressed background spacing, and modest shallow depth of field. Keep the subject size fixed so the model has a clear visual target.
What is the difference between zoom in and push in?
H3's official guide says a zoom changes focal length while the camera body stays still. A push-in physically moves the camera forward, so foreground-background relationships and perspective change during the shot.
How do you keep the focal-length look consistent?
Use one reference frame, lock shot size and camera position, request a static lens, and change only one variable per test. Review face proportions, background spacing, field of view, and motion before approving the result.
What MiniMax H3 Actually Controls
Separate official camera language from photographic intent
MiniMax H3 camera focal length control is indirect. The official base prompt guide names Zoom In and Zoom Out, describing them as focal-length changes while the camera body remains stationary. It separately names Push In and Pull Out, where the camera itself travels, plus Static Shot, where position and lens remain still. That vocabulary is useful because it tells H3 what should change over time.
The guide does not present 24mm, 50mm, or 85mm as guaranteed numerical controls. You can include a millimeter value as creative direction, but the visible result must be specified too. A useful prompt describes shot size, camera-to-subject distance, perspective, foreground scale, background spacing, depth of field, and whether the lens or the camera body moves.
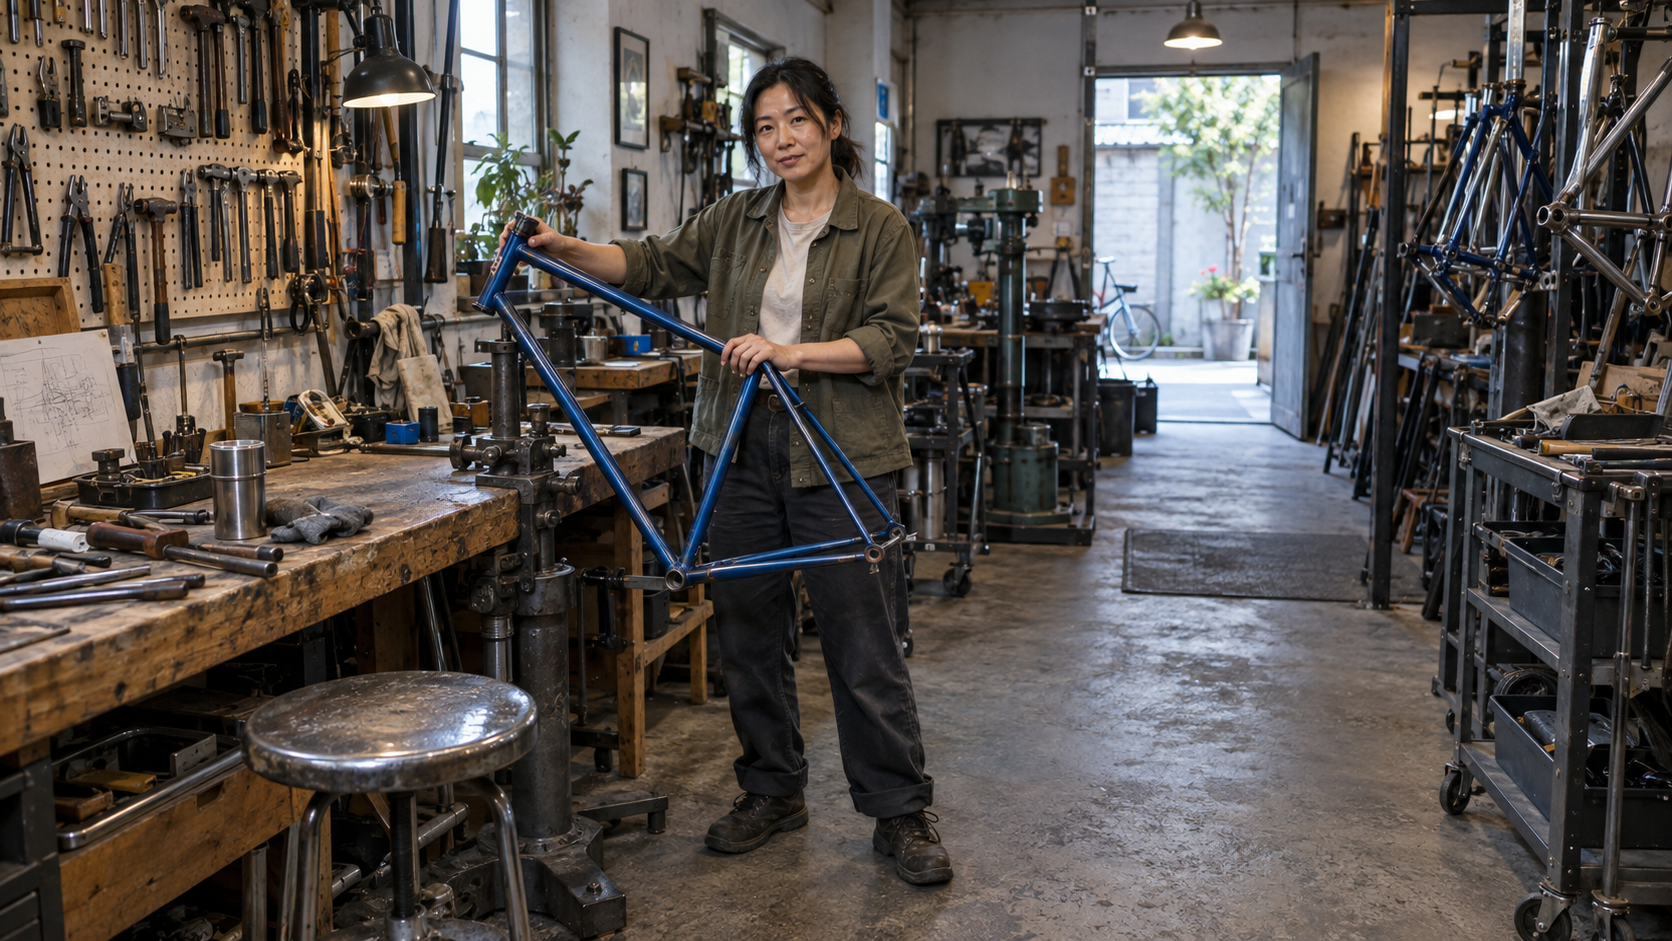
Illustrative generated still, not a MiniMax H3 test: inspect the broad field of view, enlarged near stool, and deep workshop layers that communicate a controlled wide-lens intent.
Do not confuse focal length with perspective. Perspective comes from camera position. A short lens often appears more expansive because the camera moves closer to keep the subject large; a long lens appears compressed because the camera moves farther away for the same framing. This distinction also matters when comparing H3 with tools that expose explicit lens presets.
Build a Three-Prompt Lens Ladder
Hold the scene constant and change one lens intention
Start with three prompts for the same subject, action, environment, duration, lighting, aspect ratio, and camera height. Change only the lens-intent block. The purpose is not to prove that H3 reproduces a calibrated physical lens; it is to find language that produces a stable visual family in your chosen workflow.
| Lens intention | Visible target | Camera-position instruction | Useful inspection point |
|---|---|---|---|
| Wide environmental | Broad field of view, strong depth, readable location | Closer camera, chest height, no fisheye | Foreground scale and straight verticals |
| Natural perspective | Balanced subject and environment | Moderate distance, neutral perspective | Face proportions and spatial balance |
| Short telephoto portrait | Narrower view, flatter background spacing | Farther camera for the same subject size | Facial shape and background compression |
Run the wide version first because it exposes the most geometry. If the workshop, street, or room changes shape, solve environment consistency before testing a longer-lens look. The MiniMax H3 environment consistency guide explains how to lock architecture, light direction, and recurring objects without overloading the prompt.
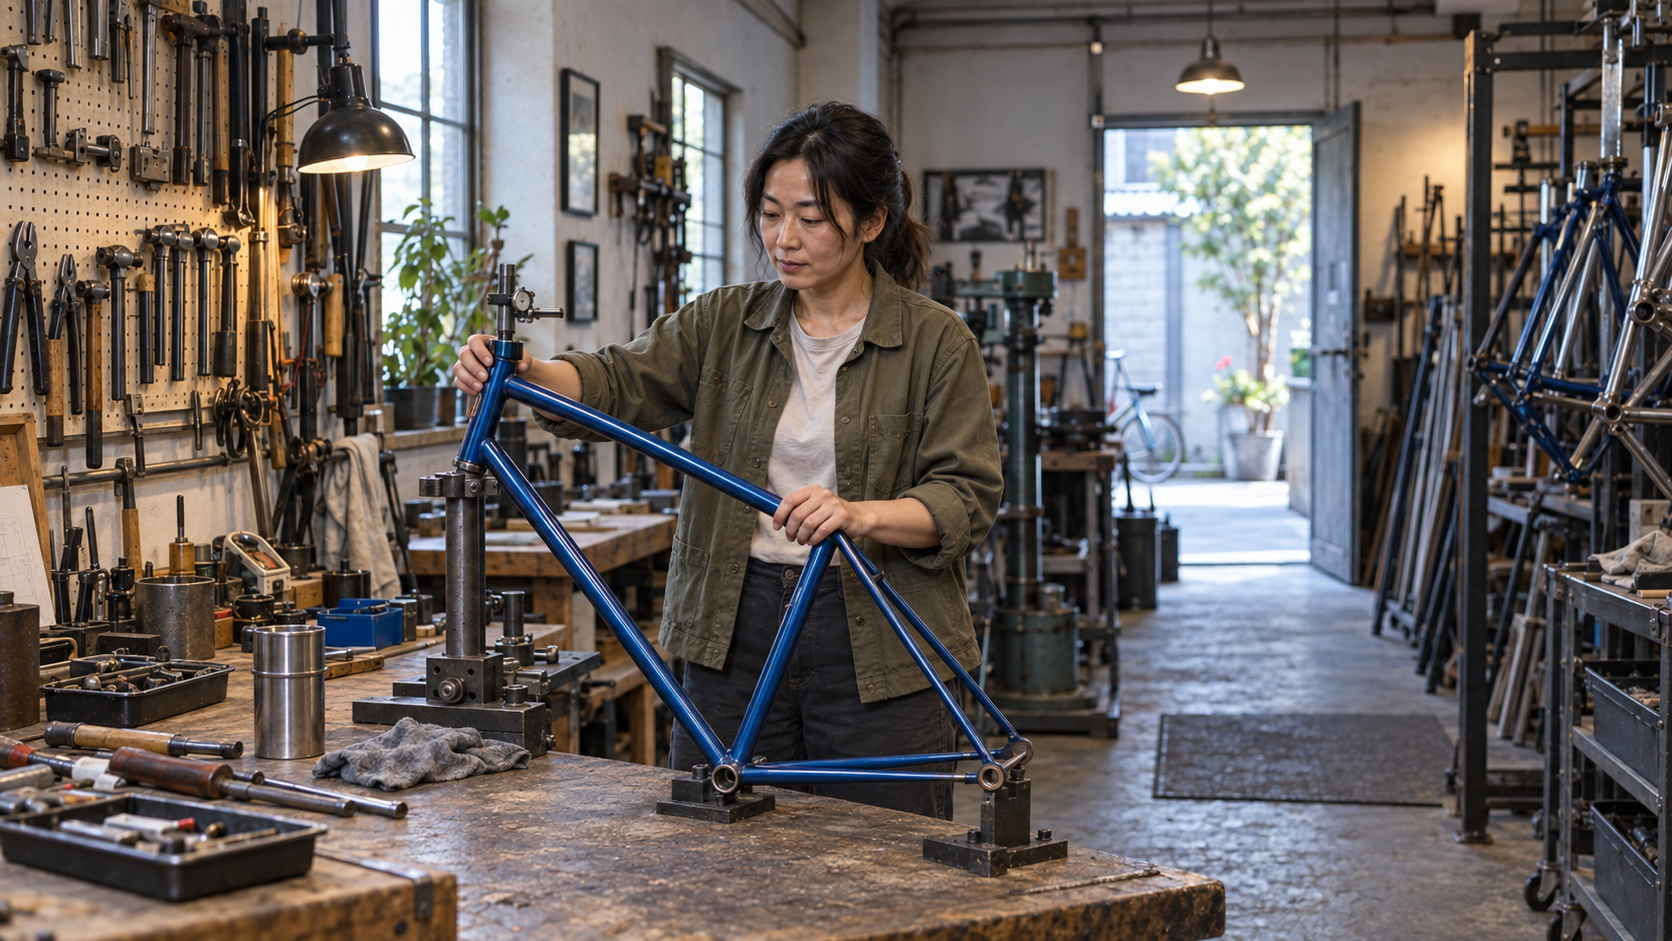
Illustrative 50mm-style target: the face and frame read naturally while the workshop remains identifiable, giving the lens ladder a neutral middle reference.
Save all three prompts and outputs together. The comparison becomes useful only when every other variable stays fixed. Seedance Agent can hold the source frame, shot card, prompt variants, approvals, and rerun notes in one project instead of letting the lens test turn into disconnected generations.
Write the Lens Look as Observable Direction
Use a shot card instead of a millimeter tag alone
A good H3 camera prompt begins with a concrete composition and then adds motion. Put the lens value next to the visible effect you want. Avoid stacking “85mm, cinematic, bokeh, telephoto” at the end as decoration; tell the model how the image should look and where the camera should be.
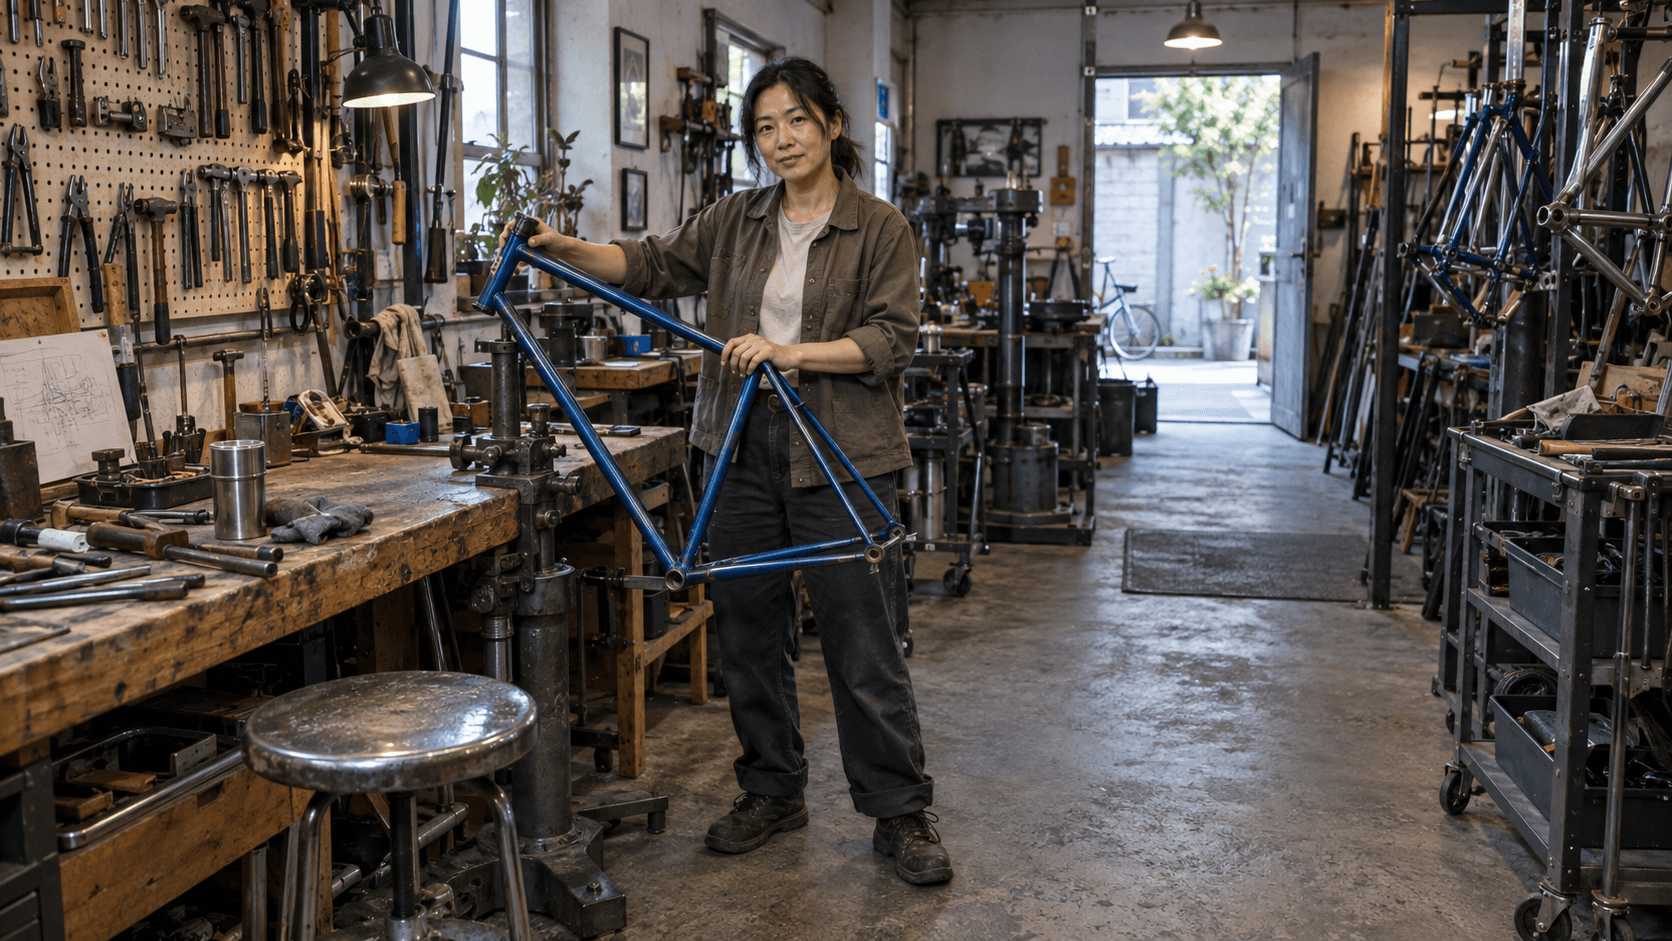
[Shot 1] Live-action documentary style. A tight portrait frames the bicycle-frame builder from the shoulders up as she inspects a cobalt-blue head-tube weld. The camera is positioned farther back and uses an 85mm-equivalent short-telephoto visual character: natural undistorted facial proportions, narrow field of view, compressed workshop spacing, and modest shallow depth of field. The camera height, angle, distance, and lens remain fixed throughout. Her hands and the weld stay sharp; the workshop remains recognizable without becoming a blur.
For a wide shot, replace that block with a visible wide-angle target:
[Shot 1] A wide environmental portrait shows the builder full-body at her workbench. Use a 24mm-equivalent wide-lens visual character from chest height: broad field of view, strong but believable foreground-to-background depth, straight verticals, and no fisheye distortion. Keep her face natural and keep the blue bicycle frame geometrically correct. The camera holds a static shot.
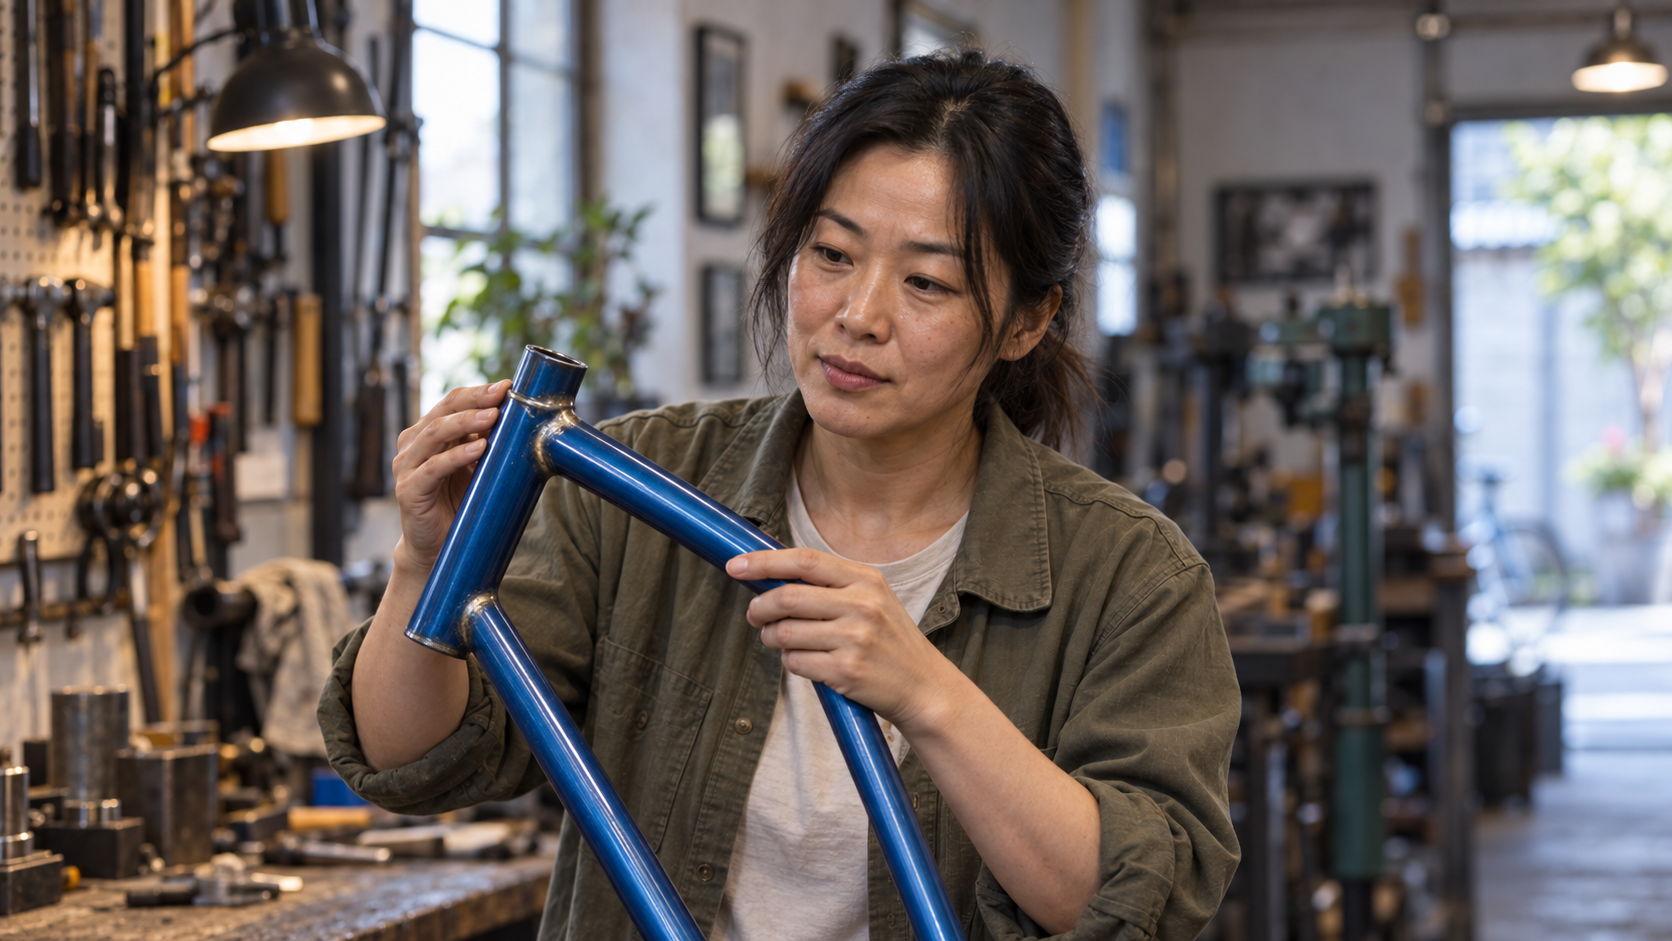
Illustrative 85mm-style target: judge undistorted facial proportions, narrower field of view, and compressed workshop layers rather than the millimeter label itself.
If the face becomes tiny in a wide composition, do not solve it by asking for more facial detail alone. Increase the subject's frame coverage, move to a medium shot, or use a clean reference with the same angle. The practical fixes in the MiniMax H3 distant-face guide apply directly to lens tests.
Keep Zoom and Camera Travel Separate
Name one motion, its range, its speed, and its target
A zoom and a push-in can finish on similar framing but produce different spatial behavior. During a zoom, the camera body stays still and the field of view narrows. During a push-in, the camera moves closer, so near objects grow faster than distant objects and the scene reveals parallax. Requesting both at once makes it difficult to judge which behavior H3 followed.
Use a zoom prompt when you want a fixed viewpoint:
The camera body remains completely stationary and zooms in with small amplitude at slow speed toward the blue head-tube weld. Only the focal length changes. The camera height, angle, and position do not change; background geometry shows no forward travel or parallax.
Use a physical move when perspective change is the point:
The camera pushes in with small amplitude at slow speed toward the builder's hands. The focal length remains fixed while foreground tools show gentle parallax against the rear doorway.
Actual Seedance output, not a MiniMax H3 focal-length test: use it to practice separating subject motion, viewpoint travel, and apparent magnification before reviewing an H3 result.
Watch background edges, not just the subject. Door frames, benches, lamp positions, and foreground tools reveal whether the viewpoint moved. The same reasoning applies when preparing a motion-reference workflow: identify the camera path separately from the subject action before using the clip as guidance.
Lock the Look With a Reference Frame
Let the opening composition carry the lens evidence
When words alone drift, create or select an opening frame that already has the desired field of view, subject scale, perspective, and focus depth. In I2VA, describe those visible anchors before the action. In FL2VA, make the first and last frames compatible; an opening wide view and an ending telephoto portrait imply a zoom or camera move that must be explained.
Do not ask a reference image to do every job. One image can anchor identity, wardrobe, location, framing, and lens character, but the prompt still needs to state what moves and what stays fixed. If the opening frame contains wide-angle facial distortion, H3 may preserve it faithfully. Choose a reference whose perspective already serves the shot.
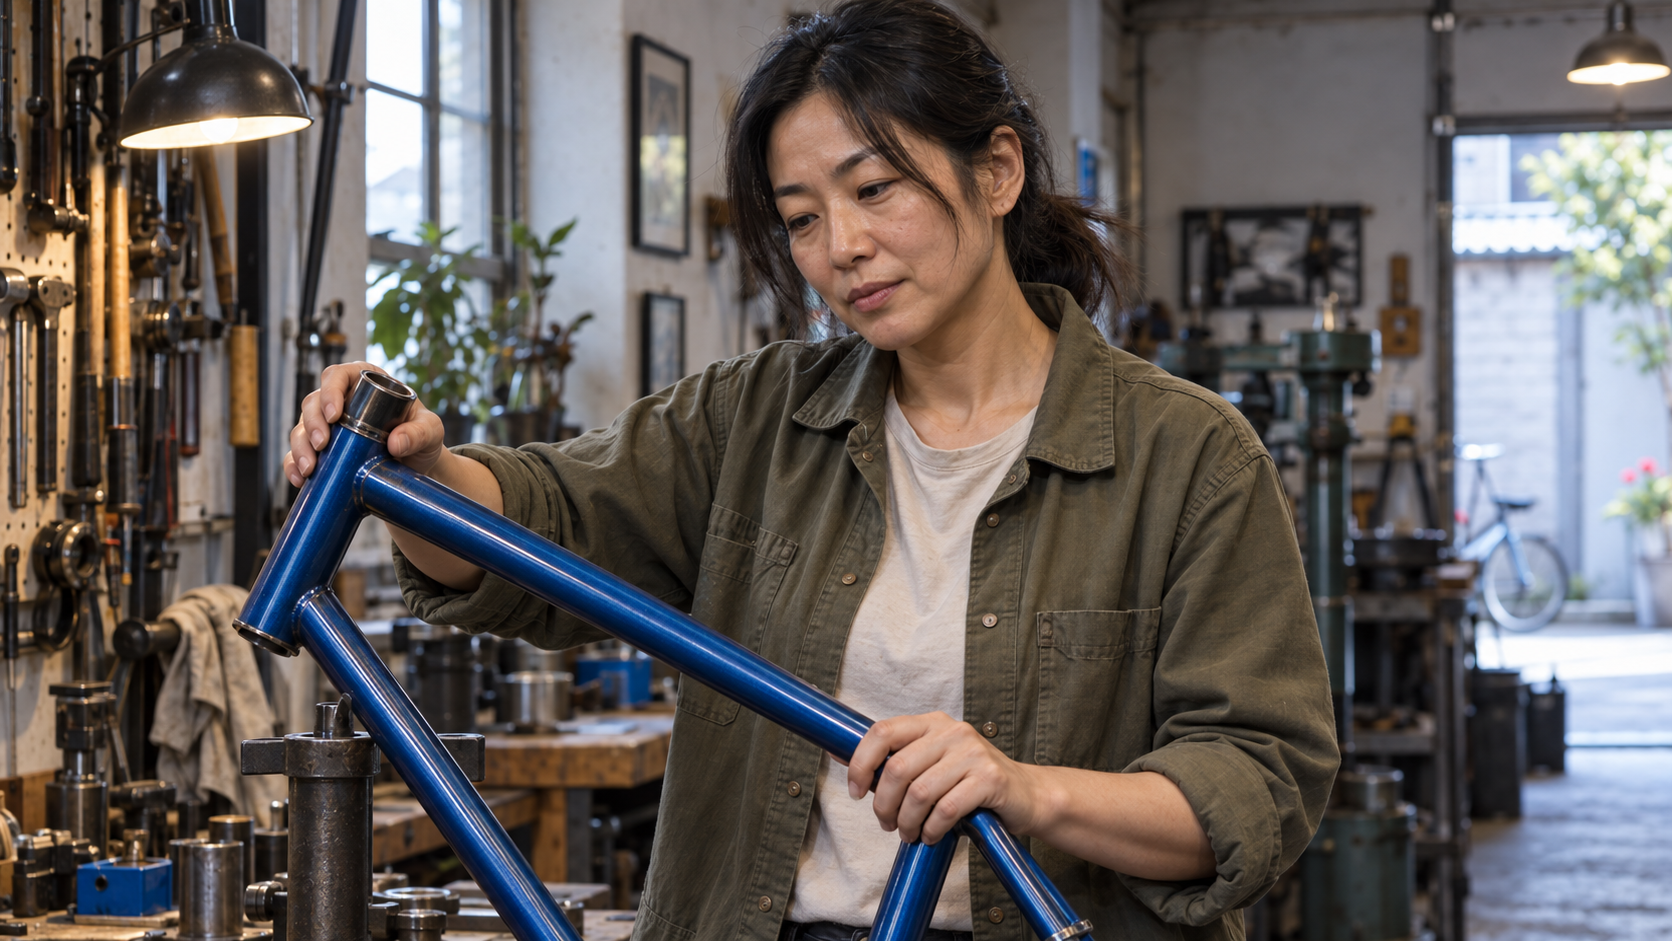
Illustrative zoom endpoint: compare stable background lines and camera height with the wider reference; a true push-in would introduce a more noticeable perspective change.
For a planned transition, keep a short state record: starting frame, ending frame, camera body position, lens state, focus target, and subject action. The MiniMax H3 multi-keyframe workflow is useful when several compositions must land at ordered points rather than relying on one ambiguous lens phrase.
Test and Diagnose Focal-Length Drift
Review one variable at a time
Render a static baseline before adding dialogue, hand interaction, or camera motion. Then run the wide, normal, and telephoto-style prompts with the same duration and source frame. Keep the seed or task record unchanged when the interface makes that possible. Review the complete clip at normal speed and inspect first, middle, and last frames for the criteria below.
| Failure | What to inspect | Smallest corrective change |
|---|---|---|
| “85mm” still looks wide | Face shape, field of view, background spacing | Ask for a farther camera position and tight portrait framing |
| Wide shot bends the room | Vertical lines and edge stretching | Add straight verticals, no fisheye, less extreme field of view |
| Static shot slowly creeps | Background edges and subject scale | State that camera position and lens remain fixed throughout |
| Zoom behaves like a dolly | Foreground parallax against the background | Say only focal length changes and camera body stays stationary |
| Focus pulses | Sharpness on eyes, hands, and key object | Name one focus target and request no focus pull |
| Look resets after a cut | Subject size and background compression | Re-establish shot size, distance, angle, and lens intent after the cut |
Approve the look from visible evidence, not from whether the prompt contains a number. If the 85mm version preserves facial proportions and narrows the environment, it may be useful even if it is not optically measurable as an 85mm lens. Save the accepted frame as the next reference, then route only the failed shot through a reference-to-video workflow.
Conclusion
Reliable MiniMax H3 camera focal length control comes from directing visible lens behavior rather than trusting an exact millimeter tag: define shot size, camera distance, perspective, field of view, background spacing, focus depth, and whether the lens or camera body moves; compare a wide, natural, and telephoto-style ladder with every other variable fixed; and use a clean reference frame when words drift. To keep lens tests, reference frames, motion checks, approvals, and targeted reruns together, build the camera study with Seedance Agent.
Ready to try it yourself?
Put the steps from this guide into practice with Seedance and turn prompts or images into polished videos in minutes.
Free credits on signup. Plans from $20/month.
Related Articles
More posts in the same locale you may want to read next.

Seedance App Preview Video Generator 2026: Create App Store and Product Launch Clips
Use Seedance to turn app screenshots, feature copy, and launch goals into App Store previews, Google Play promo videos, and product launch clips.
Read article
MiniMax H3 Two Person Video Workflow: Keep Roles, Dialogue, and Motion Clear
Build a MiniMax H3 two-person scene with stable subject labels, readable blocking, assigned dialogue, clean prop handoffs, and a practical failure-check workflow.
Read article
Socialive Catalyst Early Access Guide: Prepare a Useful First Pilot
Learn who can access Socialive Catalyst, what the early beta includes, what to prepare for a demo, and how to test one branded enterprise video workflow.
Read article