
Luma Ray 3.2 Reframe Tutorial: Convert Video to Any Aspect Ratio
AI Overview
What does Ray 3.2 Reframe do?
It preserves the source video inside a new target canvas and generates the newly exposed area around it. Use it to adapt an approved shot to another aspect ratio without relying on a destructive center crop.
Can Ray 3.2 turn a 16:9 video into 9:16?
Yes. Choose 9:16 as the target ratio, place the important subject inside the vertical safe area, and describe what should continue above, below, or beside the source. Review every frame for edge drift.
Does Reframe preserve the original audio?
Treat the Reframe result as a visual deliverable and preserve the master audio separately. Reattach and verify the original track after the new picture is approved, especially when the delivery depends on dialogue or beat timing.
Is Reframe better than cropping or regenerating?
Use Reframe when the shot is already approved but needs a new canvas. Crop when the subject fits safely with no lost context; regenerate when the motion, identity, or composition is already wrong before reframing.
What Ray 3.2 Reframe Changes and What It Does Not
Ray 3.2 Reframe is an aspect-ratio adaptation tool. It keeps the source video as the visual anchor and outpaints the canvas around it, so a landscape master can become vertical, square, or ultrawide without automatically cutting away the main subject. The documented API uses model: "ray-3.2" with type: "video_reframe"; it accepts one source video and requires a target aspect ratio.
Reframe is not the same as video editing. A video edit can reinterpret lighting, style, subject, or environment, while Reframe preserves the existing frames and synthesizes what was outside their borders. It is not a rescue tool: expanding the canvas does not repair a drifting face, malformed hand, or failed camera move in the source.
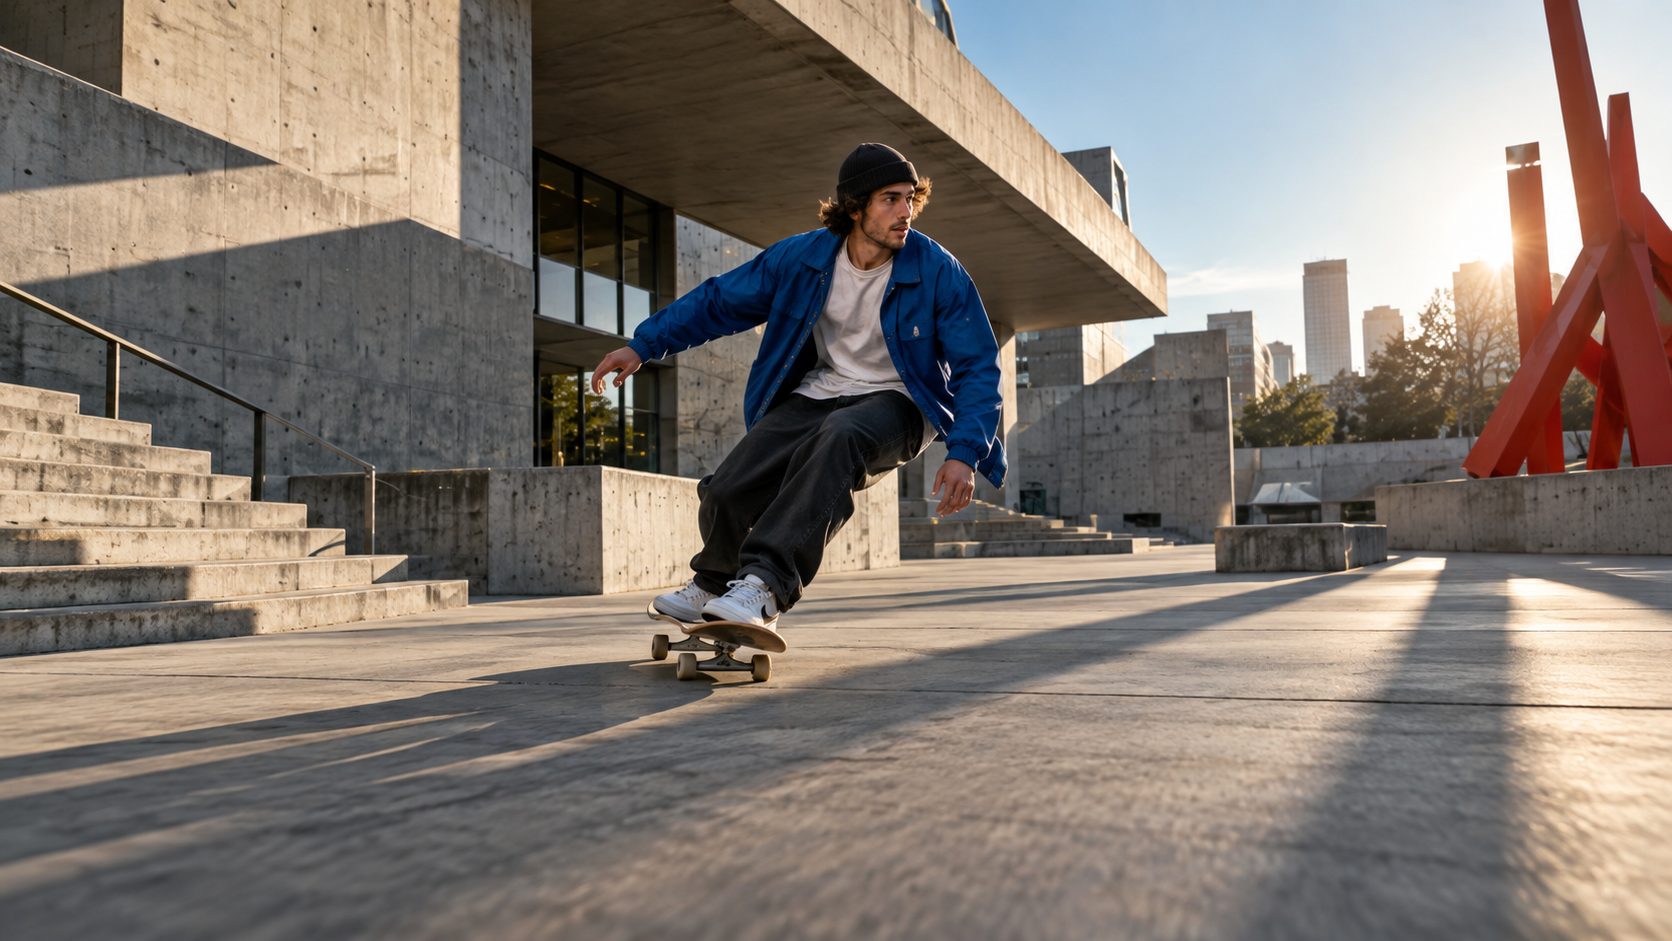
A strong source has one readable action, a stable center anchor, and environmental lines that can continue naturally beyond the frame.
Ray 3.2 supports six video ratios for this workflow: 9:16, 3:4, 1:1, 4:3, 16:9, and 21:9. Reframe is documented as standard dynamic range only; HDR, EXR export, loops, edit controls, and start or end keyframes belong to other request types. Vertical 9:16 and 3:4 reframes currently require 720p or 540p rather than 1080p. Check the current product UI or API response before budgeting a final delivery because availability and limits can change.
Prepare a Reframe-Ready Source
Approve the source before changing its shape. Watch it once at normal speed with sound, then once with your attention on the outer quarter of the frame. A good candidate has a clear subject, coherent lighting, consistent perspective, and a background that could plausibly continue. Very fast pans, heavy motion blur, crowds crossing the border, mirrors, typography, and objects cut exactly at the edge create difficult guesses for any outpainting system.
For the API, the documented baseline accepts a source of up to 10 seconds and 200 MB. Supply exactly one of three source forms: a prior generation ID, a publicly reachable URL with a video/* media type, or inline base64 data with a video media type. A prior generation ID avoids another upload; a hosted URL is usually easier than base64 for production media. Confirm the source is final and accessible before submitting, because an ingest failure should not be confused with a generation failure.
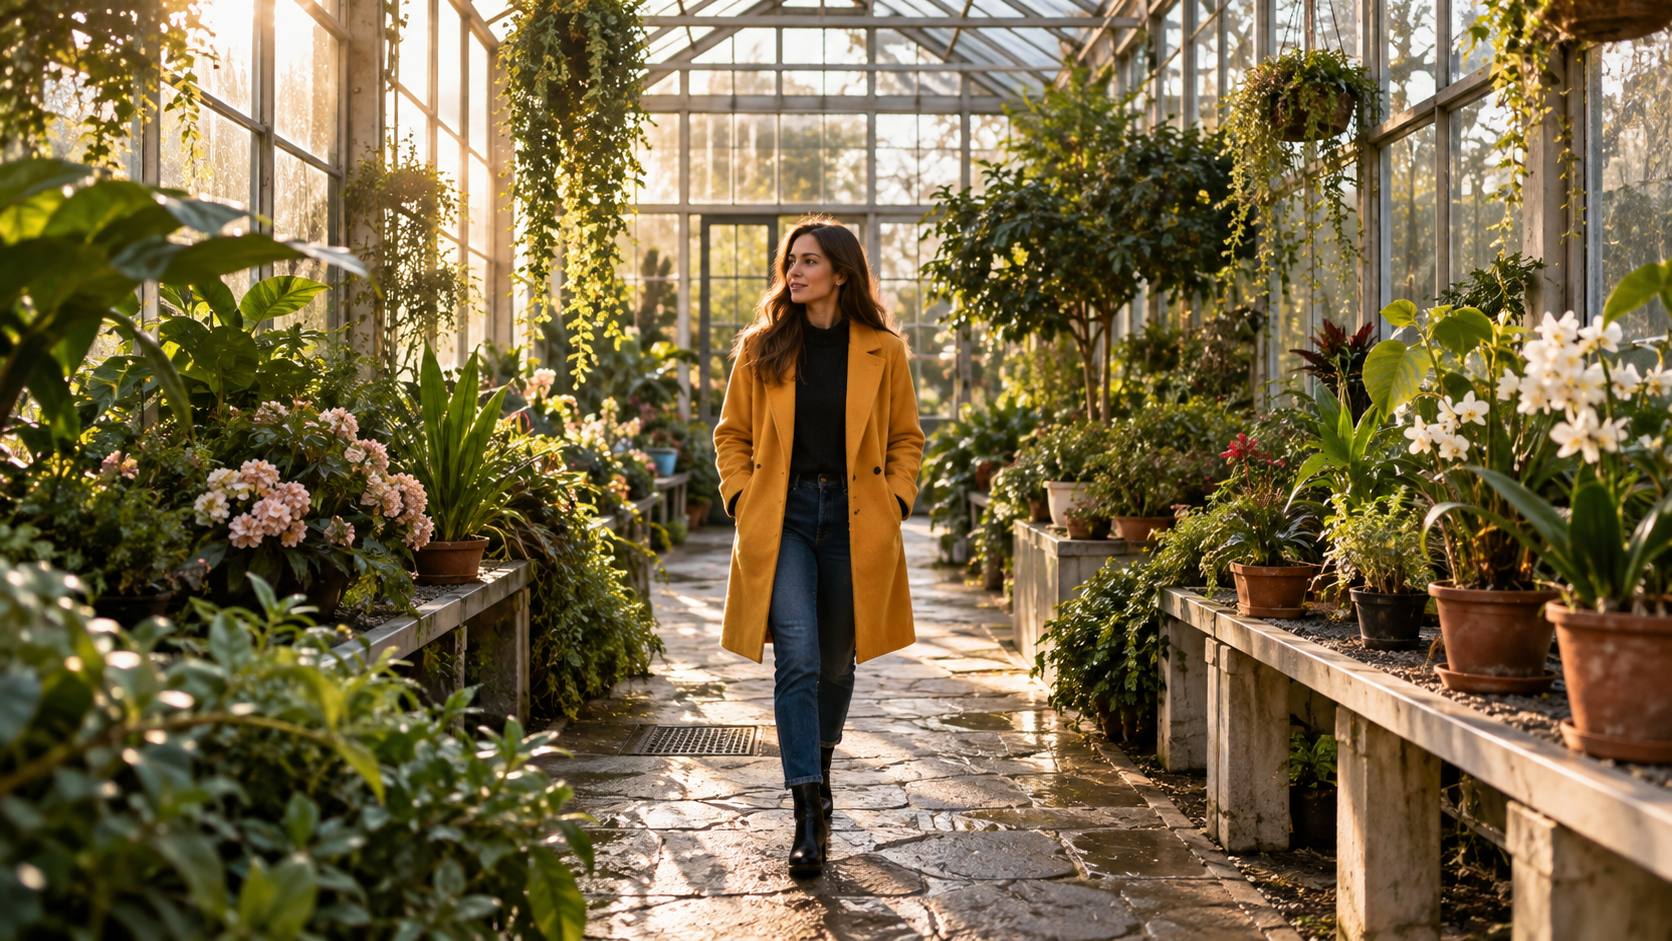
This independent generated example shows a reframe-friendly source: the person is centered and the greenhouse offers repeated lines, leaves, and light that can extend coherently.
Make a delivery map before rendering. Record the master ratio, each required platform ratio, protected subject area, caption-safe space, and whether the soundtrack must survive unchanged. The best frame rate for AI video guide helps when source and delivery timelines do not match. Change only the composition during a reframe test so failures remain easy to diagnose.
Reframe a Video Step by Step
In a visual editor, open the approved clip, choose Reframe, select the target ratio, then scale and position the source inside the new canvas. Keep the subject, product, or important action within the destination safe area. Use the prompt to describe only the missing surroundings: surfaces, architecture, lighting direction, atmosphere, and objects that should continue. Generate a draft, review the moving edges, and iterate before making every platform version.
For an API workflow, the essential request shape is compact:
{
  "model": "ray-3.2",
  "type": "video_reframe",
  "aspect_ratio": "9:16",
  "source": {
    "url": "https://your-cdn.example/master.mp4",
    "media_type": "video/mp4"
  },
  "video": {
    "resolution": "720p",
    "source_position": {
      "x_norm": 0.2,
      "y_norm": 0.1,
      "w_norm": 0.6,
      "h_norm": 0.8
    }
  },
  "prompt": "Continue the same glass greenhouse, warm sunlight, stone path, hanging plants, and realistic perspective. Keep the traveler unchanged."
}
Use your own source URL, supported SDK, and current parameter validation. Submit the job, store the returned generation ID, poll until it completes or fails, and copy the finished MP4 to durable storage before any presigned download URL expires. For a direct creator workflow, Seedance's image-to-video workspace is useful when you first need a clean motion master from an approved still before making aspect-ratio variants.

The portrait example is a separate generated illustration, not a claimed Ray 3.2 result. Inspect headroom, foot room, vertical perspective, repeated plants, and light direction when judging a real reframe.
Place the Source and Write the Expansion Prompt
Source position is the highest-leverage control. The API expresses it as a normalized rectangle: x_norm and y_norm place the source's top-left corner, while w_norm and h_norm set its size relative to the output canvas. Start centered, then move only when the target composition needs caption space, a product lockup, or room in the direction of travel. Extreme scaling creates more unknown canvas and usually increases invention.
| Delivery job | Source placement | Prompt priority | Main risk |
|---|---|---|---|
| 16:9 to 9:16 presenter | Center face and torso | Continue ceiling, floor, and side light | Cropped hands or floating body |
| 16:9 to 1:1 product | Keep product near optical center | Extend surface and backdrop | Warped product edges |
| 9:16 to 16:9 action | Leave room ahead of motion | Continue architecture and ground lines | Duplicated limbs or bystanders |
| 16:9 to 21:9 landscape | Preserve horizon height | Continue terrain and atmosphere | Repeated objects at both edges |
Write prompts as continuity instructions, not as a second screenplay. A useful pattern is: “Continue [environment], preserve [lighting and perspective], keep [subject] unchanged, add [specific edge detail], avoid [new focal subjects or text].” Name real materials and spatial relationships. “Continue pale plaster walls and the same sunset direction” is more useful than “make it cinematic.” For product footage, lock the product's silhouette, color, reflections, and contact shadow.
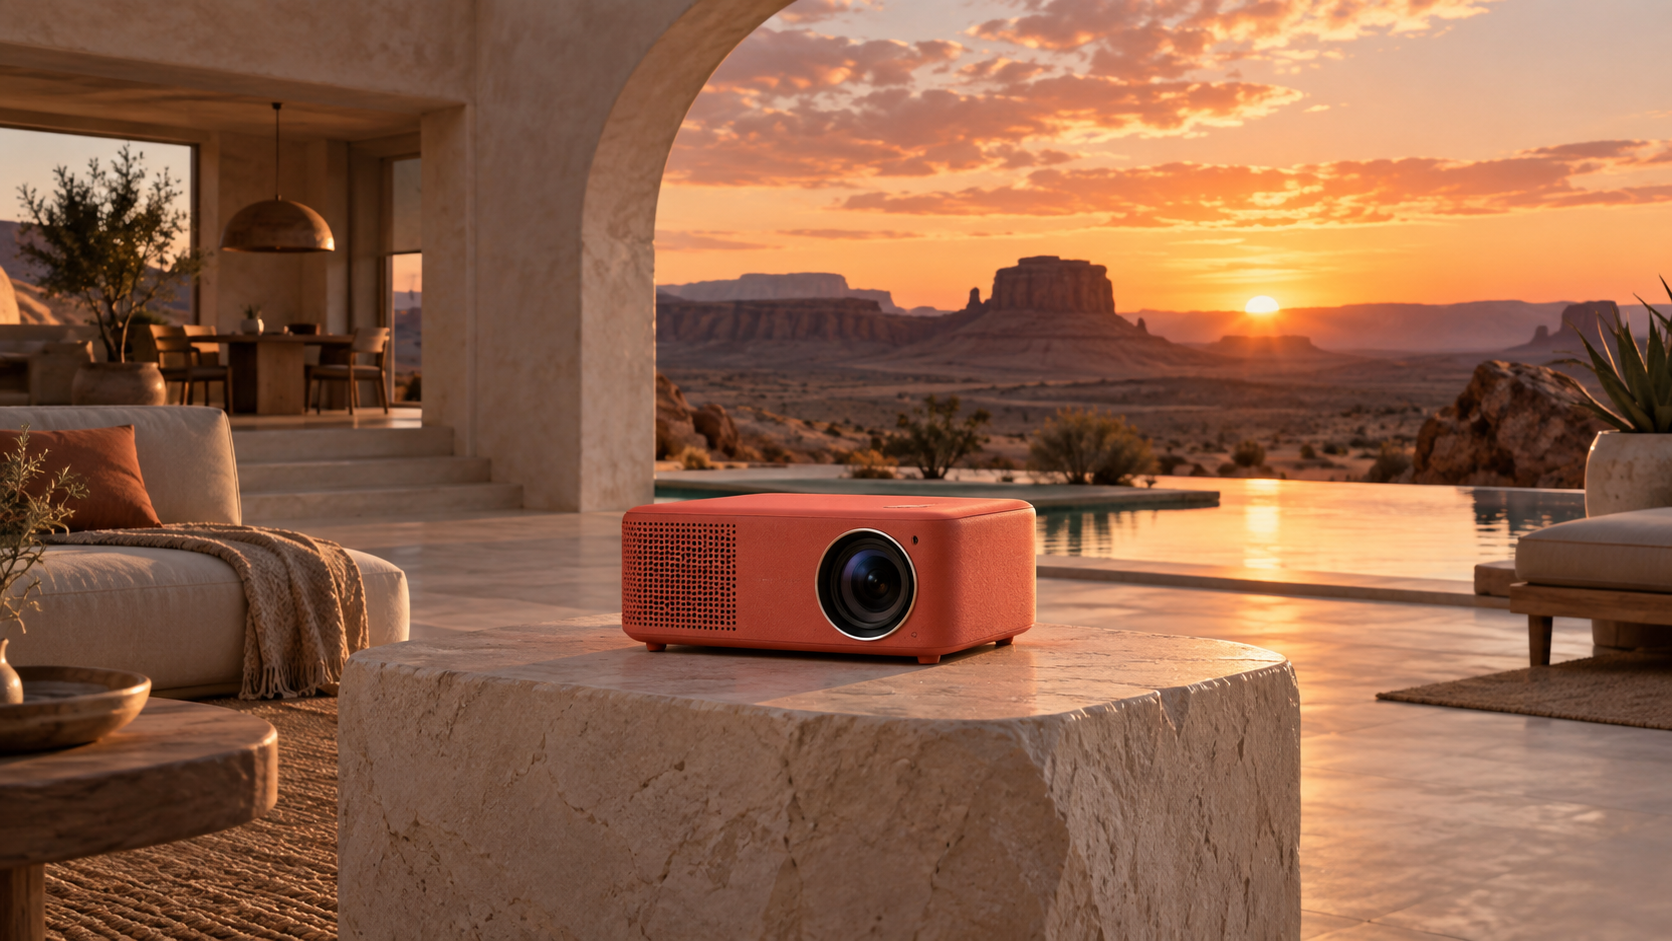
Product reframing succeeds when the preserved object stays geometrically stable and the generated architecture, reflections, and contact surfaces support rather than compete with it.
Review Edges, Motion, and Audio
Never approve a reframe from its poster. Play the output at delivery size, first at normal speed and then frame by frame around the four borders. Inspect six things: subject identity, duplicated objects, perspective lines, lighting continuity, border motion, and temporal texture. Leaves, water, smoke, crowds, and reflections may look convincing in one frame but pulse or repeat when the video plays.
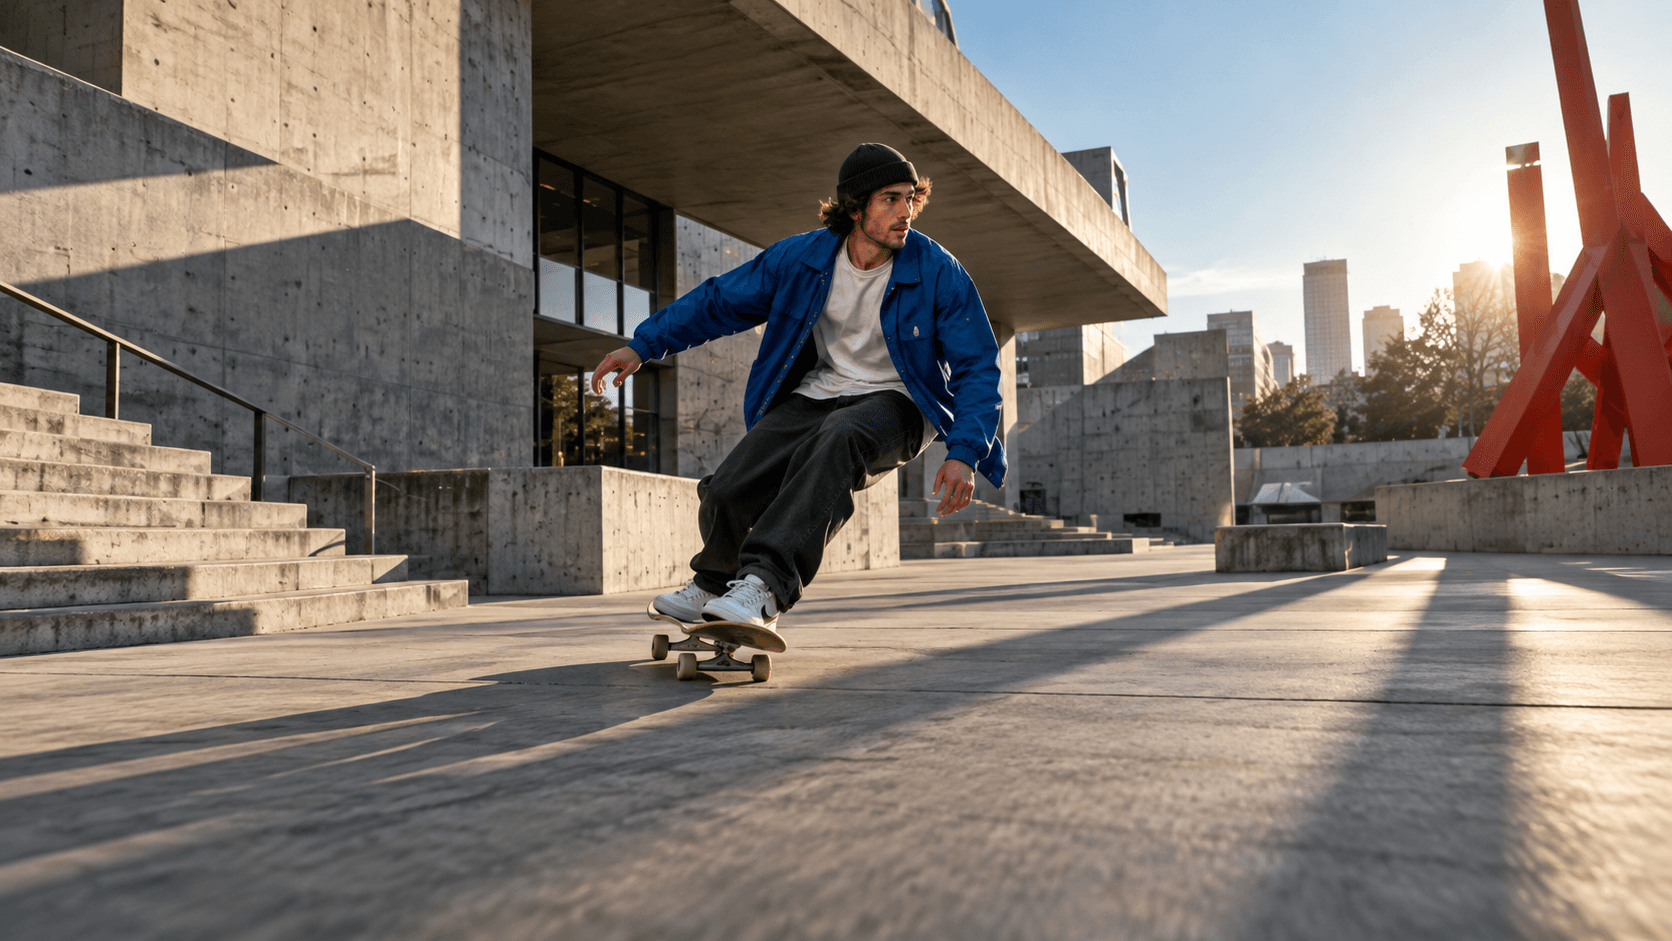
This existing Seedance editorial output is not a Luma benchmark. Use it to practice checking body contact, crowd motion, architecture, and border continuity while the camera and subject move.
Listen separately. If the output is visual-only, restore the approved soundtrack in your editor and verify sync from the first frame to the last. Confirm dialogue, footfalls, music beats, and end-card timing. The OpenShot finishing guide covers trimming and audio replacement without regenerating the shot.
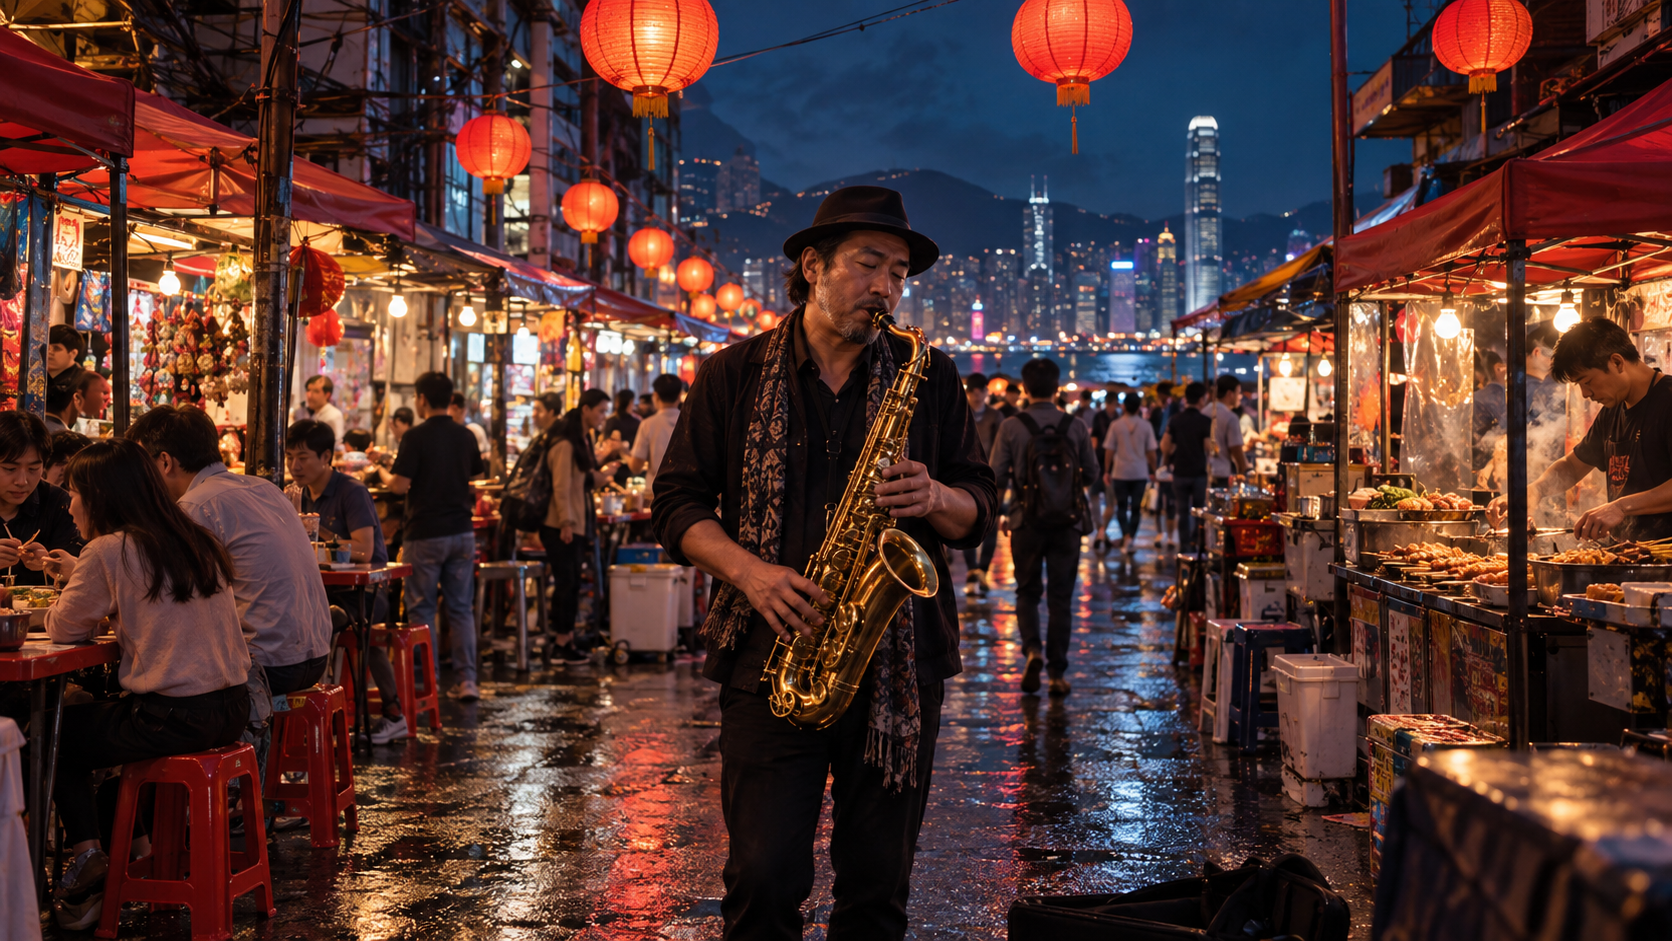
Complex edges deserve a slow review: look for repeated lanterns, broken stall geometry, sliding reflections, crowd duplication, and lighting that changes without cause.
Record each variant in an acceptance table with source ID, target ratio, prompt, source position, output ID, visual result, audio status, and reviewer. This turns reframe from a one-off effect into a repeatable delivery process.
Choose Reframe, Crop, or Regenerate
Choose a normal crop when the master already contains the complete action inside the destination safe area. It is faster, deterministic, and preserves every original pixel. Choose Reframe when cropping would remove essential context but the underlying shot is worth keeping. Choose video editing when the canvas is fine but the style, environment, or subject must change. Regenerate when the original camera move, identity, product geometry, or pacing is fundamentally wrong.
For campaigns, build one approved master and test the hardest destination ratio first. A successful 9:16 adaptation often exposes problems that a square or ultrawide version hides. Keep one brief, references, acceptance rules, and audio master across every variant. If different models are needed for different shots, the multi-model video workflow offers a clean routing method.
This separate Seedance Agent output demonstrates the final vertical review target: complete product silhouette, readable action, stable background, and sufficient top and bottom breathing room.
When a campaign needs many ratios, reference sets, approvals, and selective reruns, give Seedance Agent the approved master, destination list, protected regions, prompt rules, and review checklist; then reject only the weak variant instead of restarting every output. If you are still deciding whether Luma belongs in the wider toolset, the Luma alternatives guide compares workflow priorities rather than replacing this production tutorial.
Conclusion
Use Ray 3.2 Reframe after the shot is approved, not before. Start with a short, clean source; choose the exact destination ratio; position the subject conservatively; describe only the missing environment; and review the moving edges, perspective, lighting, identity, and audio as separate checks. Crop when the destination safe area already contains everything, edit when the scene itself must change, and regenerate when the master is broken. For a larger campaign, keep one master brief and one acceptance table across every format, then manage the variants and approvals with Seedance Agent.
Ready to try it yourself?
Put the steps from this guide into practice with Seedance and turn prompts or images into polished videos in minutes.
Free credits on signup. Plans from $28/month.
Related Articles
More posts in the same locale you may want to read next.

Seedance App Preview Video Generator 2026: Create App Store and Product Launch Clips
Use Seedance to turn app screenshots, feature copy, and launch goals into App Store previews, Google Play promo videos, and product launch clips.
Read article
How to Make a Talking AI Avatar You Can Reuse
Make a talking AI avatar with Seedance: design one consistent character, give it a voice, and make it speak in a talking photo or a full Seedance 2.5 scene, episode after episode.
Read article
Best AI Video-to-Video Models in 2026
The best AI video-to-video models in 2026 for editing footage you already shot: Higgsfield Genjutsu, Seedance 2.x, Runway Aleph, Luma Modify and Kling Omni compared.
Read article