
Multi-Model AI Video Workflow: Use the Best Model for Every Shot
AI Overview
What is a multi-model AI video workflow?
A multi-model AI video workflow sends each shot to the model best suited to its motion, audio, style, or consistency needs, then combines the approved clips in one edit.
Why use multiple AI video models instead of one?
No model wins every shot type. Selective routing can reduce failed generations while improving motion, character stability, audio, and delivery speed.
How should I compare AI video models?
Use the same prompt, reference, duration, aspect ratio, and camera direction. Score prompt adherence, stability, motion, audio, speed, and cost per approved clip.
Can I build a multi-model AI video workflow for free?
Yes, for small tests using starter credits or free tiers. Validate short drafts first, then spend premium credits only on approved shots and final-resolution renders.
What Is a Multi-Model AI Video Workflow?
Single-model versus multi-model production
A single-model workflow can work for a short concept with one visual language. It becomes fragile when a project mixes dialogue, product detail, fast action, controlled camera movement, and native audio. A route that preserves faces may still fail on motion or product geometry.
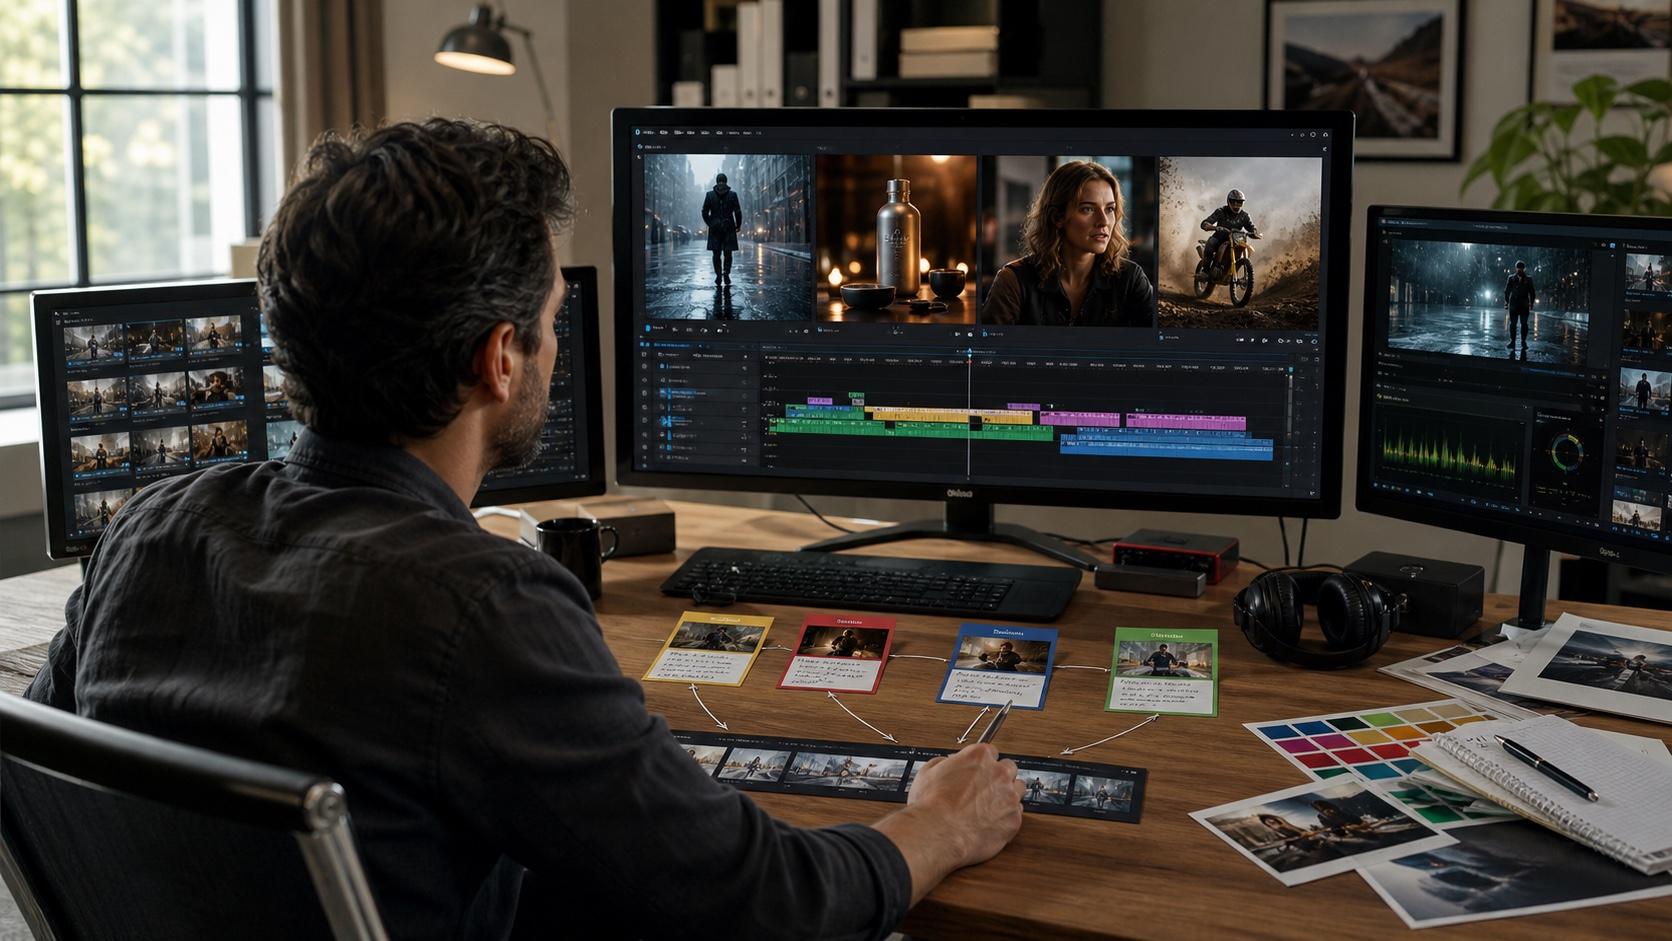
A multi-model AI video workflow keeps the script, references, palette, camera rules, and delivery settings stable while changing the rendering engine by shot. Think of each model as a specialist camera unit, not a separate production.
The shot-routing principle
Route by shot requirement, not a universal leaderboard. Identify what must survive—identity, product geometry, action, dialogue, sound, or an ending frame—then choose the route most likely to protect it.
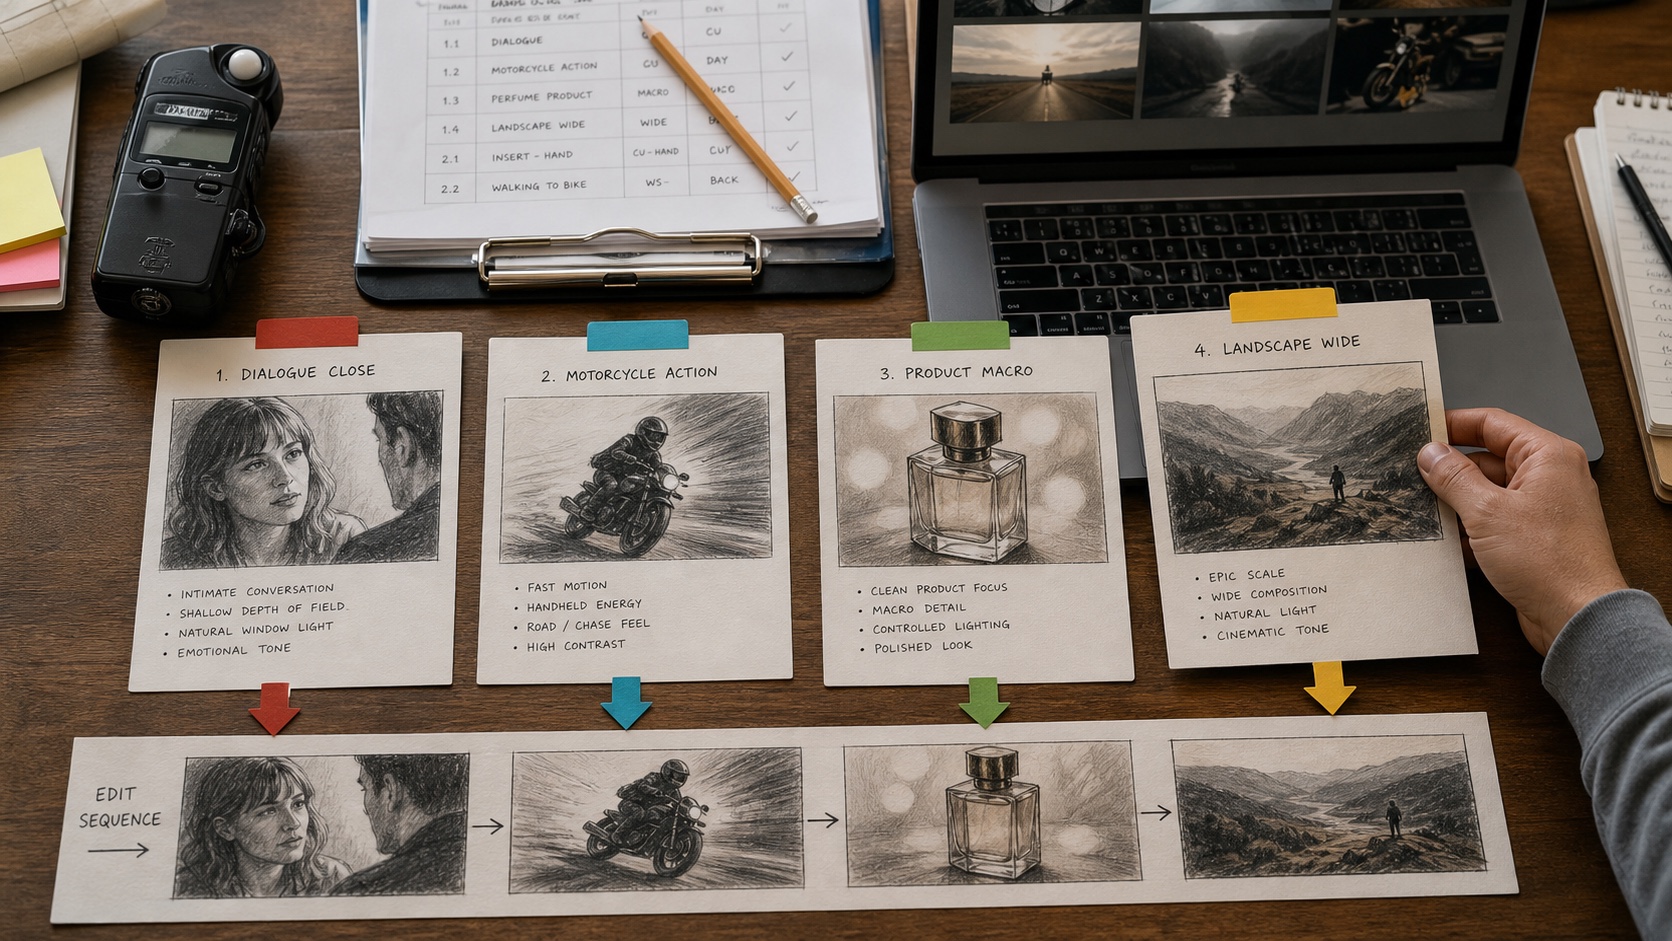
A practical routing board: four different shot requirements feed one final sequence without changing the creative brief.
The operating map is straightforward: brief → storyboard → reference pack → controlled test → shot routing → generation → review → edit → export. Start the first visual exploration in Seedance, but keep the workflow portable by storing prompts, references, settings, and approvals outside any single render job.
How to Choose the Right AI Video Model for Each Shot
Build a requirement matrix before generating
Give every shot one primary job and no more than two secondary jobs. A dialogue portrait may prioritize lip sync, identity, and clean voice. A chase shot may prioritize anatomy, momentum, and camera stability. A product macro may prioritize straight edges, label shape, and controlled reflections.
| Shot type | Primary requirement | Useful test | Failure signal |
|---|---|---|---|
| Dialogue close-up | Face and speech timing | One short quoted line | Voice swap or drifting mouth |
| Action shot | Physics and temporal stability | One subject, one move | Warped limbs or speed changes |
| Product macro | Shape and surface fidelity | Slow push-in on one object | Label drift or melted edges |
| Establishing shot | Composition and atmosphere | One camera direction | Random cuts or scene replacement |
| Transition shot | Start/end-frame control | Two fixed anchor frames | Abrupt identity or lighting jump |
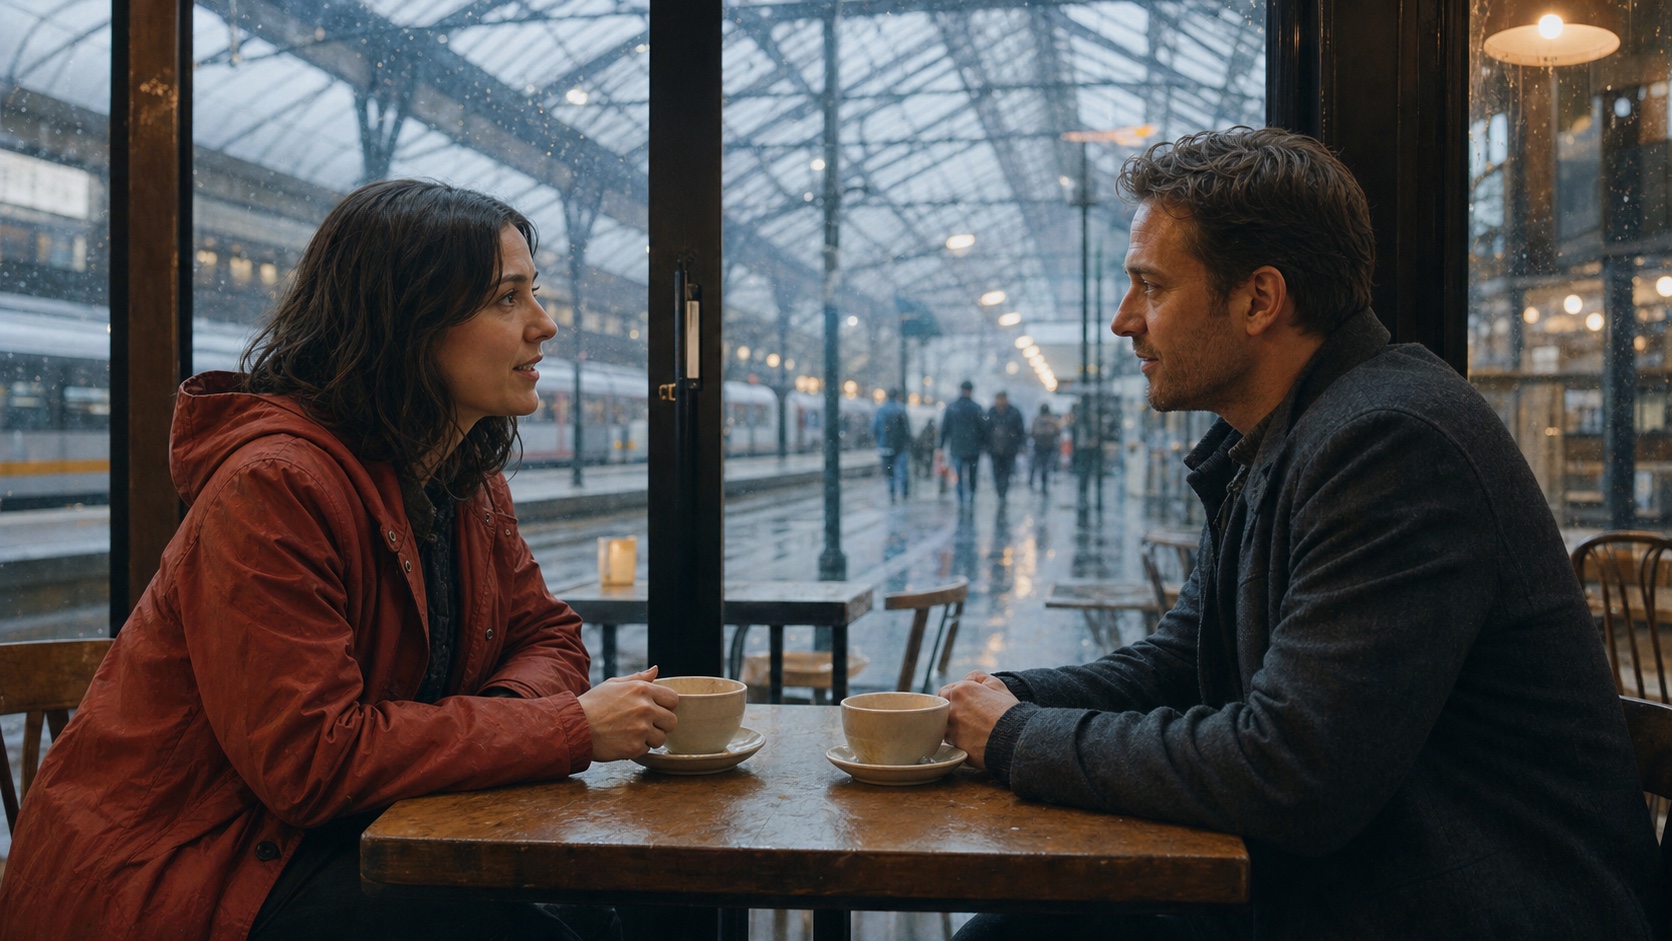
Generated for this guide as a finished dialogue-shot example: inspect facial structure, lip pose, eye line, hands, and background continuity.
Use Text to Video when composition can remain open and the prompt should lead the shot. Use Image to Video when a product, person, location, or framing decision must already be locked.
Use a default model plus specialists
Assign one dependable model to routine shots so the project does not become an operations puzzle. Add specialists only where the default route repeatedly fails or a capability is essential. For example, keep a native-audio route for dialogue, a motion-first route for action, and a reference-faithful route for products or recurring characters.
Choose by approved output, not first impression
A dramatic demo reel is not a production metric. The useful question is: how many attempts, minutes, and credits produced one clip that survived review? The fastest AI video generator benchmark explains why first-file speed can lose to a slower first-pass success.
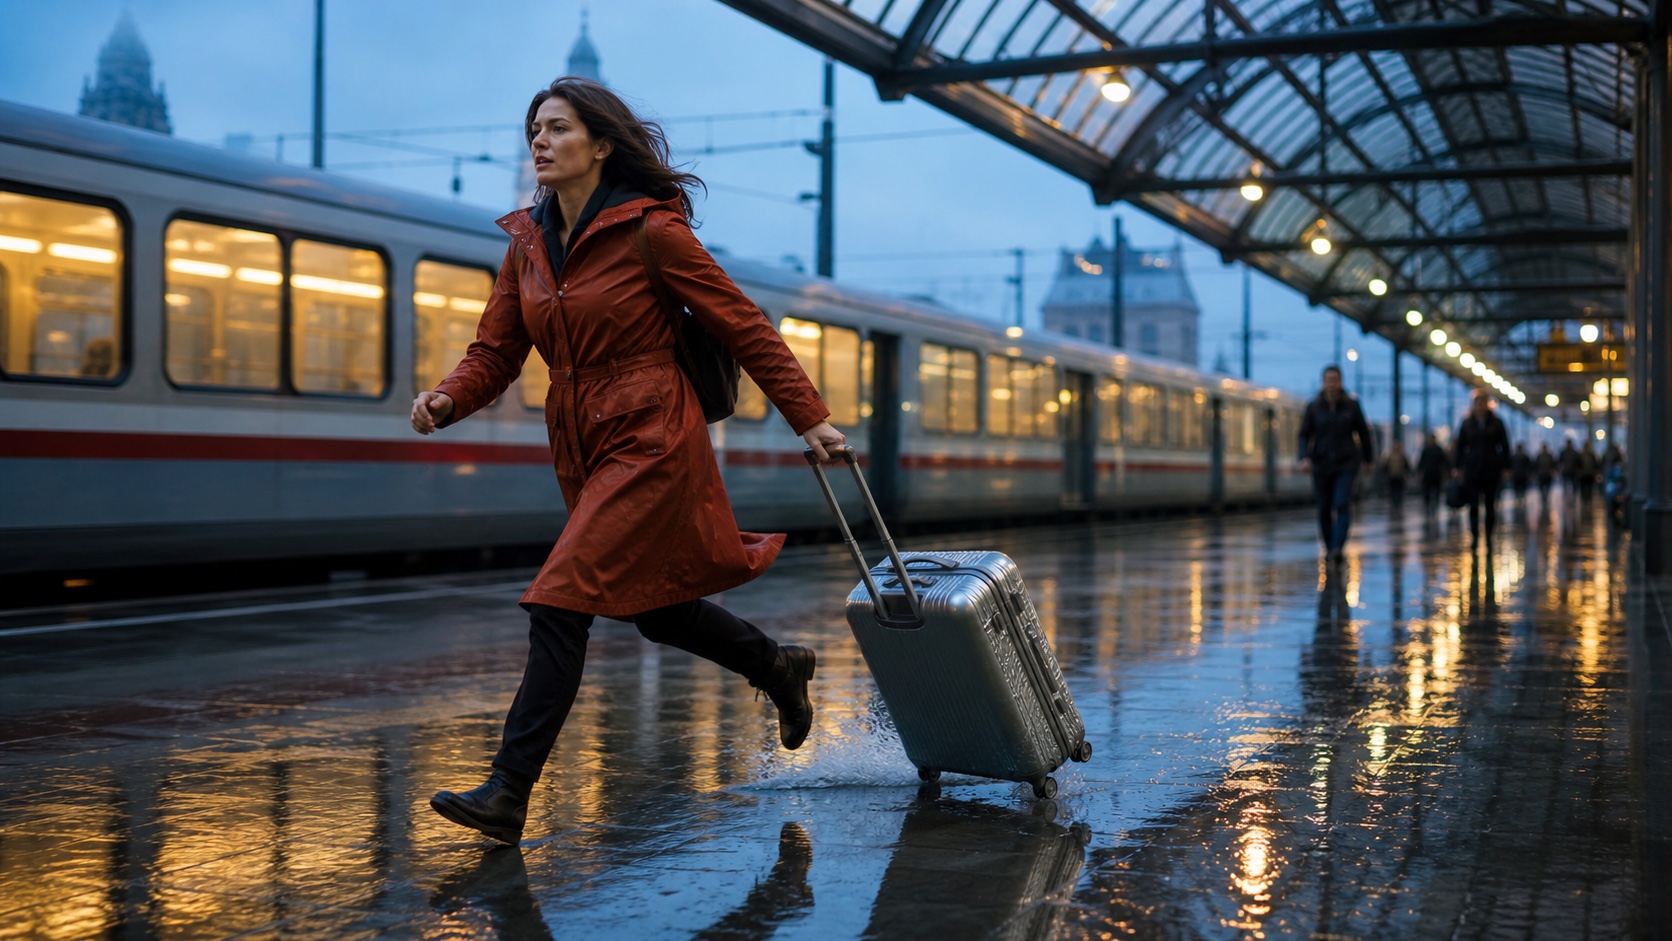
Generated for this guide as a motion benchmark: check the running stride, hand contact, connected handle, wheel geometry, water spray, and directional blur.
Step-by-Step Multi-Model AI Video Production Workflow
1. Break the idea into testable shots
Convert the concept into a shot list with duration, aspect ratio, subject, action, camera job, audio need, and continuity dependency. Keep each shot visually atomic. “A woman enters, argues, runs outside, and drives away” is four generations, not one crowded prompt.
2. Create a reusable reference pack
Build a small character and style bible with portraits, wardrobe, product angles, location frames, palette, lighting notes, and forbidden changes. Label every file by purpose; conflicting references make failures harder to diagnose.
3. Write one shared master prompt
Use a stable structure: subject and setting, visible action, camera direction, lighting, audio, ending state, then exclusions. Preserve those facts across models while adapting only syntax or supported controls.
4. Run low-cost tests
Generate the shortest duration and lowest useful resolution. Change one variable at a time. Approve composition and motion before adding dialogue, long duration, extra references, or premium resolution. For sound-led projects, the native-audio AI video generator guide provides a focused dialogue, ambience, and effect checklist.
5. Assign, generate, and log
Record shot ID, model, prompt and reference versions, seed, duration, resolution, render time, credits, and review decision. Keep rejected results because they expose the source of failure.
6. Edit as one production
Assemble approved clips in story order, then normalize framing, grade, grain, sound, and transition rhythm. The finished piece should not advertise where the model changed.
Same-Prompt AI Video Model Comparison
Create a fair test
Lock the prompt, input image, duration, aspect ratio, output tier, and camera request. Run at least two attempts per route. Do not compare a silent 720p draft with a 1080p native-audio clip as if the conditions were equal.
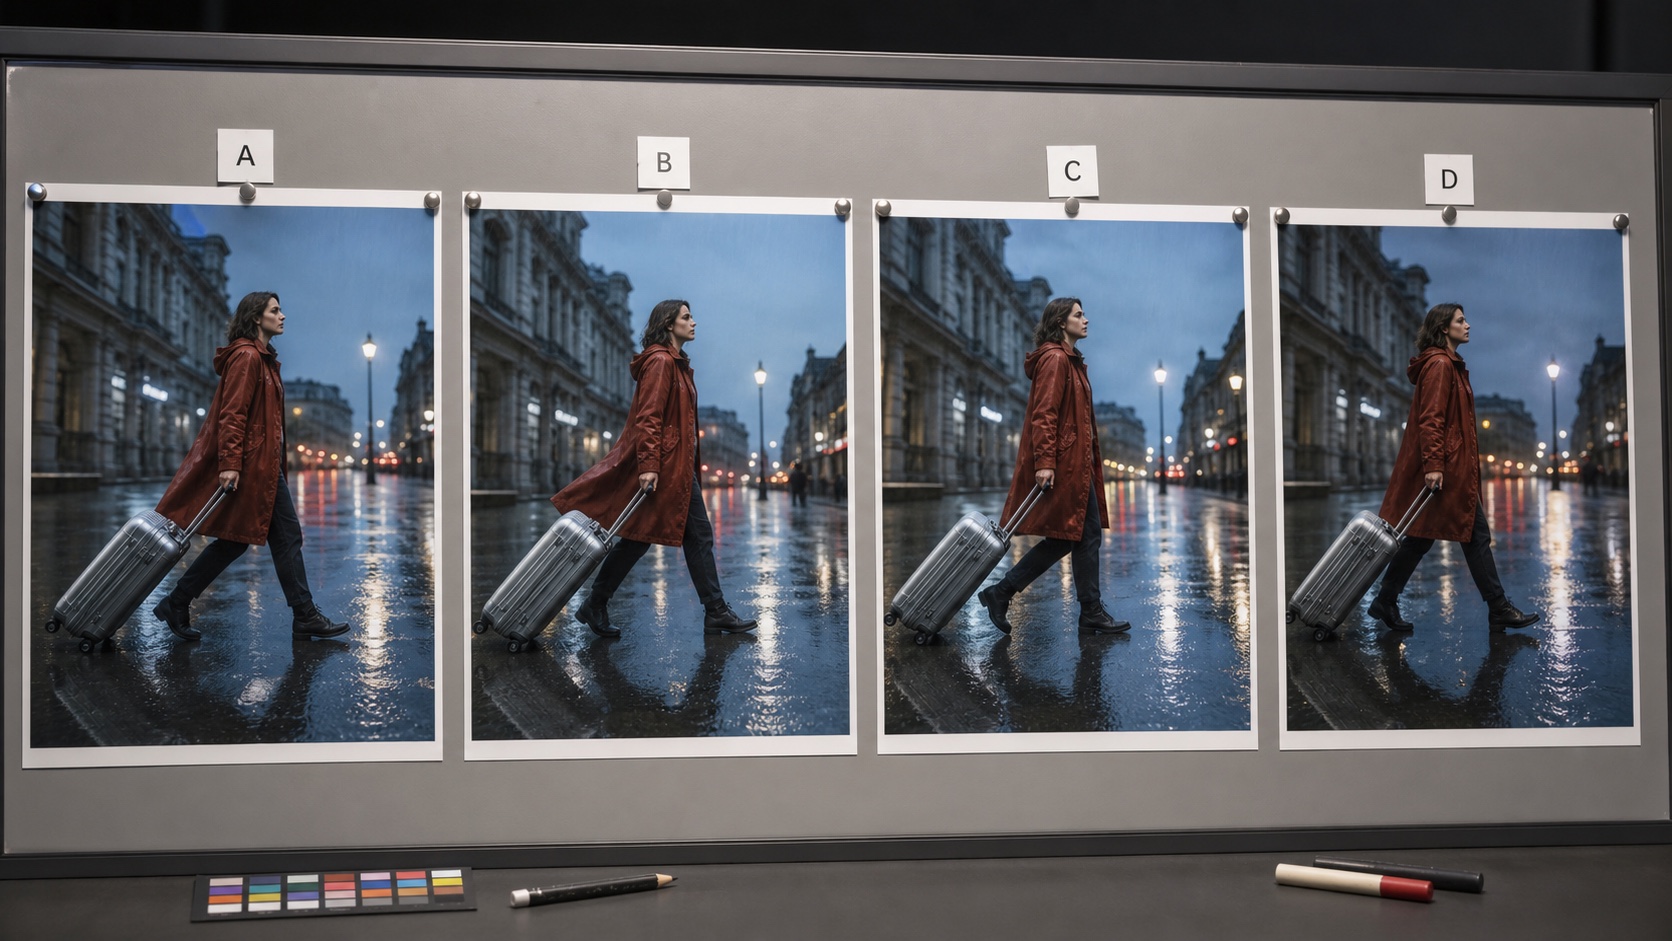
Compare small differences that affect approval: walking pose, hand contact, wheel alignment, coat motion, reflections, and background stability.
Score production value
Use a five-point score for prompt adherence, visual fidelity, temporal stability, motion, audio, speed, and cost. Add a binary publishable: yes/no decision. A technically impressive result can still be unusable if the product changes or the final action never lands.
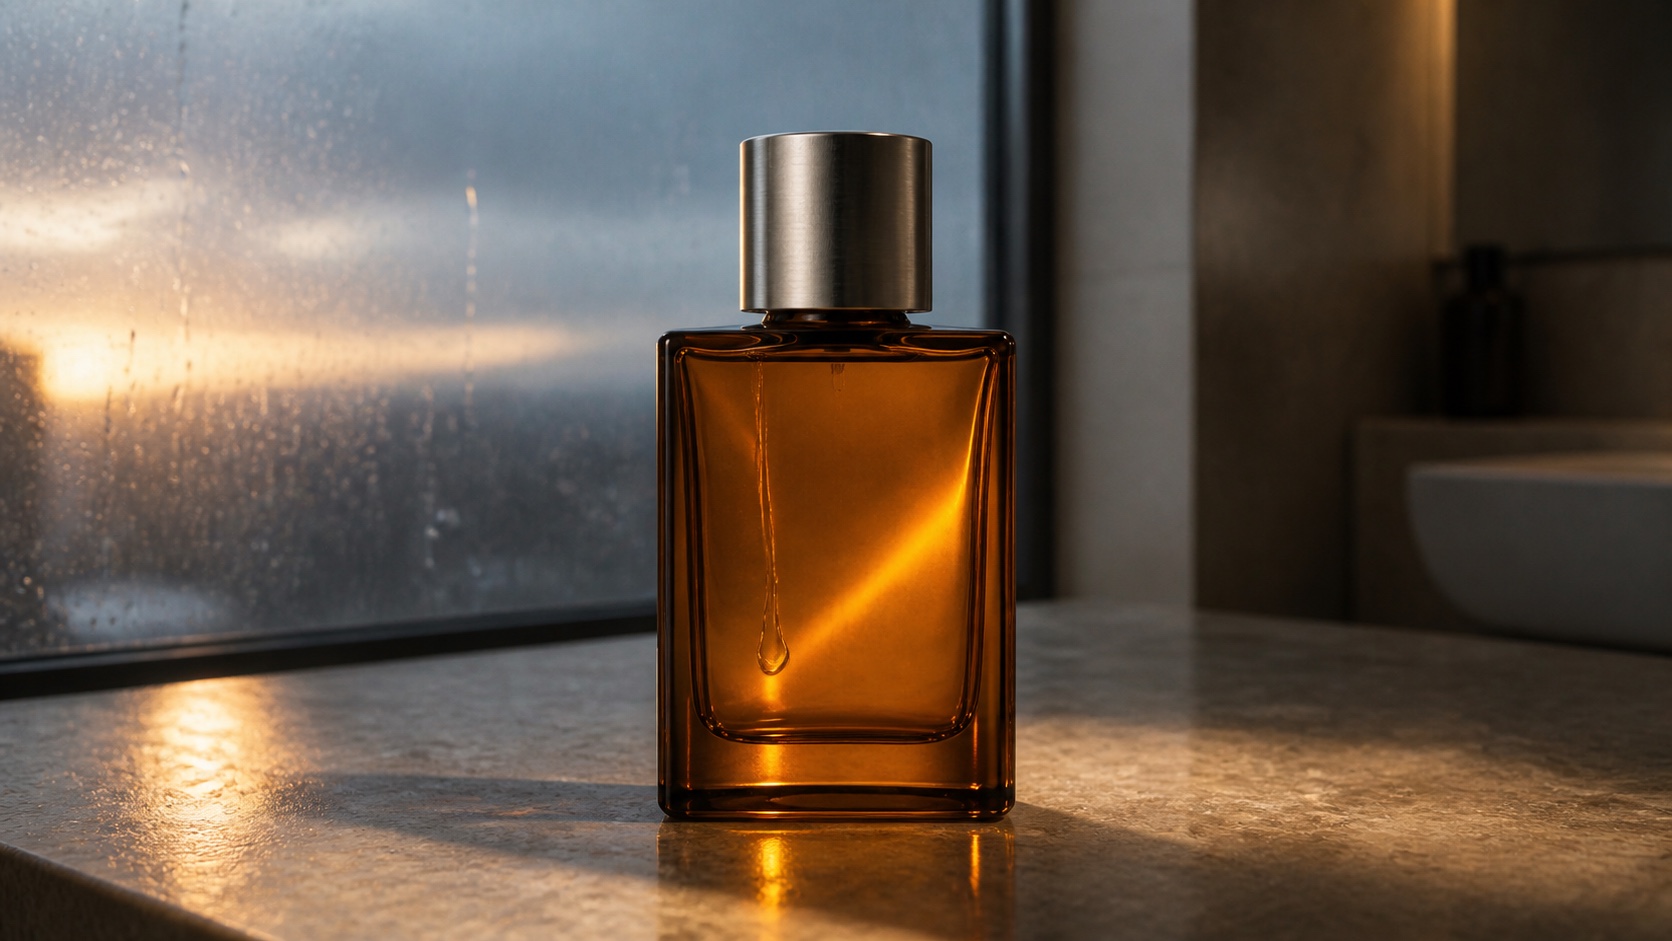
Generated for this guide as a product-fidelity example: inspect the straight bottle edges, aligned cap, liquid level, droplet, reflections, and clean silhouette.
Select the winner per shot
Do not average the scores into one universal champion. Weight the primary requirement twice, select the best route for that shot, and save the runner-up as a fallback. For an action-heavy example, the Wan 3.0 vs Kling 3.0 comparison demonstrates why identical prompts expose physics and continuity differences more clearly than feature lists.
Cost, Speed, and Free Testing Strategy
Calculate cost per approved shot
Track all attempts, not just the selected render:
Cost per approved shot = total credits spent on the shot ÷ approved outputs
The same logic applies to time. Include upload, queue, rendering, review, repair, and export. A cheap route with four rejected clips can cost more than a premium route that passes once.
Separate draft and final routes
Use starter credits, fast modes, short durations, and modest resolution to prove the idea. Move only approved prompts and references into high-quality generation.
Set a retry ceiling
Define the maximum attempts before generation begins. After two or three failures, change the model, simplify the action, split the shot, or strengthen the reference. Blind rerolling is not iteration because it produces no reusable knowledge.
Automation helps with naming, folders, queues, status fields, and result collection. Keep creative approval human: a script can detect that a file exists, but it cannot decide whether the performance supports the story.
How to Keep Characters, Style, and Audio Consistent
Lock identity and wardrobe
Use the same approved portraits, costume, proportions, and distinguishing details in every job. If a model needs another crop, derive it from the master reference rather than generating a replacement identity.
Bridge adjacent shots
Export the final clean frame of an approved shot and use it as the visual anchor for the next when the route supports image input. Match screen direction, lens feel, time of day, and the subject's position. A clean continuity bridge matters more than whether two shots share a model name.
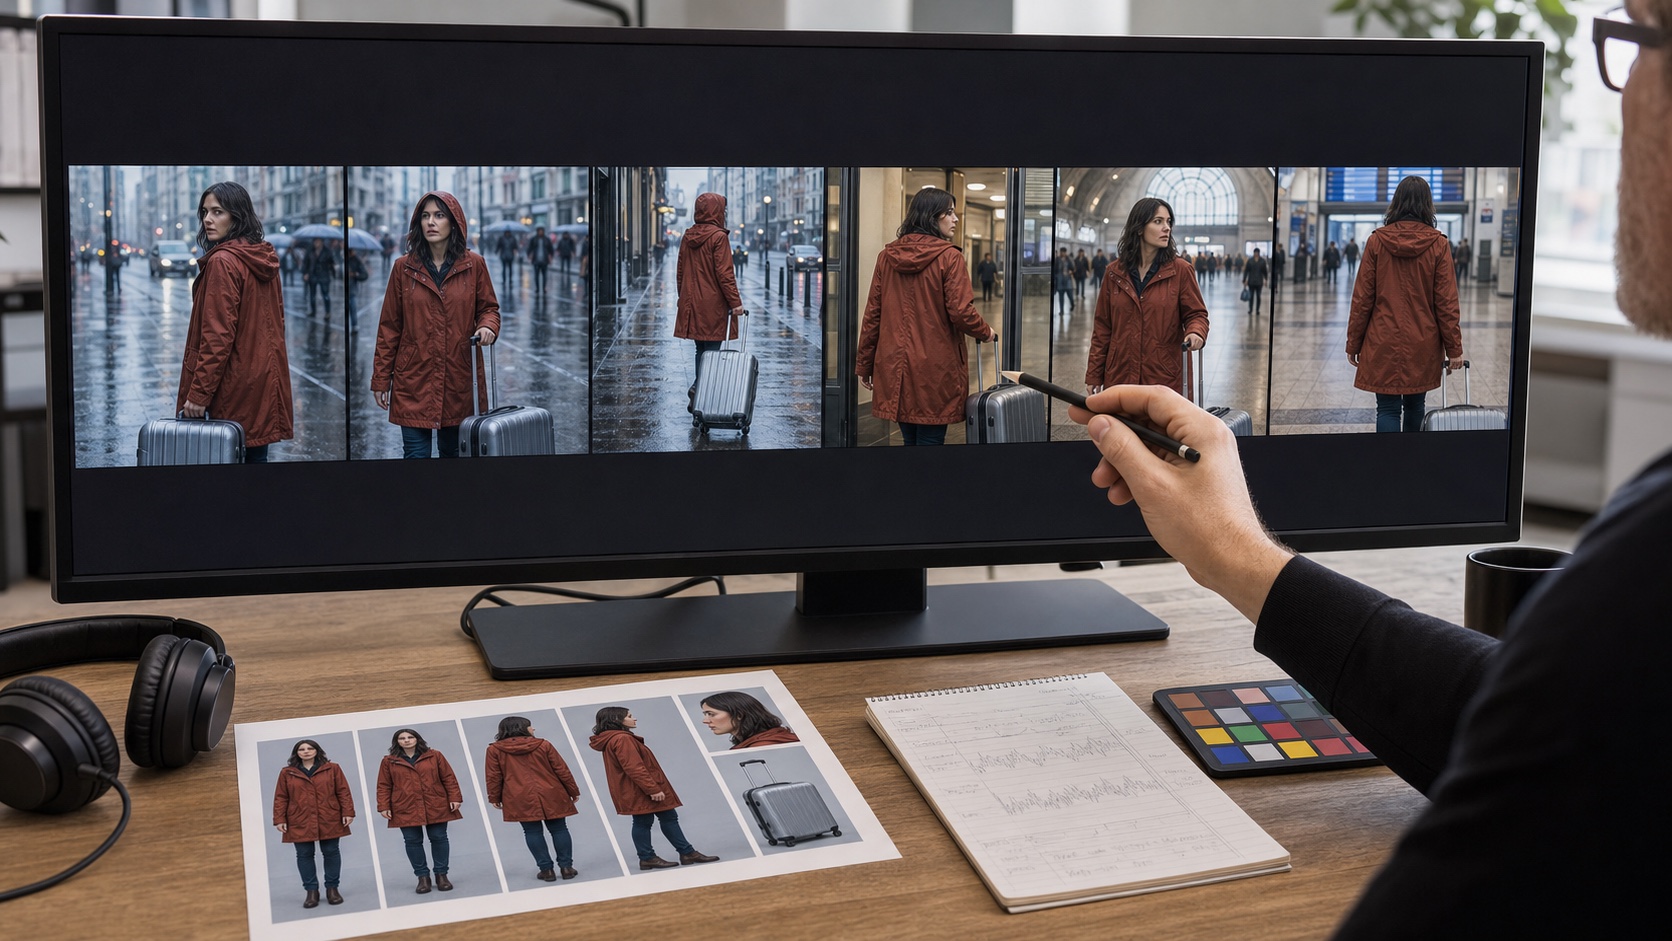
Review identity, wardrobe, prop shape, direction of travel, lighting, and audio across the cut—not only inside each clip.
Treat audio as one timeline
Even when models generate native dialogue, effects, or ambience, finish the soundtrack as a continuous layer. Match room tone across cuts, separate voices from music, check lip sync at normal speed, and remove duplicated impacts created at transitions.
Diagnose before rerendering
Face drift usually calls for a stronger or cleaner reference. Broken action may need a simpler move or motion-specialist route. Background replacement suggests an overloaded prompt. A sudden style jump can often be repaired with a shared grade and grain pass; a changed product or identity usually requires regeneration.
Conclusion
The best multi-model AI video workflow does not use the most models. It preserves one brief, one reference system, and one review standard, then routes each shot to the engine most likely to satisfy its primary requirement. Test cheaply, compare matched inputs, measure cost per approved clip, and unify every result in the final edit. Build your first routed AI video workflow with Seedance →
Ready to try it yourself?
Put the steps from this guide into practice with Seedance and turn prompts or images into polished videos in minutes.
Free credits on signup. Plans from $28/month.
Related Articles
More posts in the same locale you may want to read next.

Seedance App Preview Video Generator 2026: Create App Store and Product Launch Clips
Use Seedance to turn app screenshots, feature copy, and launch goals into App Store previews, Google Play promo videos, and product launch clips.
Read article
Best AI Video-to-Video Models in 2026
The best AI video-to-video models in 2026 for editing footage you already shot: Higgsfield Genjutsu, Seedance 2.x, Runway Aleph, Luma Modify and Kling Omni compared.
Read article
Kling 4.0 vs Seedance 2.5: Full Comparison
Kling 4.0 vs Seedance 2.5 compared by spec: 30-second clips, keyframes vs 50 references, audio, 4K and 10-bit color, editing, and which model fits which job.
Read article