
How to Edit Seedance Videos with OpenShot: Complete Workflow
AI Overview
Can you edit Seedance videos with OpenShot?
Yes. Download the finished Seedance clips, import them into OpenShot, and use its timeline to trim, reorder, combine, enhance, and export one complete video.
What is the best workflow for editing Seedance videos?
Generate each shot separately, keep the highest-quality takes, match the OpenShot project profile to the source, assemble the story, and polish sound and color last.
Which OpenShot export settings preserve Seedance quality?
Use MP4 with H.264 video and AAC audio. Keep the source resolution, aspect ratio, and frame rate unless the publishing destination requires another format.
Should you fix a flawed AI clip in OpenShot or regenerate it?
Edit timing, framing, color, audio, and small distractions in OpenShot. Regenerate when identity, anatomy, camera movement, or scene continuity is fundamentally broken.
Before You Edit: Prepare Seedance Clips for OpenShot
The fastest edit starts before the timeline. Create a shot list, then generate only the angles the final sequence needs: an establishing shot, action, detail, reaction, and closing image. This makes Seedance video editing feel like assembling a production rather than rescuing unrelated experiments.
Use Text to Video for shots driven by action, atmosphere, or camera direction. Use Image to Video when a character, product, costume, or composition must remain recognizable. For a sequence that depends on several visual anchors, organize them in Reference to Video.
Download the highest-quality approved takes
Download the master for every approved shot instead of recording the browser preview. Keep an untouched copy for export comparison. Reject obvious failures now: an unreadable face, changing hand, bending product, or incorrect camera move will not become reliable on a timeline.
Check resolution, aspect ratio, and frame rate
Inspect whether each clip is 16:9, 9:16, or another format, and note its resolution and frame rate. Choose one delivery format before editing. Mixing portrait and landscape footage without a framing plan often creates black bars, aggressive crops, or inconsistent subject scale. Keep the native frame rate when possible; unnecessary conversion can add duplicated or interpolated frames without improving motion.
Name clips by scene and version
Use names such as scene-01-wide-v2.mp4 and scene-02-product-close-v1.mp4. Store music, voice-over, captions, logos, and exports separately. Clear naming matters as soon as one shot has several variations.
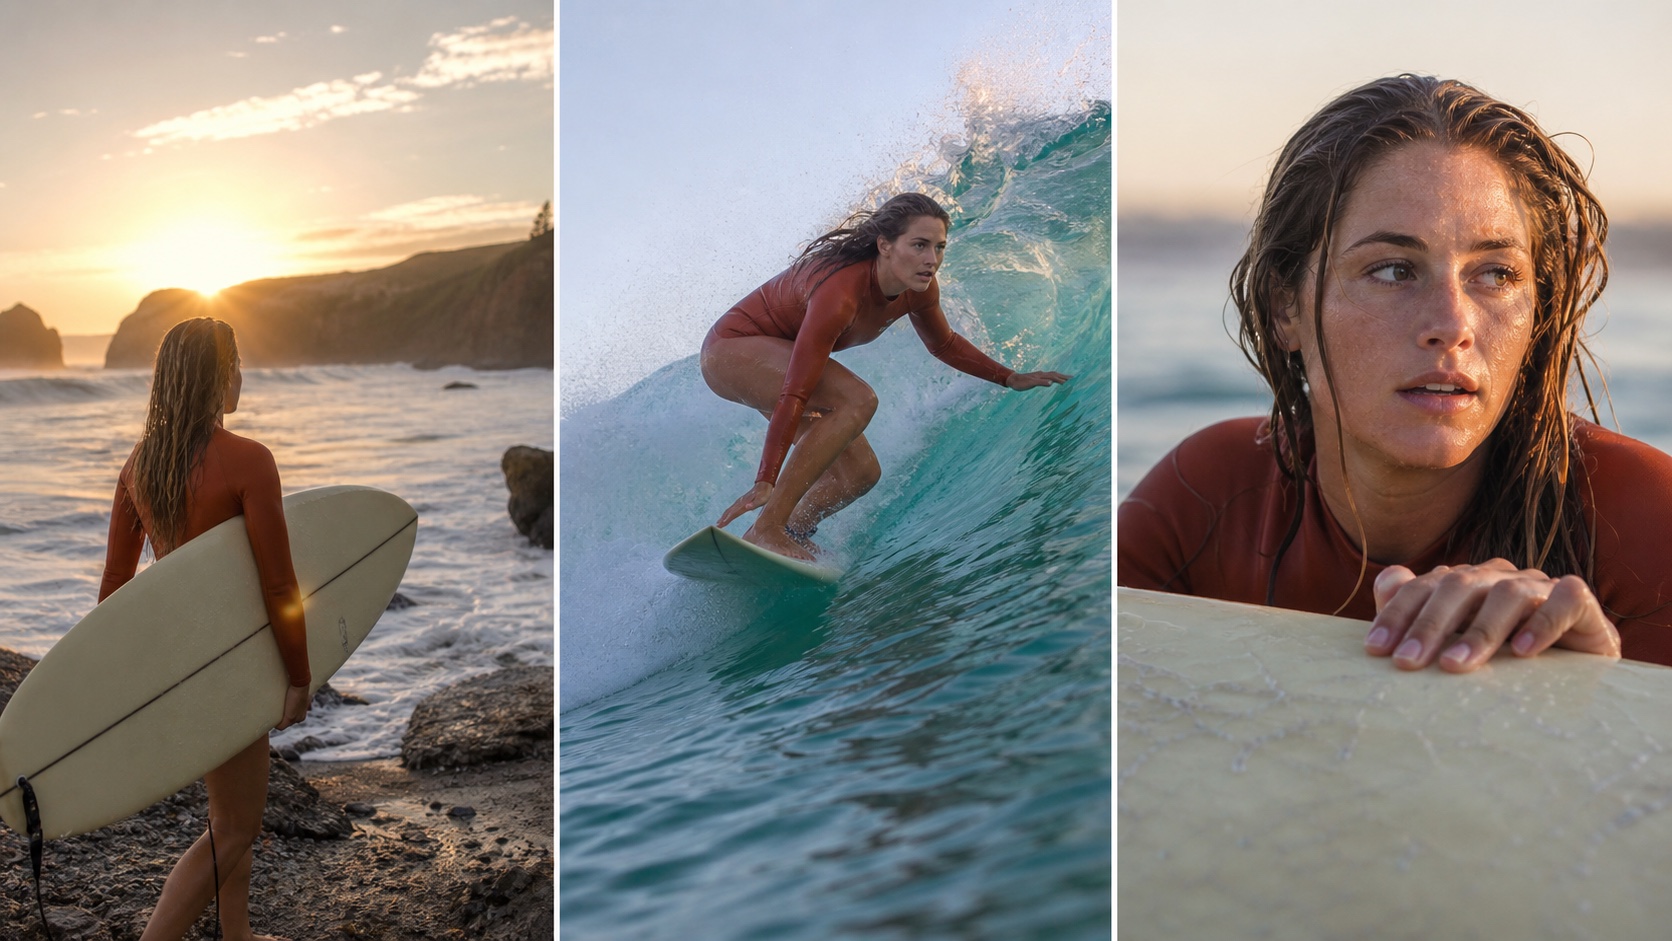
A useful edit begins with complementary shots: establish the place, show the action, then provide a detail the viewer can remember.
How to Edit Seedance Videos with OpenShot Step by Step
OpenShot is the assembly and finishing environment: generation supplies performances, while the editor controls order, duration, rhythm, sound, and delivery.
Import and review every generated clip
Save a new project and import the selected video, audio, image, and caption assets. Preview every source at normal speed and frame by frame around difficult motion. If an eight-second generation contains only two strong seconds, keep those two.
Match the project profile to the source
Set the OpenShot project profile to the intended resolution, aspect ratio, and frame rate before serious timeline work. For a horizontal campaign, that might be 1920×1080 at the source frame rate. For a vertical social cut, choose a 1080×1920 profile instead of editing horizontally and changing the canvas only during export. Profile, timeline, and export settings should describe the same delivery target.
Combine Seedance video clips into a complete story
Place the strongest opening first, then build a progression: context, action, detail, result. Alternate wide and close framing, and remove repeated angles. The practical answer to how to edit AI-generated videos is often subtraction: distinct, stable shots feel more professional than a longer sequence of near-duplicates.
Trim precisely and use restrained transitions
Drag clip edges or use Slice to remove unstable starts, pauses, and dissolving endings. Cut on movement, a beat, or a sound cue. Use a short dissolve only when time or mood changes; direct cuts are clearer for most action.
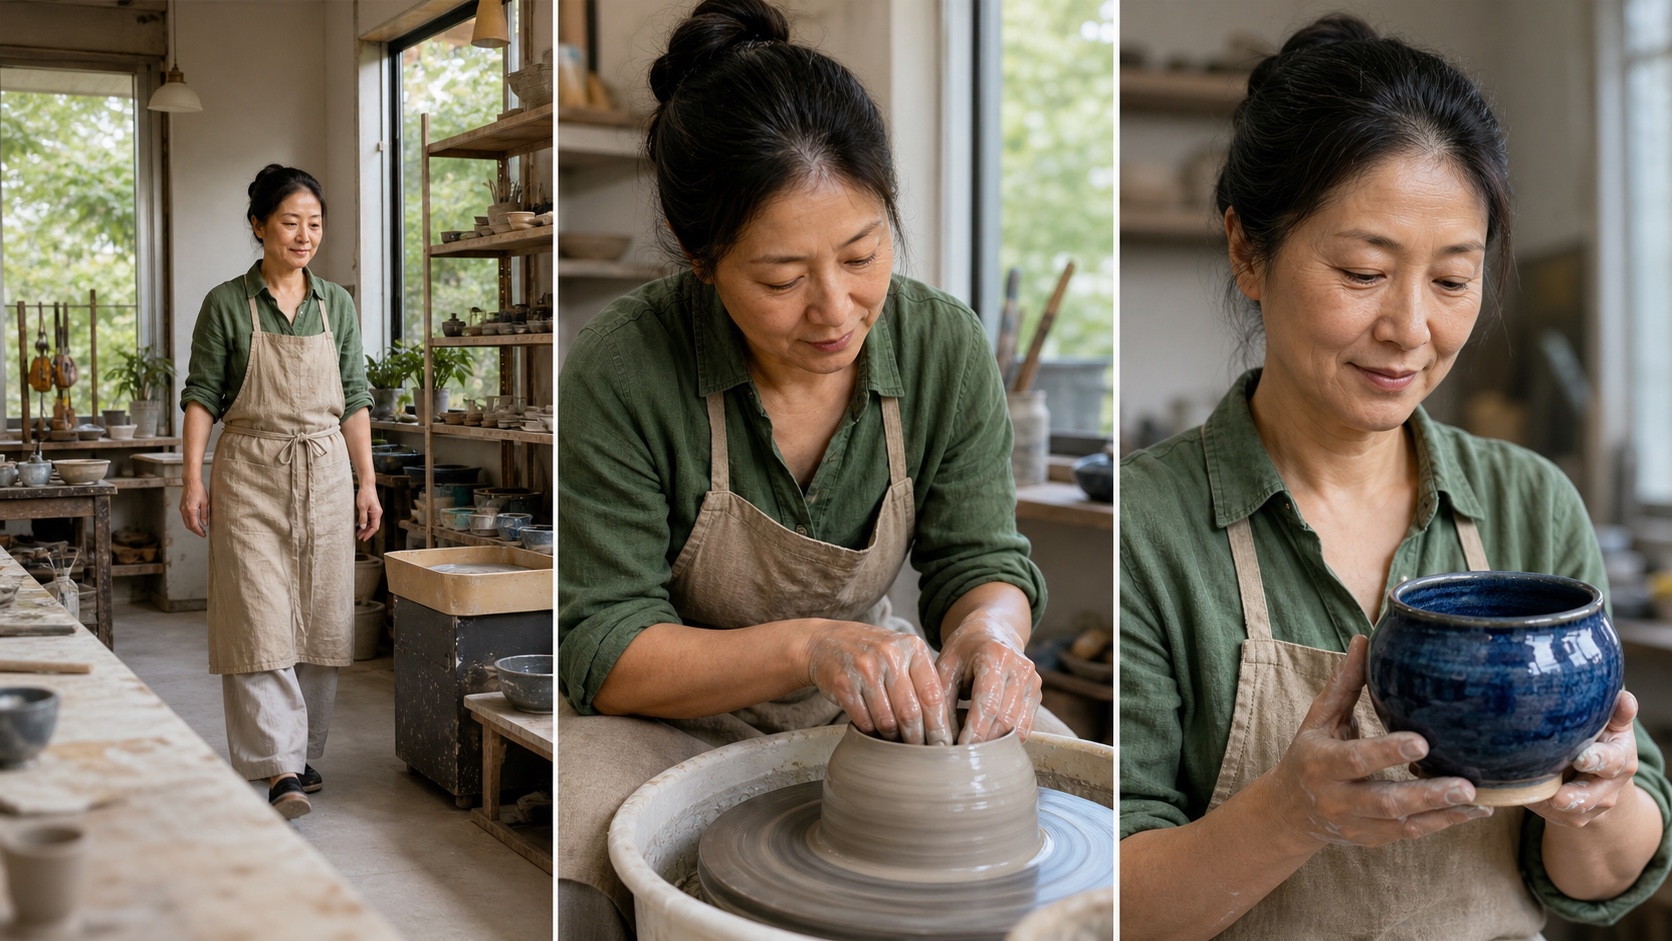
Continuity does not require identical framing. Repeated wardrobe, light direction, materials, and screen direction can connect three independently generated shots.
Fix Common AI Video Problems Without Regenerating
Editing can preserve an approved performance when the defect is limited. Ask whether it changes the shot's meaning or only its presentation.
Remove unstable first and last frames
Trim until the subject has a readable pose, then let the following shot carry the movement. Hold the last clean image briefly or cover the transition with a detail shot; never retain a morphing frame merely to reach a planned duration.
Reframe distracting edges
A modest crop, scale adjustment, or position keyframe can remove unstable borders. Object masks and keyframable properties can support localized blur, highlighting, or color changes. Review the correction through motion for jumping edges.
Match independently generated clips
Use exposure, contrast, white balance, and saturation to create a shared baseline. Match skin tone and product color before applying a stylized grade. Sharpen conservatively to avoid halos and flicker. The OpenShot 4.0 review covers its newer color, recording, masking, and timeline capabilities.
| Problem | Edit in OpenShot | Regenerate in Seedance |
|---|---|---|
| Extra pause or unstable edge frames | Yes—trim or cover them | Usually unnecessary |
| Slight exposure or color mismatch | Yes—match and grade | Usually unnecessary |
| Small background distraction | Crop, mask, or blur | Regenerate if it crosses the subject |
| Wrong face, product, anatomy, or action | No reliable timeline fix | Yes—return to the source prompt or reference |
| Camera move breaks the scene | A short usable section may survive | Regenerate for the correct motion |
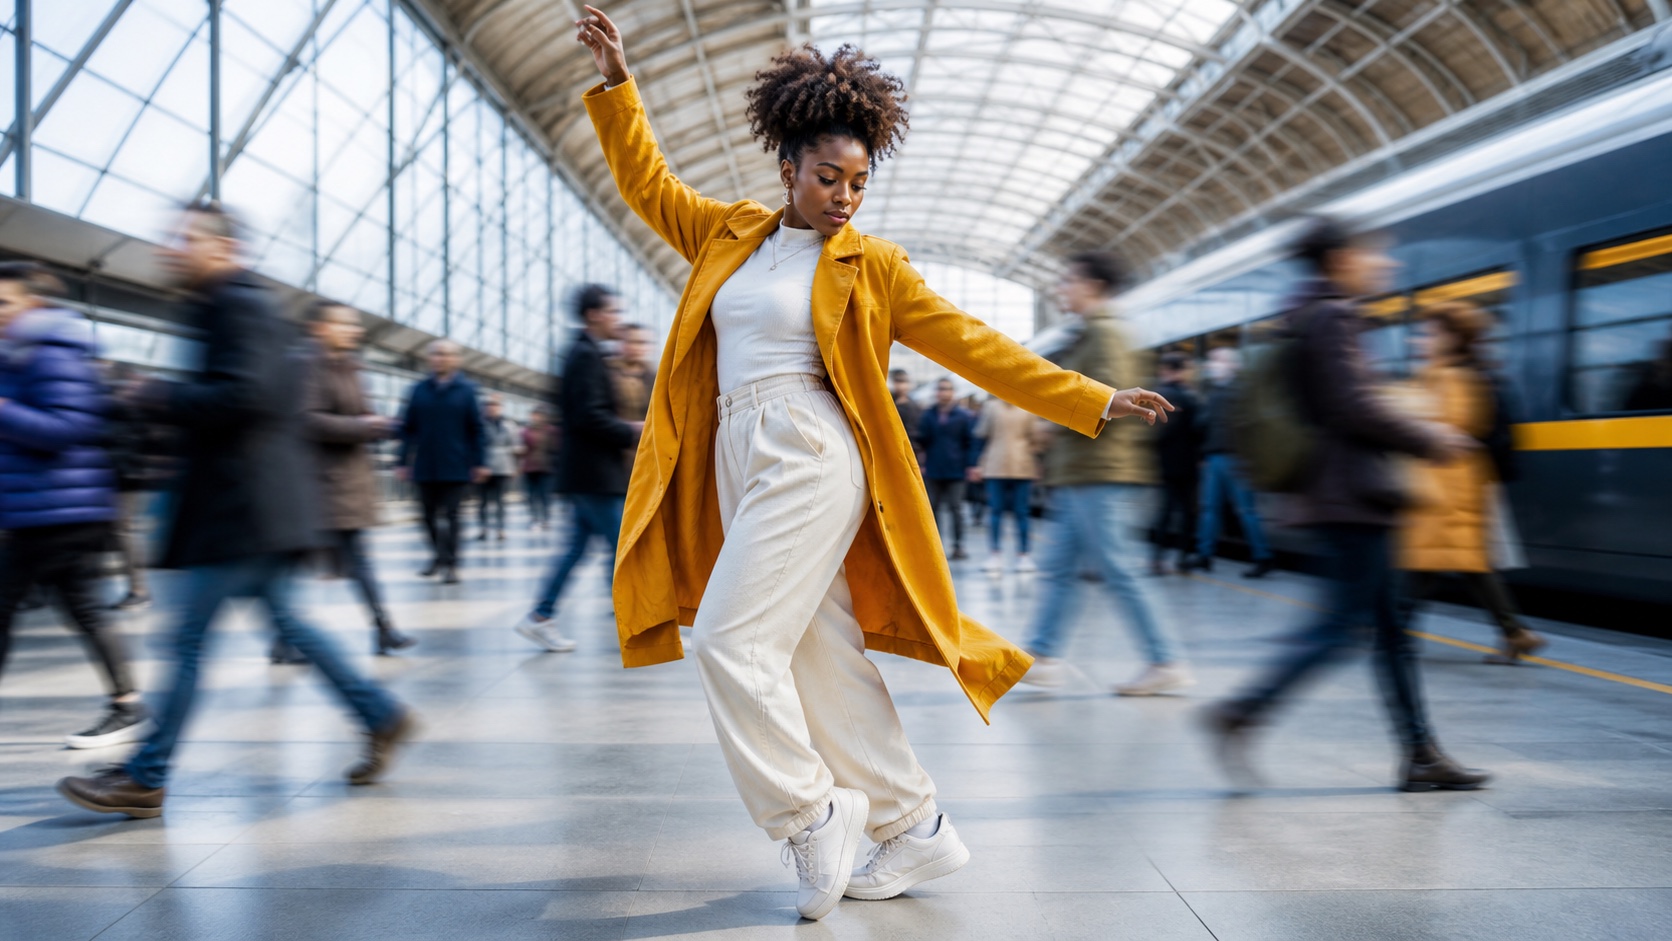
The finished frame keeps the dancer sharp while the surrounding movement remains visually clear.
Review every correction in motion: the dancer, coat fabric, passing commuters, and camera all move continuously in this five-second shot.
Add Audio, Captions, and Brand Elements
Sound helps separate generations feel like one scene. Place dialogue or voice-over first, edit pictures around it, then add continuous ambience beneath the cuts.
Build one continuous soundtrack
Separate dialogue, ambience, music, and effects onto their own tracks. Fade audio, lower music beneath speech, and watch for peaks. Preserve useful Seedance native audio and blend it into the wider mix instead of automatically replacing it.
Add readable captions and titles
Use short lines, strong contrast, and consistent positioning. Keep subtitles inside safe areas and test them against bright and dark frames. On vertical video, leave room for platform controls near the top and bottom.
Add branding and a useful final action
Add the logo, product, URL, or call to action after the story earns attention. Hold a clean end card for one or two seconds and match its colors to captions and other graphics.
Best OpenShot Export Settings for Seedance Videos
Good OpenShot export settings preserve what was approved instead of inventing a new technical format at the last step. Watch the original files, timeline preview, and exported master on the same display when possible.
Recommended 16:9 export
For horizontal delivery, export MP4 with H.264 video and AAC stereo audio. Use 1920×1080 for Full HD and retain the project frame rate. Choose enough quality to protect faces, hair, rain, smoke, and foliage; a higher resolution label cannot restore missing source detail.
Recommended 9:16 export
For vertical publishing, use a vertical project profile and export 1080×1920. Check every crop for the face, product, and gesture. Reposition horizontal footage shot by shot instead of applying one scale value to the whole sequence.
Preserve the native frame rate
Keep 24 fps footage at 24 fps and 30 fps footage at 30 fps unless delivery requires otherwise. Converting everything to 60 fps increases processing and may expose temporal artifacts. The best frame rate for AI video guide explains the right use for each rate.
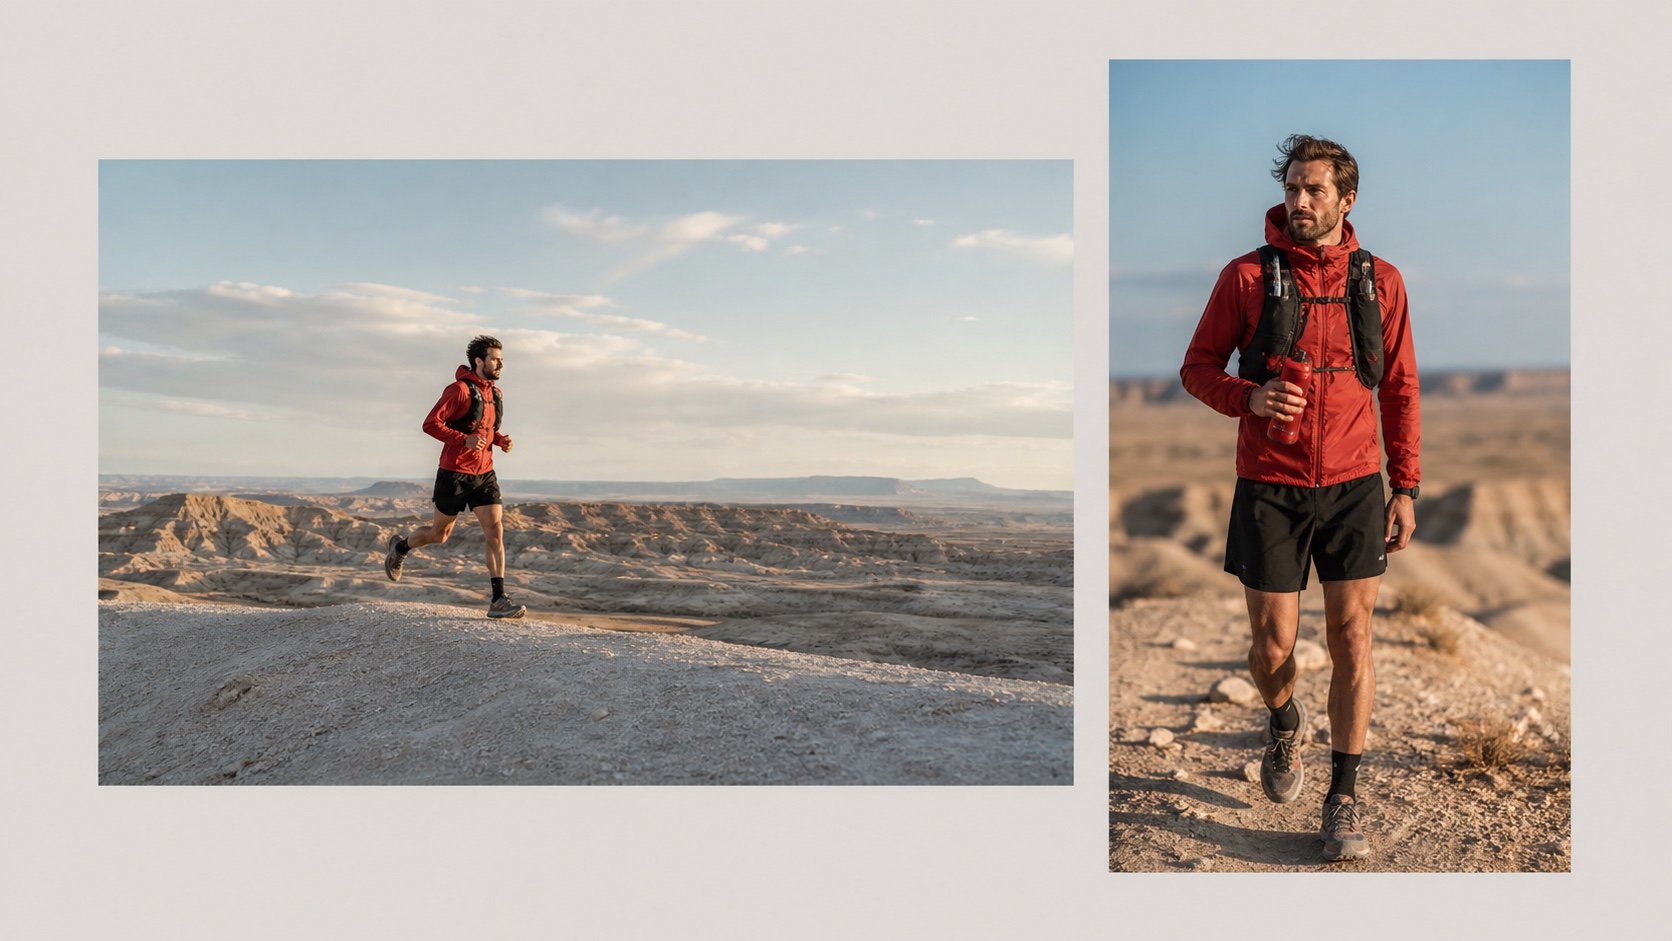
Design each output for its destination. A vertical edit needs deliberate composition, not merely a late crop of the horizontal master.
Final Quality-Control Checklist
Review the complete timeline
Watch once for pacing, once for visual defects, and once for sound. Check repeated frames, flashes, frozen motion, screen direction, audio changes, captions, and end-card duration.
Inspect the exported file
Play the actual export end to end. Confirm resolution, aspect ratio, frame rate, audio sync, text edges, compression, and no black bars. Recheck difficult cuts and test on a second device.
Save a reusable project template
Keep an empty project with the correct profile, named tracks, caption style, audio levels, brand assets, and export target. Duplicate it for the next production. This turns OpenShot combine video clips from a repeated setup task into a predictable Seedance finishing workflow.
Conclusion
The most reliable way to edit Seedance videos with OpenShot is to give each tool a clear job: generate intentional shots in Seedance, then use OpenShot to select the best moments, establish rhythm, unify color and sound, add captions, and export for the real destination. Preserve the source profile, edit only defects that are local and controllable, and regenerate shots whose identity or motion is fundamentally wrong. Create your next source clip with Seedance →
Ready to try it yourself?
Put the steps from this guide into practice with Seedance and turn prompts or images into polished videos in minutes.
Free credits on signup. Plans from $28/month.
Related Articles
More posts in the same locale you may want to read next.

Seedance App Preview Video Generator 2026: Create App Store and Product Launch Clips
Use Seedance to turn app screenshots, feature copy, and launch goals into App Store previews, Google Play promo videos, and product launch clips.
Read article
Best AI Video-to-Video Models in 2026
The best AI video-to-video models in 2026 for editing footage you already shot: Higgsfield Genjutsu, Seedance 2.x, Runway Aleph, Luma Modify and Kling Omni compared.
Read article
Kling 4.0 vs Seedance 2.5: Full Comparison
Kling 4.0 vs Seedance 2.5 compared by spec: 30-second clips, keyframes vs 50 references, audio, 4K and 10-bit color, editing, and which model fits which job.
Read article