
Higgsfield Cinema Studio Camera Settings: A Practical Shot Guide
AI Overview
Which camera settings should I choose first in Higgsfield Cinema Studio?
Start with the shot's job, then fix framing, focal length, focus depth, light and one camera move. Keep those choices unchanged for a first comparison so you can tell which setting improved the result.
Is a camera-movement preset enough to control the whole shot?
No. A movement style describes how motion feels, while the prompt still needs direction, speed, starting composition and ending frame. A slow push and a zoom are different physical ideas and should not be mixed accidentally.
What changes between Cinema Studio versions?
The available controls depend on the selected Cinema Studio model. Higgsfield's 3.5 guide lists explicit optics and movement-style choices; its current 4.0 page describes a broader production workspace, so check the active panel before copying a preset.
How can I keep several shots visually consistent?
Save one shot card with reference, aspect ratio, lens intent, focal length, focus target, lighting and movement. Reuse its fixed fields across takes, changing only the element the story requires, then review the cuts together.
What the Camera Controls Actually Change
Higgsfield Cinema Studio is easier to direct when you separate optics, movement, and scene design. Optics control what the image feels like: a wider focal length makes foreground-background distance more apparent, while a longer focal length narrows the field of view and can isolate a face. Aperture or focus-depth choices decide whether the set remains readable behind the subject. Camera movement controls the viewer's changing position. Genre, color and lighting describe the world in which that camera operates.
Control names are version-specific. Higgsfield's Cinema Studio 3.5 guide lists camera and lens character, focal lengths of 8, 14, 35, 50 and 75 mm, aperture choices, movement styles and lighting presets. Its current 4.0 page emphasizes tagged movements, cast and shared references. Check your selected model's panel before copying a setting from an older guide.
Begin with the frame, not a camera brand
Write down what must be visible at the beginning and end: a product label, a face, or a background landmark. Those requirements determine close, medium or wide framing before decorative lens treatment. Decide 9:16 early if the deliverable is vertical; a later crop may remove the subject of the reveal.
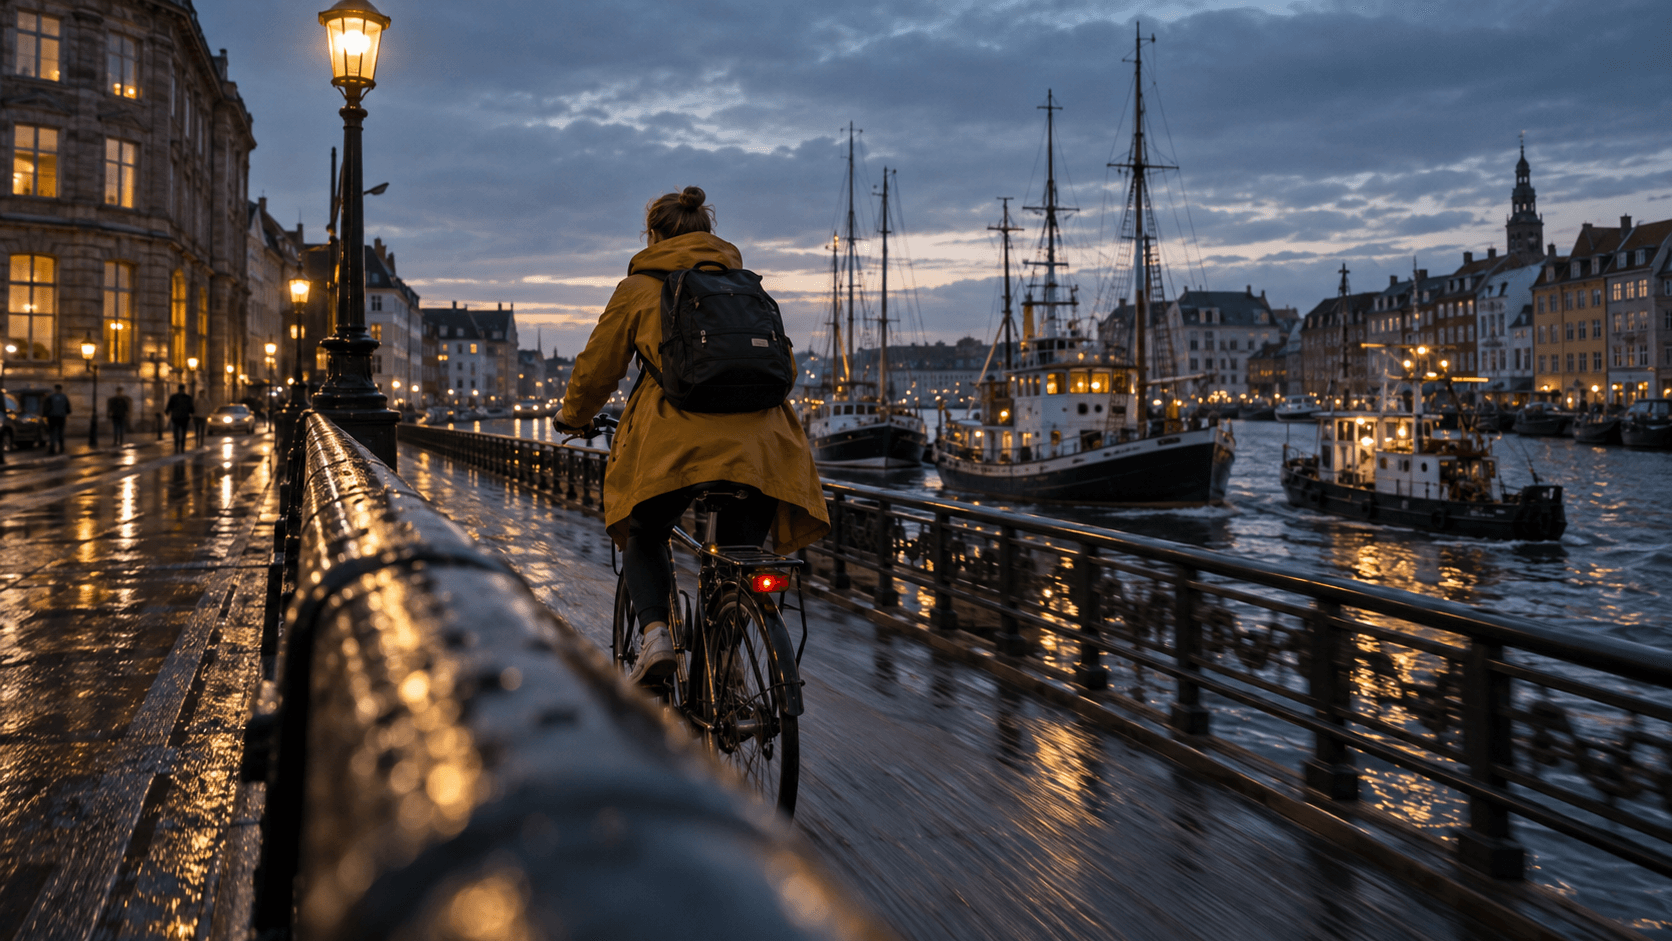
The harbor image above is an illustrative generated still, not a Higgsfield output. Its close railing, cyclist and distant boats make the intended parallax legible. A moving camera could travel beside the cyclist; a stationary zoom would change framing without the same foreground relationship. That distinction is more useful than merely typing “cinematic tracking shot.” For a broader platform-choice discussion, see our Higgsfield and Seedance comparison.
Use focal length and aperture for a specific viewing task
Think in visual outcomes, not a magic number. Wider framing preserves the workshop around a maker; longer portrait framing isolates her face. A detail insert needs an exact focus target or blur may hide the pottery rim. The three new stills below are illustrative compositions, not Higgsfield generations or a controlled lens test.
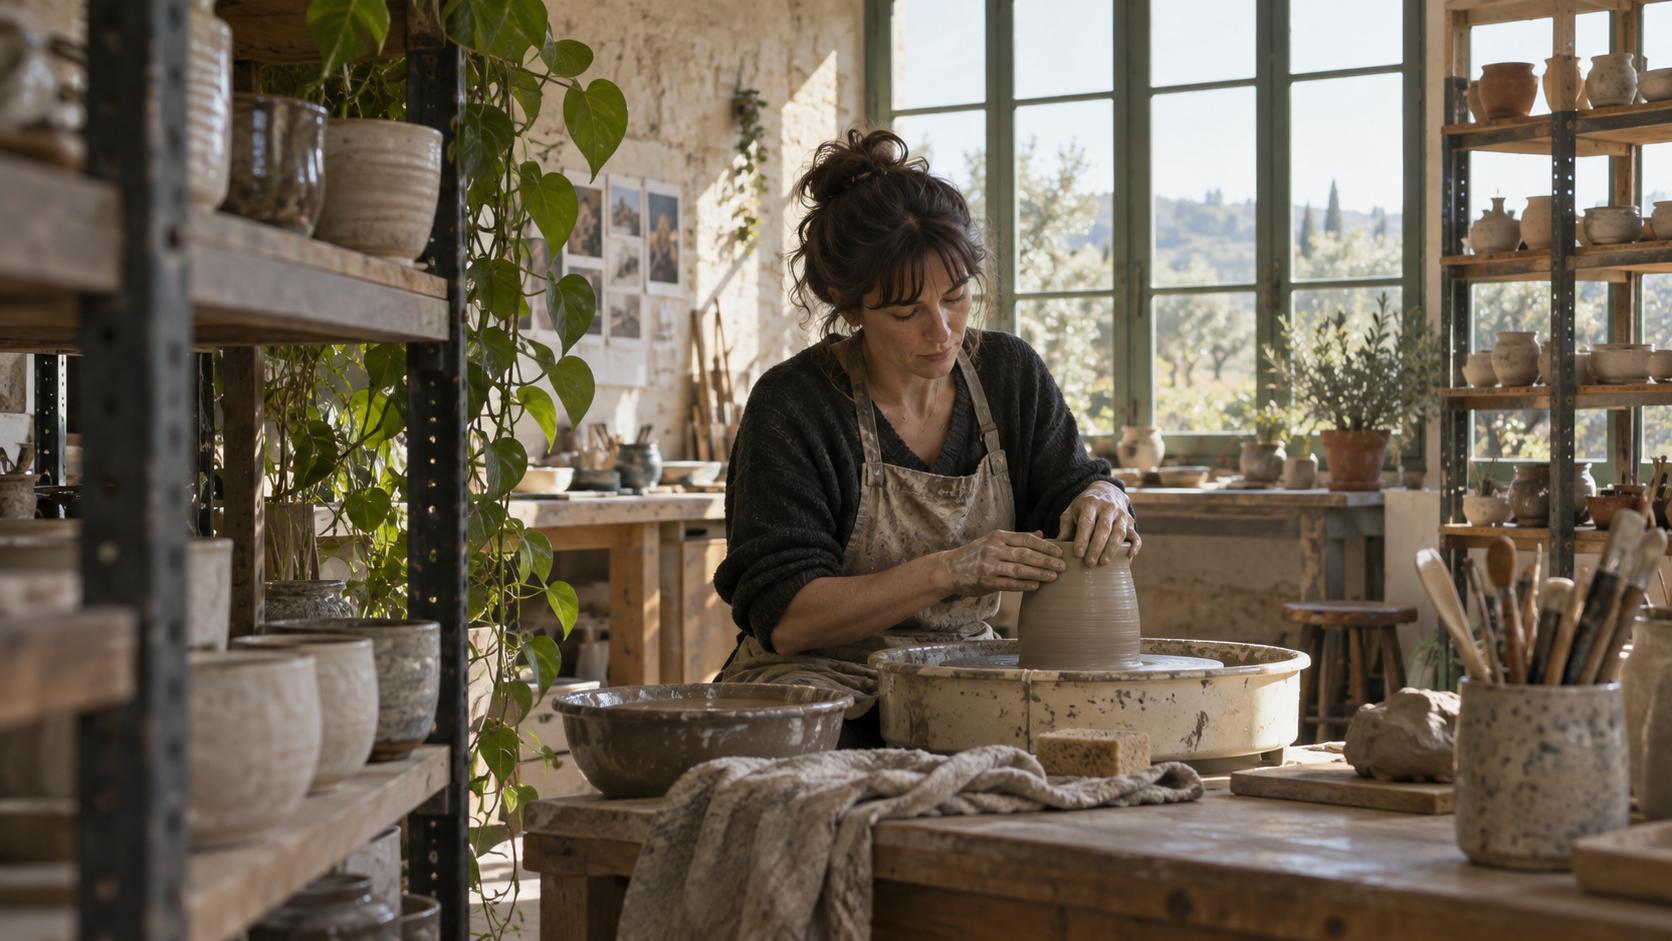
The wide view makes the artist's position and the workshop geography readable; use it when environment matters to the story.

A tighter portrait directs attention to expression and hands. Compare background separation without changing the person's identity.
A Copy-Ready Cinema Studio Shot Card
One short card prevents contradictory prompts. Save it before rendering and duplicate it for the next take:
Subject and set: [who or what], [one stable location], [one continuity anchor].
Opening frame: [wide/medium/close], [subject position], [focus target].
Optics: [available camera/lens choice], [focal-length intent], [depth-of-field intent].
Light and color: [one source direction], [one restrained palette].
Move: [one move], [direction and speed], [where it stops].
Final frame: [required object or face visibility], [safe crop].
Constraints: preserve [identity, geometry, background landmark]; avoid [unwanted move].
Fill the brackets with your shot details. Set available controls in the panel and put the remaining physical details in the prompt. Do not select “wide lens” in the interface and demand “tight telephoto” in the text. The same card can guide a Seedance camera-movement variation.
Example: a controlled product orbit
Suppose a ceramic vessel must appear to turn against a stable backdrop. Keep it stationary and arc the camera slowly from three-quarter view to profile, ending with rim and handle readable. Choose enough depth of field for sharp edges. Say camera arcs around the vessel, not the vessel spins; those instructions carry different geometry risks.
The following real moving Seedance output is included as a motion-inspection example, not a Higgsfield benchmark. Watch how the product silhouette and background relation change through an orbit; use the same inspection questions on your own Cinema Studio render.
Inspect the whole moving take for edge stability, not just its best-looking frame.
Example: hold a portrait without losing the room
For a maker at work, a gentle push can move from medium composition to portrait. Keep eye line and window direction stable. A shallow-focus look can support the face, but hands and object must remain readable if the story is about making. Use a separate detail insert when the rim matters.
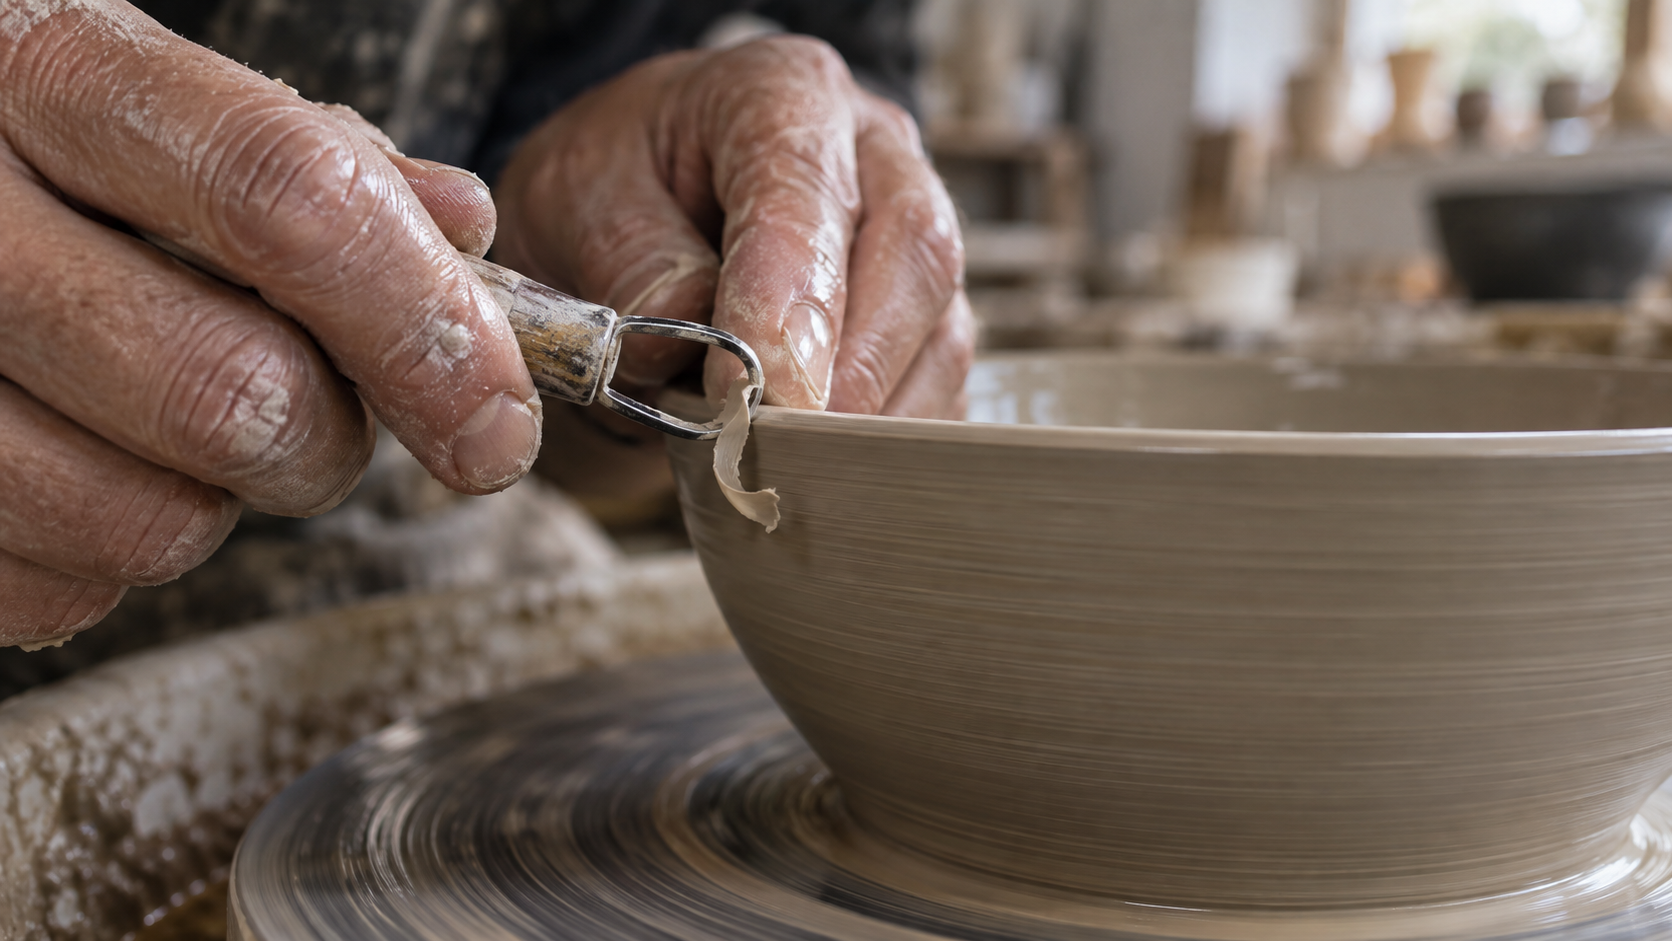
This illustrative insert has one clear focus plane: the contact point between tool and rim.
How to Choose Movement, Lens, Focus and Light
A controlled test changes one variable at a time. Start from a single reference and prompt. Render a static baseline. Change only the move, then only the focal-length intent, then only the focus-depth setting. If you change model, subject, palette and movement in one rerun, a better frame tells you almost nothing about the camera setting that caused it.
| Viewer job | Start with | Keep fixed | Reject the result when |
|---|---|---|---|
| Establish a place | Wider framing, deeper focus | Landmark and horizon | The space changes shape mid-shot |
| Isolate a character | Medium or longer portrait framing | Face, wardrobe and eye line | Focus breathes away from the face |
| Reveal a product | Slow arc or push | Product proportions and label | A zoom substitutes for camera travel |
| Show a tiny action | Close insert with one focus target | Tool-to-object contact | The important detail is hidden by blur |
This rubric does not guarantee a result. Higgsfield distinguishes movement style from the move written in the prompt; combine a clear path with available panel settings, then inspect the exported clip.
Movement path versus movement style
“Silent, precise movement” describes a behavior; “move left one meter while holding the actor centered” describes a path. Your shot needs both when the model supports them. A pan rotates a stationary camera. A lateral track changes the camera's position. A dolly advances through space. A zoom changes focal framing without physical travel. Use the vocabulary that matches the intended parallax, and name the final composition so the clip has a destination. For more move examples, our camera prompt library provides reusable phrasing.
Troubleshoot a Camera Setting That Looks Wrong
If a “dolly in” behaves like a zoom, simplify the prompt to one move and specify that foreground objects should shift relative to the background. If a product warps during an orbit, shorten the arc, keep the object farther from the frame edge and reduce competing subject motion. If the scene looks flat, restore a visible near, middle and far layer before trying a more dramatic lens. If focus wanders, name one focus target and choose a deeper setting where the panel allows it.
When the first frame is strong but the middle breaks, scrub the entire clip and record the defect's timestamp. “Handle elongates during the right-hand arc at second three” points to a shorter path or stronger reference; “looks weird” does not. Our image-to-video guide covers reference-frame preparation.
A four-pass acceptance check
- Opening: Is the subject, setting and initial focus target unambiguous?
- Motion: Does the camera move physically as requested, at a believable speed?
- Continuity: Do identity, geometry, light direction and set landmarks survive the move?
- Delivery: Is the final frame safe for the intended crop, caption or next cut?
Save the failed pass and its timestamp. Once a shot passes, stop changing its lens just because another preset sounds more cinematic.
When Seedance Agent Fits the Workflow
Cinema Studio serves creators who want its named camera controls. A multi-shot job adds coordination: characters and products must survive scene changes, references need shot assignments, and reviewers approve a sequence. Seedance Agent can take the shot card, source frames, path and acceptance notes into that broader workflow. Review the proposed sequence and rerun only the failing section.
This is not a claim that Seedance Agent reproduces every Higgsfield menu or optical preset. It is a workflow alternative for planning, generating and reviewing connected deliverables. If you are deciding whether that coordination layer is useful for your project, see the agent-versus-generator explanation. Keep the original camera-setting card either way: specific instructions remain valuable when the production route changes.
Conclusion
Choose Higgsfield Cinema Studio camera settings by the viewer's job, not by the most dramatic preset: fix framing and focus first, add one explicit camera path, preserve light and scene anchors, and review the entire moving clip against a saved shot card. Check which controls your selected model actually exposes, because version-specific menus change. When the project grows beyond one take, start a connected production with Seedance Agent using that same card as the approval brief.
Ready to try it yourself?
Put the steps from this guide into practice with Seedance and turn prompts or images into polished videos in minutes.
Free credits on signup. Plans from $20/month.
Related Articles
More posts in the same locale you may want to read next.

Seedance App Preview Video Generator 2026: Create App Store and Product Launch Clips
Use Seedance to turn app screenshots, feature copy, and launch goals into App Store previews, Google Play promo videos, and product launch clips.
Read article
HeyGen Translation Speed vs Precision: Which Mode Should You Use?
Choose HeyGen Speed, Precision or Audio Only for video translation using source-shot complexity, lip-sync risk, credits and a repeatable one-language review workflow.
Read article
ComfyUI Crowd Video Workflow: Control People, Motion, and Occlusion
Build a ComfyUI crowd video workflow that separates lead action from background motion, controls occlusion, protects faces, and produces reviewable group scenes.
Read article