
Seedance 2.5 Storyboard to Video: Turn Scene Panels Into AI Video Step by Step

AI Overview
Can Seedance 2.5 convert a storyboard to video?
Yes. Export each storyboard panel as an image, use it as the visual reference for one shot, and describe the motion you want. Generate the clips panel by panel, then assemble the accepted takes in storyboard order.
How do I keep characters consistent across storyboard scenes in Seedance 2.5?
Reuse the same clean character reference, repeat the same identity and wardrobe anchors, and avoid conflicting images. Keep those fixed details unchanged while varying only the shot framing, action, and camera direction.
What is the best workflow for storyboard to video in Seedance 2.5?
Export one image per panel, name the shots in order, animate each panel with a focused motion prompt, test short variants, review continuity, and stitch the strongest clips. Add timestamps only when a shot needs multiple timed beats.
Is Seedance 2.5 storyboard to video free?
You can use available signup or account credits to test the workflow, but each generation consumes credits based on the current model settings. Check the displayed cost before generating and validate the hardest panel before spending on the full sequence.
What Storyboard to Video Means in Seedance 2.5
Storyboard to video in Seedance 2.5 is a panel-by-panel production workflow, not a one-click command that imports a complete board and returns an edited film. Each panel becomes the visual starting point for one generated shot. Your prompt supplies movement, camera behavior, sound, and the ending state; an editor supplies the final order and timing.
This distinction sets the right expectation. A six-panel board normally becomes six separate generation jobs, although a simple panel can be omitted or held as a still. Working shot by shot gives you better control over retries, character drift, and pacing than asking one prompt to invent the entire sequence.
Use the board to decide composition and edit logic before generation. If you still need to design the shot order, read the Seedance 2.0 storyboard planning guide first; this guide begins where that planning work ends.
A continuous generated shot shows why each storyboard panel needs a clear action, camera direction, and ending state before assembly.
How to Prepare Your Storyboard Panels for Seedance 2.5
Prepare each panel as a generation-ready image rather than a page full of production notes.
| Check | Recommended preparation | Why it matters |
|---|---|---|
| One shot per file | Crop and export every panel separately | Small cells in a full grid give the model less visual detail |
| Stable aspect ratio | Use the same ratio for every connected shot | Prevents framing changes during assembly |
| Clean image | Remove arrows, captions, shot numbers, and editor notes | Avoids accidental text or graphic artifacts |
| Clear subject | Keep the face, product, or key action large enough to read | Gives motion a strong visual anchor |
| Consistent color | Match wardrobe, location, lighting, and palette | Reduces visible jumps between clips |
| Ordered names | Use shot-01, shot-02, and so on |
Keeps generated files aligned with the board |
JPG, PNG, and WEBP panels work well. Export a clean image at a useful working size, keep important details away from the edges, and preserve open space in the direction a character or camera needs to move. If a panel contains two moments, split it into two files before generation.
Create a small continuity sheet beside the board: character anchors, wardrobe, props, location cues, lighting direction, aspect ratio, and the intended last state of every shot. That sheet is the source of truth when prompts begin to drift.
Step-by-Step: Convert Each Panel to a Video Clip
- Choose the first panel. Start with the most difficult or identity-critical shot, not automatically panel one. A successful hard shot proves the visual direction before you spend credits on the full sequence.
- Upload the panel. Use Reference to Video when you need a character, product, style, or motion asset in addition to the panel. For a single opening frame, Image to Video is the simpler route.
- Write a motion-only prompt. The panel already defines appearance and composition. Describe what moves, how the camera observes it, what stays fixed, and where the shot should end.
- Set a short test duration. Give one visible action enough time to complete. Avoid squeezing a full scene change, performance, and complex camera path into the same brief.
- Generate controlled variants. When budget allows, test two variations that change only one factor, such as camera speed or gesture size.
- Review the full clip. Check the first, middle, and last frames; face and hands; product geometry; background; camera direction; audio; and whether the final pose connects to the next panel.
- Save the approved take. Rename it with the original shot number and record the prompt. Repeat the same process for the next panel.
Image 1 is the exact storyboard panel for shot 03. Preserve the same character,
face, copper bob haircut, navy coat, rainy station, and blue night lighting.
The character looks toward the arriving train while the camera makes a slow
dolly-in. One continuous shot, natural coat and hair motion, no new people,
no wardrobe change, no text. End on a steady medium close-up.
The prompt adds action without redesigning the frame. That is the core skill in a reliable storyboard to video AI workflow.
Keeping Characters Consistent Across Every Scene
Character consistency comes from a repeated identity system, not from changing the character description to fit each panel. Select one clean hero reference with a readable face and wardrobe. Reuse it for every character-led shot, then repeat a compact anchor block verbatim.
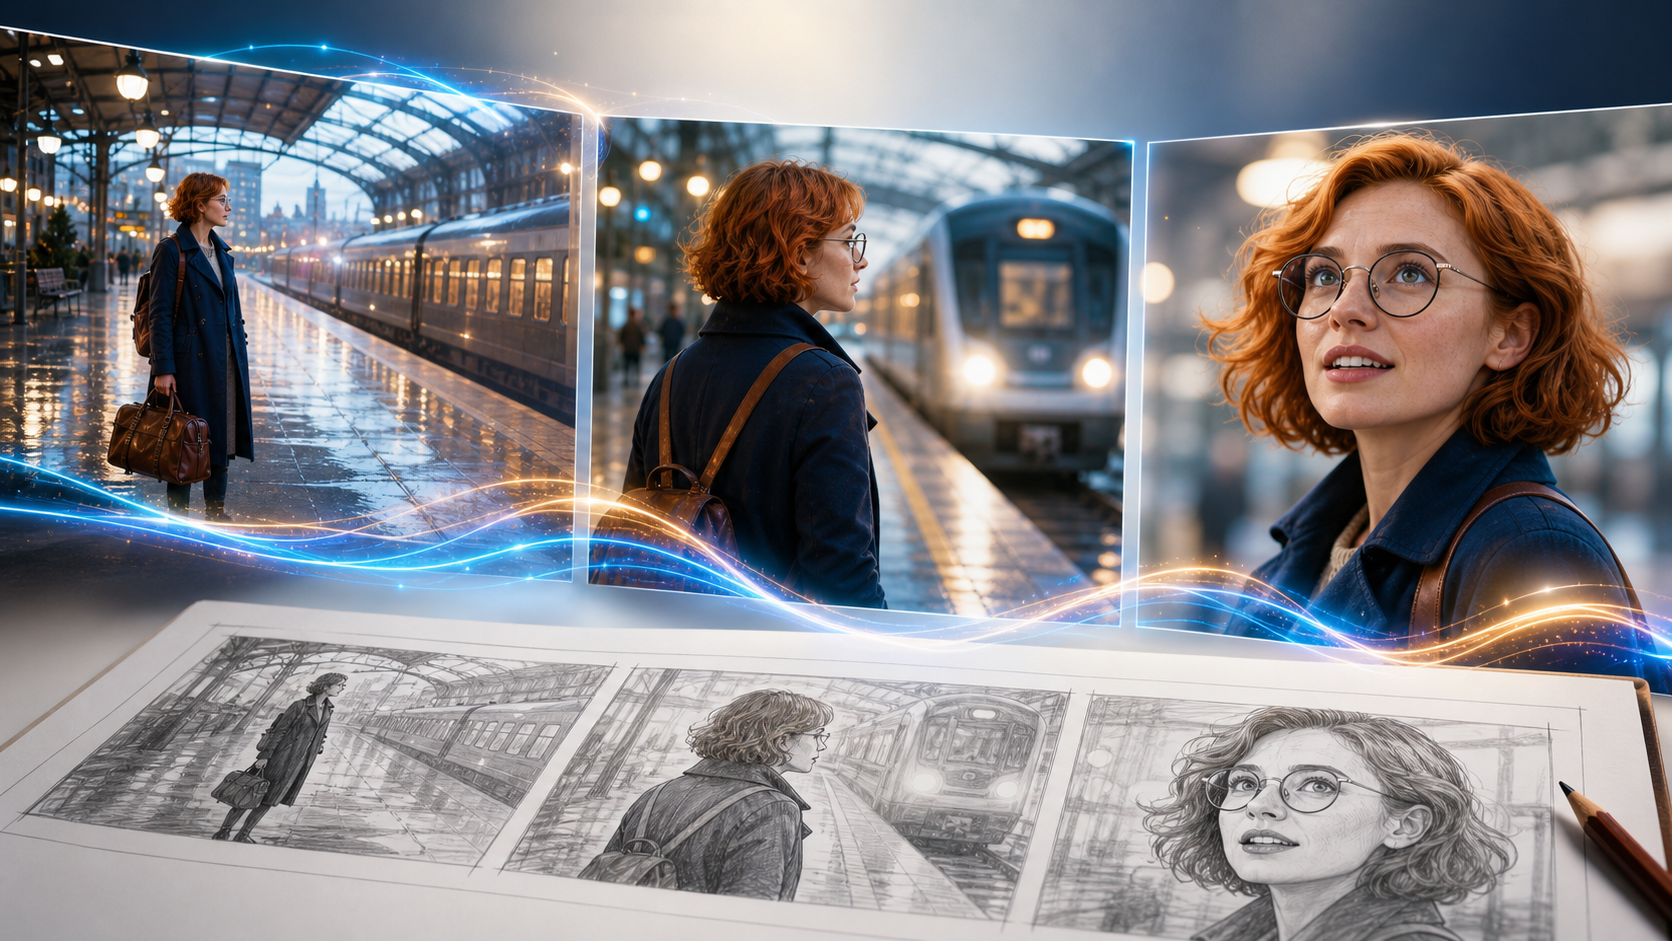
A stable face, wardrobe, palette, and lighting treatment make separate generated shots feel like one sequence.
Use five to seven visible anchors: approximate age, face shape, hair, one wardrobe item, one accessory, body build, and color palette. Add stable screen language such as “same character,” “same navy coat,” and “same cool station lighting.” Change only the shot-specific action, framing, and camera move.
For adjacent clips, design a handoff: shot 02 ends with the character looking right; shot 03 begins with the same gaze direction and similar screen position. If an approved clip has a strong final frame, use that frame as the next shot's visual anchor when the workflow allows it.
Avoid three common causes of drift: low-detail references, several conflicting versions of the same face, and prompts that silently change age, wardrobe, weather, lens style, or time of day. If identity still shifts, simplify the motion before adding more descriptive text.
Using Timestamp Prompts for Multi-Scene Control
Use timestamps inside one generated clip when a panel contains two or three ordered beats. They direct pacing; they do not replace separate panels or a frame-accurate editor. Begin at zero, keep the markers chronological, and assign one primary action or camera instruction to each beat.
Overall: same woman, navy coat, rainy station, cool blue lighting.
[0s] She holds still and hears the train, locked medium shot.
[2s] She turns her eyes and head to frame right, camera begins a slow dolly-in.
[4s] The train light crosses her face; she settles into a steady close-up.
Keep identity, wardrobe, background, and light direction consistent.
Leave enough time for each action to land. For a five-second shot, three markers are usually more useful than five crowded one-second commands. If a beat disappears, remove secondary gestures or split the panel into two clips. The Seedance 2.5 timestamp prompt guide includes syntax, templates, and troubleshooting patterns.
Stitching Clips into a Full Video — Tools and Tips
Import the approved clips into any timeline editor in shot-number order. Free desktop editors such as CapCut, DaVinci Resolve, or iMovie are sufficient for straight cuts, audio, and basic color matching; no special AI assembly tool is required.
Set the project ratio and frame rate once, then match every clip to that sequence. Trim weak opening or closing frames, cut on a completed action, and keep transitions simple. A hard cut is usually cleaner than a decorative dissolve when two shots already share motion or gaze direction.
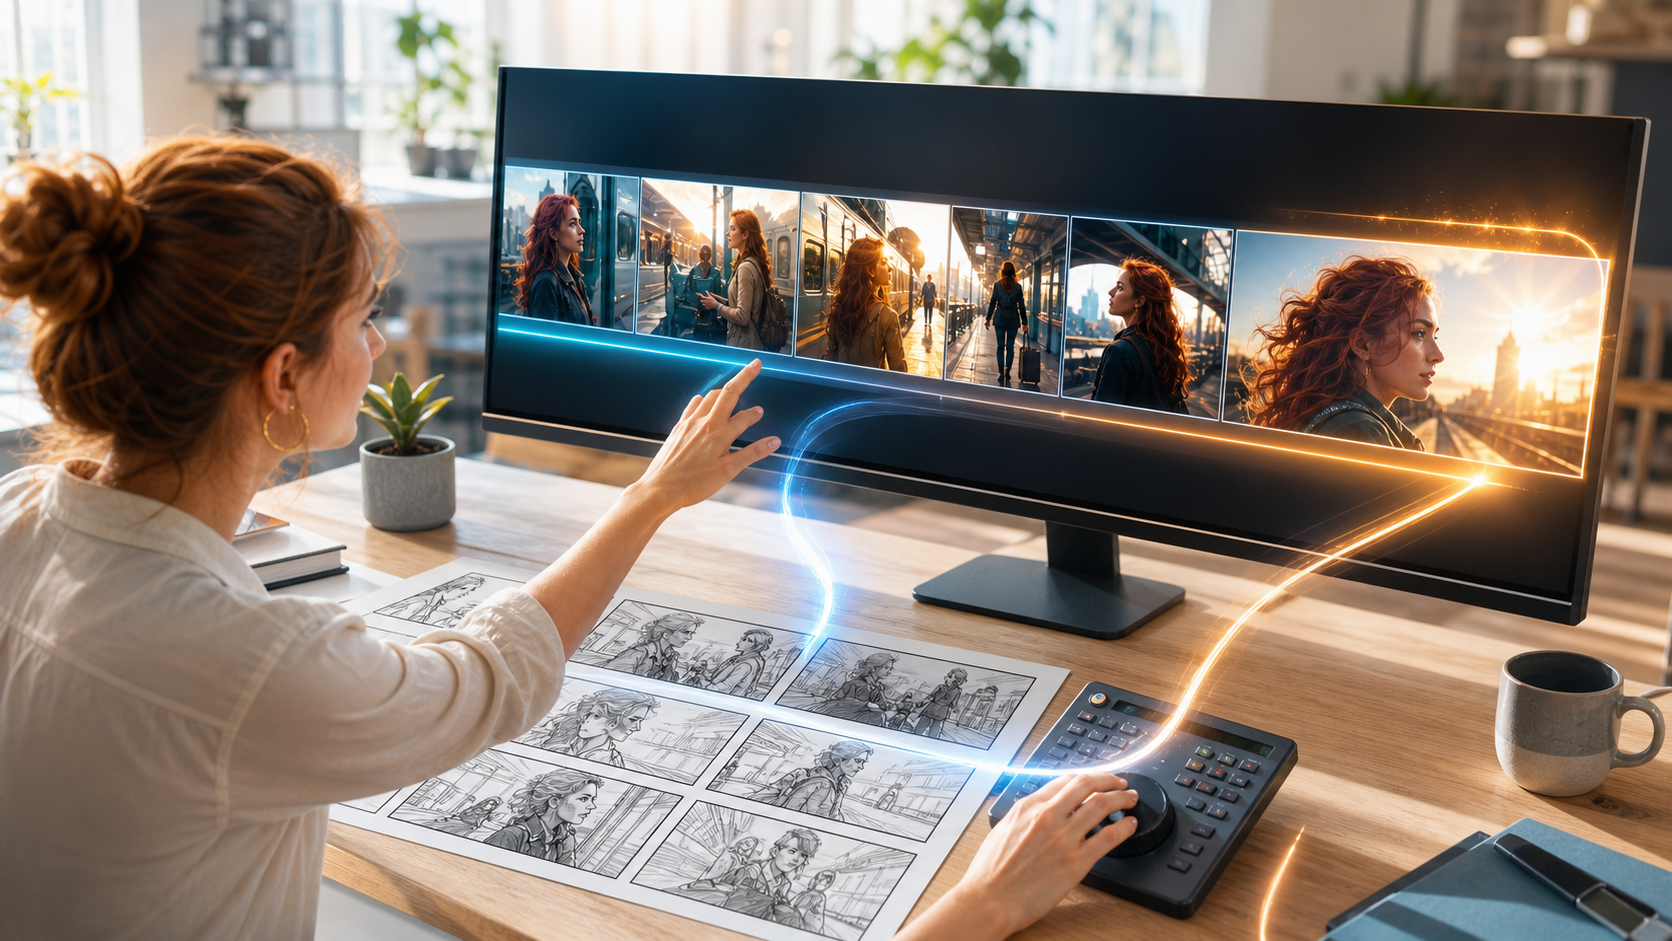
Connecting each storyboard panel to one approved timeline clip makes missing beats and continuity jumps easier to spot before export.
Use the storyboard as a checklist while assembling:
- Confirm that every shot advances the intended story beat.
- Match brightness, white balance, contrast, and audio level between clips.
- Remove duplicate movement at the end of one shot and start of the next.
- Add exact titles, logos, subtitles, and calls to action in the editor rather than asking the generator to render critical text.
- Watch the exported video once with sound and once muted to catch both audio jumps and visual continuity errors.
For a marketing sequence, the script-to-video workflow helps map narration and message beats to the finished timeline without changing the panel animation process described here.
Free Plan Storyboard Workflow — How to Do More With Fewer Credits
Treat free or limited credits as a validation budget. Before generating, mark every panel as essential, reusable, or optional. Generate an essential shot first, because it tests the character, style, and hardest motion. Once that works, reuse its exact anchor block and settings.
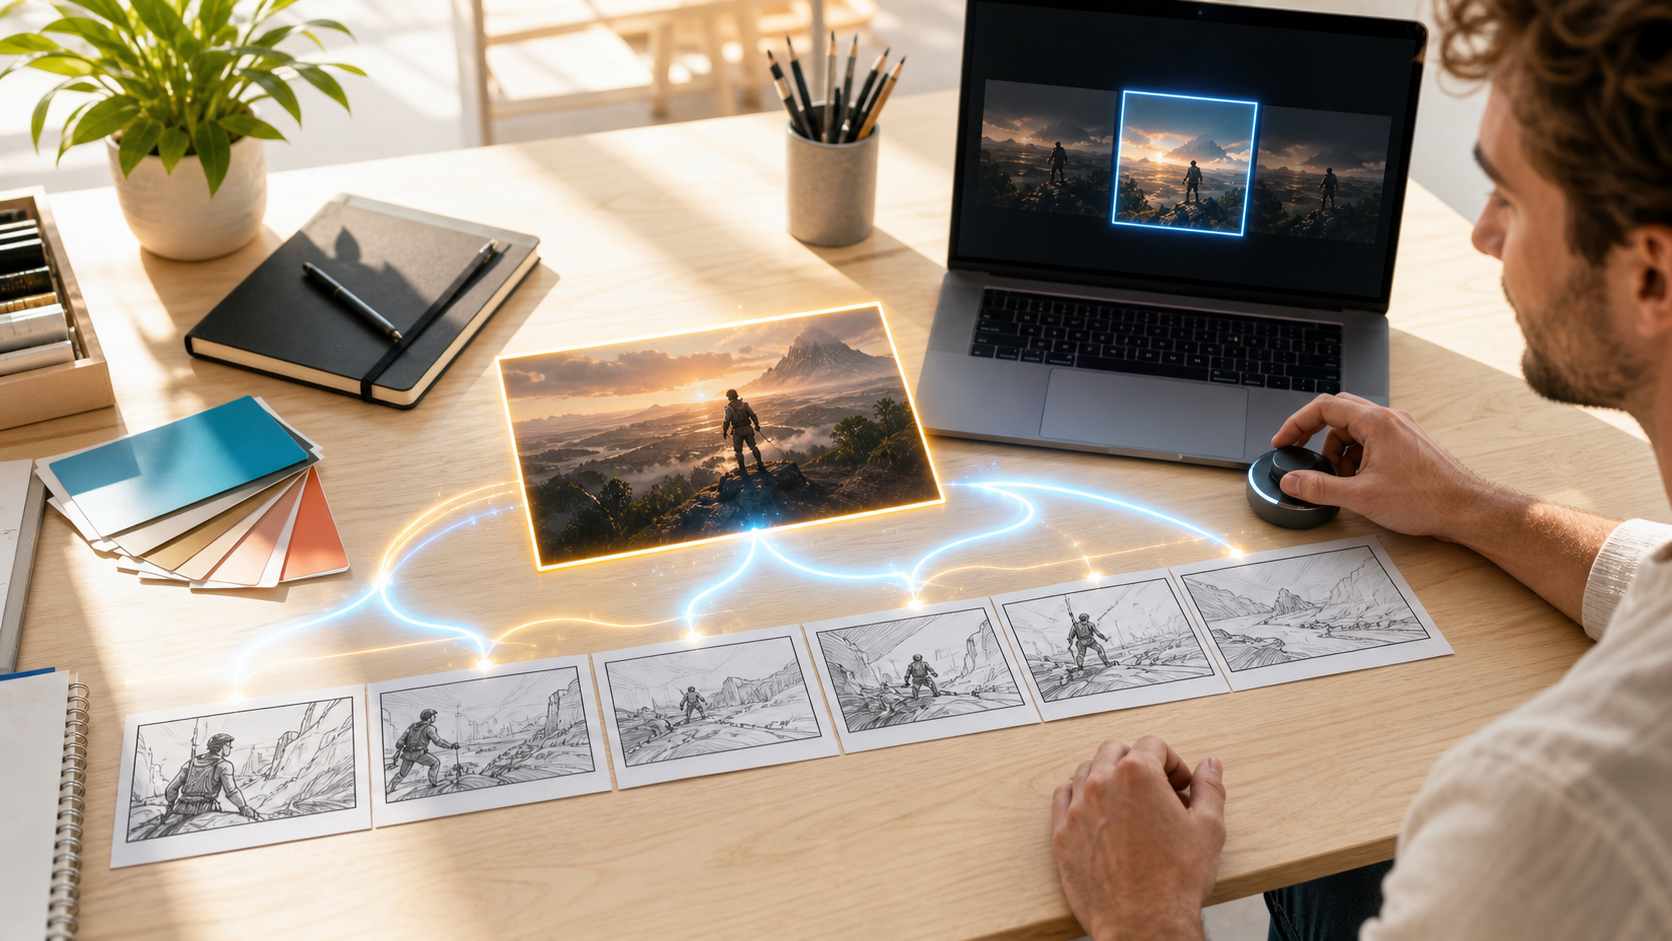
Validate the hardest panel and one controlled variant first, then carry the approved visual system into the remaining shots.
Use these credit-saving rules:
- Test with the shortest duration that can prove the action.
- Generate the hardest and most reusable panels first.
- Keep establishing shots simple; a subtle push or held frame may be enough.
- Change one prompt variable per retry so each result teaches you something.
- Reuse an approved still or loop when a new generation adds no story value.
- Check the cost shown in the generator before every batch; model, duration, references, and current account allocation can change the total.
Do not spend the remaining budget trying to repair a fundamentally weak panel with adjectives. Return to the source image, strengthen composition or identity, and test again only after the visual anchor is clearer.
Conclusion
The most reliable Seedance 2.5 storyboard to video workflow is simple: prepare one clean image per panel, animate one focused shot at a time, lock character anchors, use timestamps only for ordered beats, and assemble the approved clips in an editor. Start with the hardest panel, learn from one controlled test, and scale only after the sequence holds together.
Ready to try it yourself?
Put the steps from this guide into practice with Seedance and turn prompts or images into polished videos in minutes.
Free credits on signup. Plans from $28/month.
Related Articles
More posts in the same locale you may want to read next.

Seedance App Preview Video Generator 2026: Create App Store and Product Launch Clips
Use Seedance to turn app screenshots, feature copy, and launch goals into App Store previews, Google Play promo videos, and product launch clips.
Read article
Gemini AI Video Prompt Examples: Copy-Ready Veo Scenes and a Better Prompt Formula
Copy Gemini AI video prompt examples for cinematic motion, product ads, dialogue, and vertical clips, then adapt them with a practical Veo prompt formula.
Read article
How to Keep Product Shape Consistent in AI Video Ads
Lock product geometry, packaging, labels, references, camera angles, and approval checks so AI video ads preserve the real SKU across every shot.
Read article