
AI Overview
What are the best Magnific AI video upscaler settings?
Start with 2K, low creativity, restrained sharpening, and Natural flavor when fidelity matters. Change one control at a time, because the best settings depend on whether the source contains faces, products, stylized art, fast motion, or compressed footage.
How should I set Magnific video upscaler creativity?
Use zero or a low value when the original identity and geometry must remain exact. Raise creativity gradually only when an AI-generated clip needs plausible new texture, and stop as soon as skin, text, objects, or backgrounds begin to change.
Should I enable FPS Boost in Magnific?
Enable it when the source visibly judders or the delivery requires smoother motion, not as a default quality switch. It creates more frames, can increase processing cost, and should be checked for warped limbs, duplicated objects, or unstable reflections.
What is the difference between Magnific Precision and creative upscaling?
Precision is the safer route for recovering and enlarging detail without intentionally inventing content. The creative upscaler can synthesize texture, so it suits stylized or AI-generated footage only after identity, geometry, and motion already pass review.
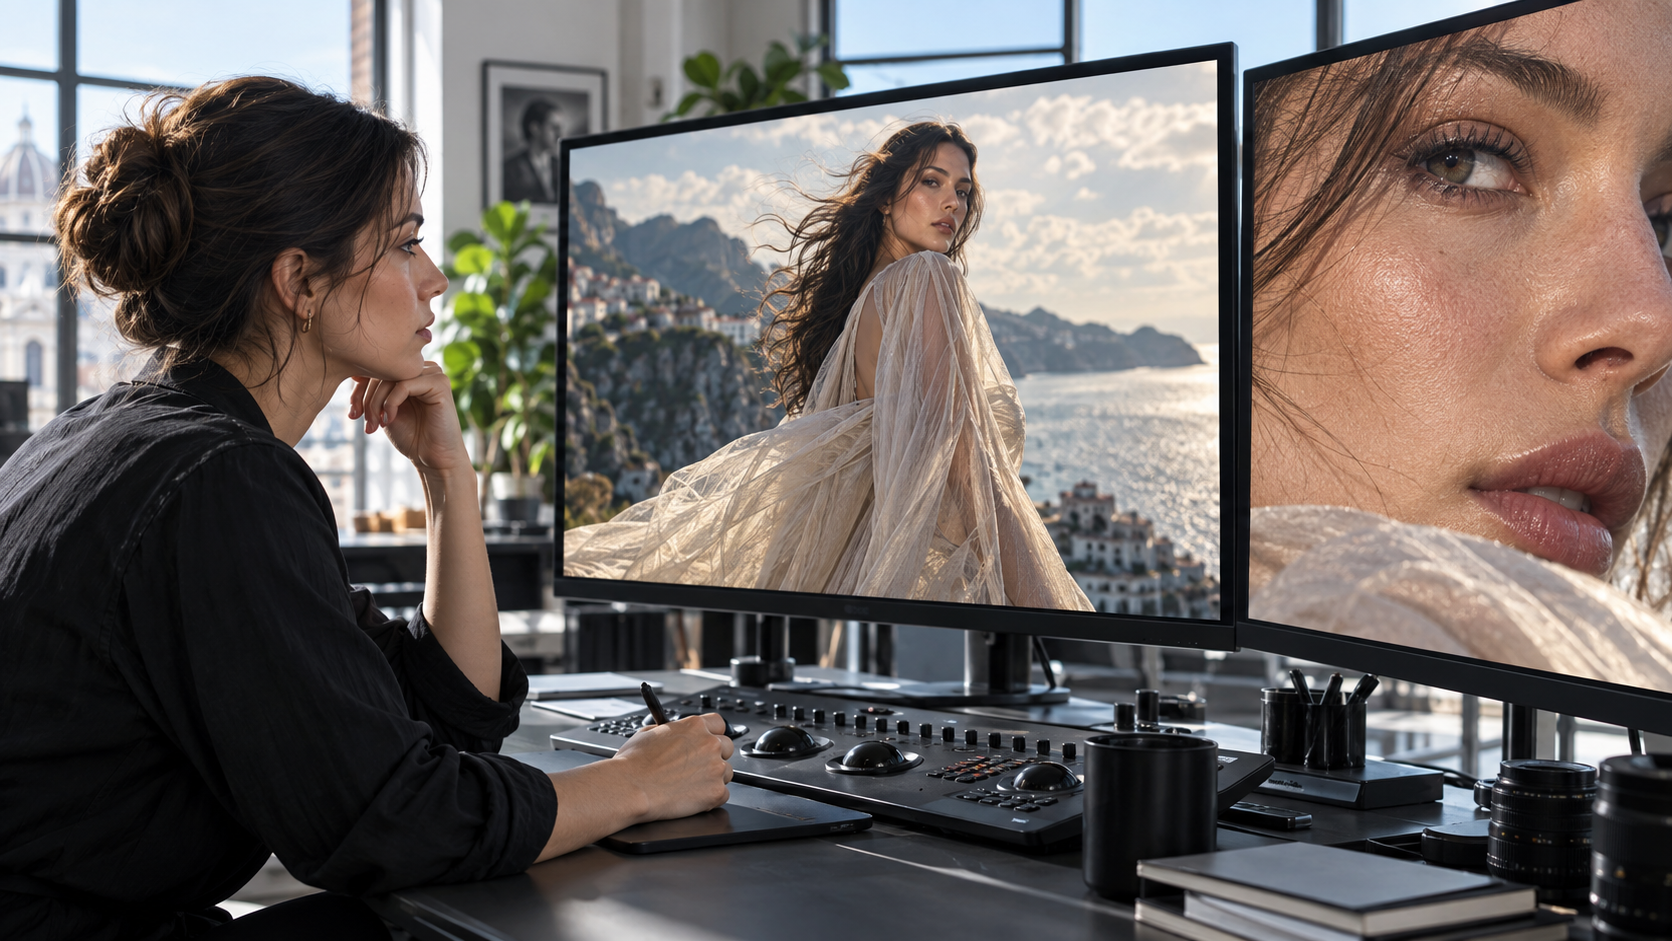
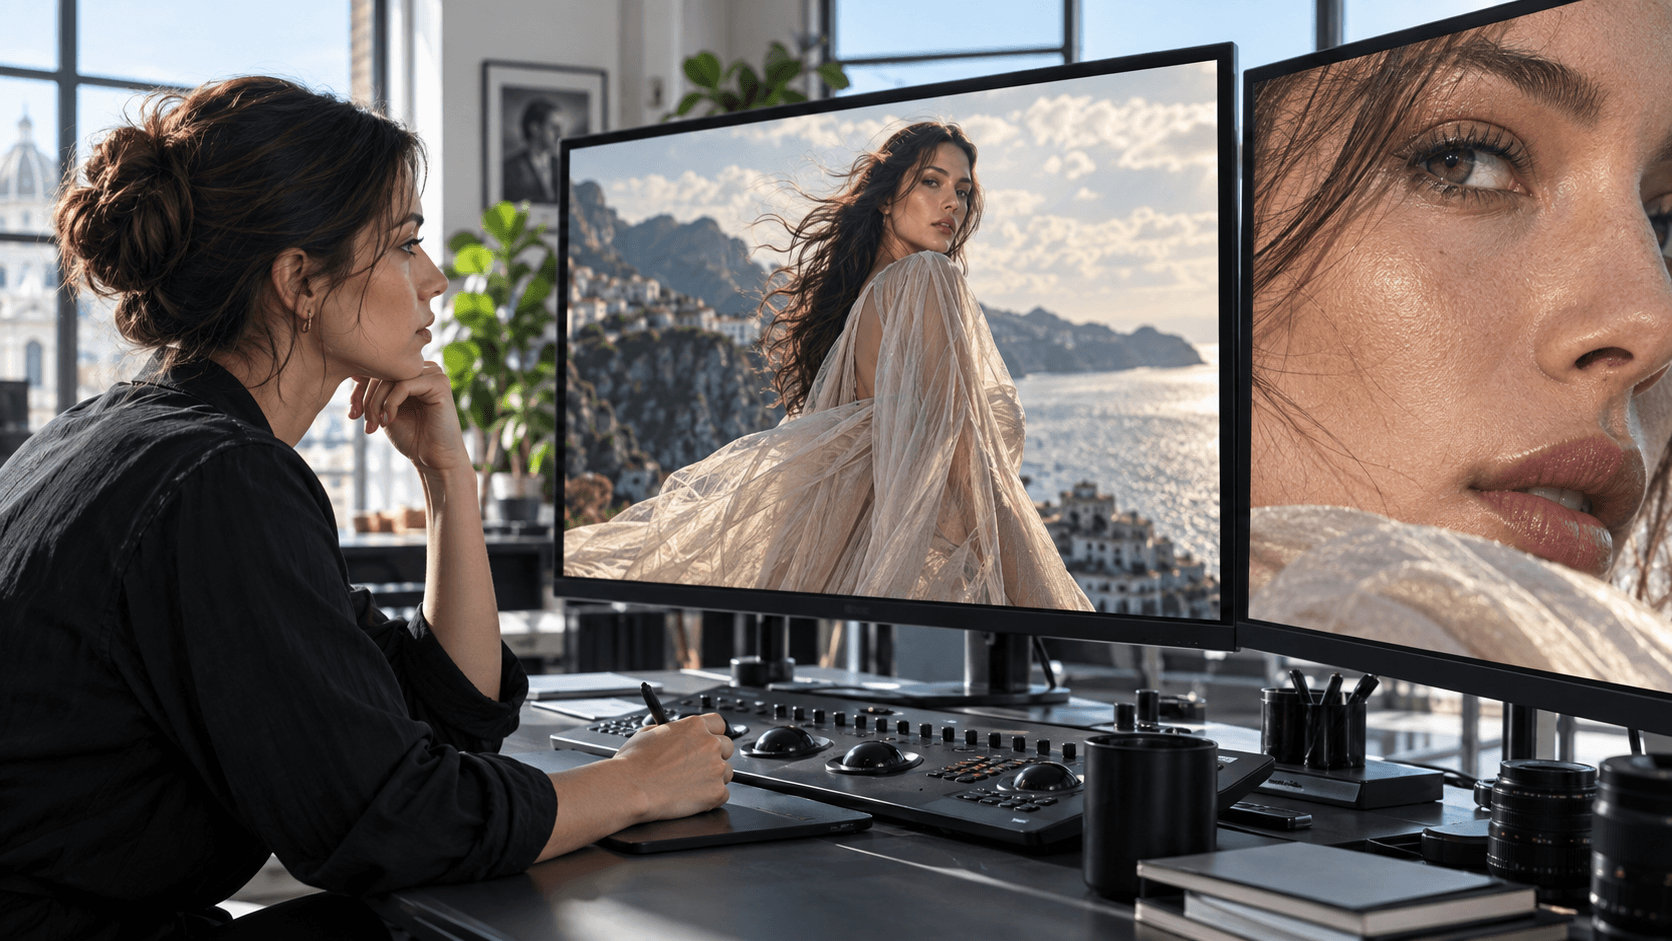
Choose settings by the defect you can see in the finished clip, not by pushing every control upward.
Start With the Source, Not the Slider
People searching for Magnific AI video upscaler settings usually want to make a small clip delivery-ready, recover soft AI-generated detail, or smooth motion. A useful answer starts with diagnosis: an upscaler can reconstruct texture, but it cannot reliably repair a broken face, inconsistent prop, incorrect camera move, or missing action.
Watch the full source at normal speed, then inspect representative frames at 100%. Is it merely low resolution or heavily compressed? Is the face stable in close-up but damaged in wide shots? Do product edges stay straight? Is motion already smooth? These observations decide between controlled enhancement, creative reconstruction, interpolation, or no upscaling.
Use this source gate:
| Check | Keep and upscale when | Regenerate or re-edit when |
|---|---|---|
| Subject | Identity and anatomy remain stable | Face, hands, clothing, or logos drift |
| Motion | Action and camera path are coherent | Limbs warp or objects teleport |
| Geometry | Product and architecture keep their shape | Edges bend or proportions change |
| Compression | Artifacts are light and localized | Blocks, ringing, or banding dominate |
| Audio | Timing is already correct | Dialogue or sound cues are misaligned |
Upscaling is a finishing step, not a second generation brief. If the source fails the left side of this table, return to the prompt, reference, or edit. The local versus cloud AI video generator guide can help when the larger question is where generation and post-processing should run.

For portraits, inspect identity and skin texture at every distance; sharpness alone is not a pass.
Choose Precision or Creative Upscaling
The first major decision is not resolution. It is whether the job allows invented detail. Magnific's Precision route is designed for controlled recovery without adding creative content. That makes it the safer starting point for documentary material, interviews, archival clips, product footage, branded objects, and any shot where factual or geometric fidelity matters.
The creative video upscaler suits synthetic or stylized footage that needs plausible texture. Creativity runs from 0 to 100: zero aims for faithful enlargement, while higher values allow more synthesis. Begin low, preview, and increase gradually. Treat the control as permission to reinterpret pixels, not a quality percentage.
Flavor sets the visual tendency. Natural is the safer default for people, documentary footage, real products, and understated color. Vivid can work for advertising, animation, or deliberately heightened AI visuals, but compare saturation, highlight detail, skin tone, and brand color against the source. A more dramatic frame is not necessarily a more accurate one.
Sharper Pro is positioned for fast fixes and stylized material with fewer controls; Topaz targets professional corrections and real-world footage. Choose the least interpretive route that solves the visible defect, then test before processing the whole clip.
Magnific AI Video Upscaler Settings by Footage Type
Use the matrix below as a conservative starting plan, not a guaranteed preset. Keep a clean copy of the source and test a short representative segment or single-frame preview first.
| Footage | Route and flavor | Creativity | Sharpen / smart grain | FPS Boost |
|---|---|---|---|---|
| Interview or portrait | Precision, or creative with Natural | 0 to low | Low sharpen; grain only if texture was intentional | Off unless motion visibly judders |
| AI product advertisement | Creative, Natural or Vivid by brand look | Low to medium after geometry passes | Low sharpen; minimal grain for clean packaging | Test only on moving products/camera |
| Stylized animation or 3D | Creative or Sharper Pro | Low to medium | Moderate, judged on lines and texture | Useful only when cadence needs smoothing |
| Archive or documentary | Precision or Topaz, Natural | Avoid invention | Restrained sharpen; grain may preserve character | Off unless conversion requires it |
| Noisy night action | Precision first, Natural | Low | Avoid aggressive sharpen; compare grain carefully | Test for duplicate edges and wheel/limb artifacts |
Sharpen ranges from 0 to 100, but high values can create halos, brittle hair, shimmering fabric, and unstable edges across frames. Increase it only after checking whether the perceived softness comes from resolution rather than focus or motion blur. Smart grain also ranges from 0 to 100. It can restore a filmic texture that survives enlargement, yet too much grain may mask real detail and increase compression pressure on export.
The product sequence below is a generated inspection asset, not a claimed Magnific benchmark. It shows what a reviewer should compare: the watch case, dial layout, hand positions, leather stitching, reflections, and small geometry must stay coherent as framing becomes tighter.
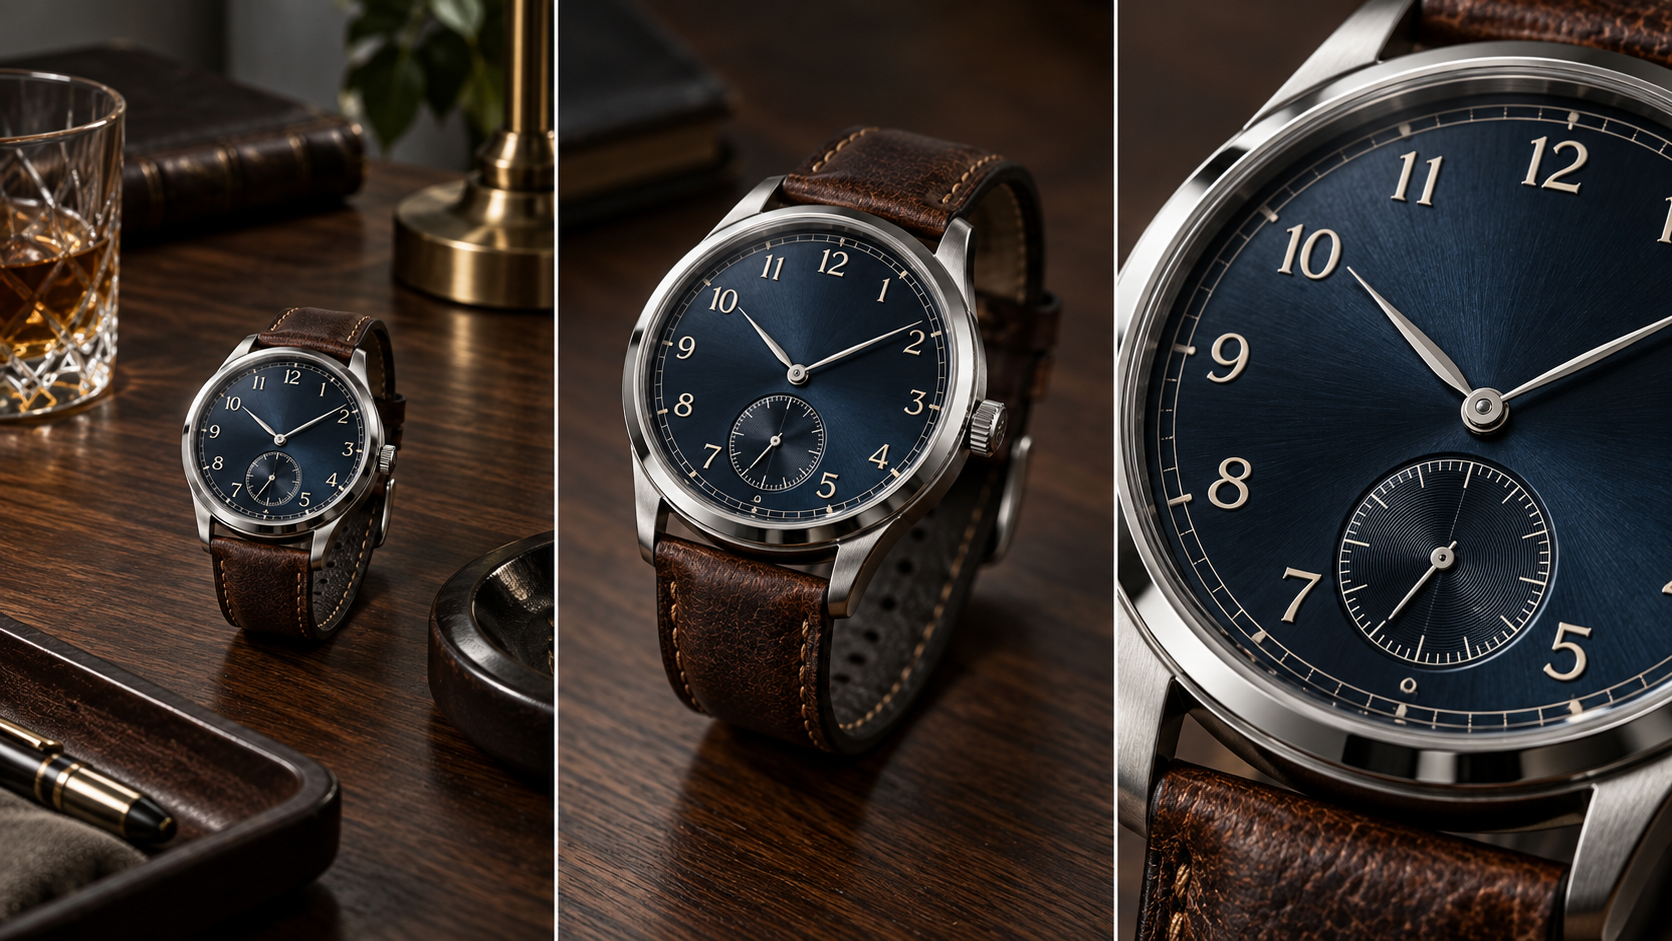
Product footage should preserve structure first; extra texture is useful only after the object still looks like the approved source.
For AI-generated inputs, the Seedance versus Magnific guide separates generation decisions from enhancement decisions so the two stages are not confused.
Resolution, FPS Boost, and Processing Mode
Magnific supports output targets through 4K, with 2K a practical balance for many jobs. A phone-first social crop may not benefit from a 4K master, while a large display, post-production crop, or premium product deliverable may. More pixels do not guarantee more trustworthy detail.
FPS Boost is an interpolation decision. Turn it on when the source cadence looks visibly rough or the destination requires a higher frame rate. It increases the total frame count and therefore can affect price. Review moving fingers, spokes, hair, water, reflections, and crossing objects frame by frame. These regions reveal interpolation errors long before a static face does. The best frame rate for AI video guide explains how delivery cadence and creative motion should be separated.
This Seedance library motion sample is useful for checking whether steam, liquid highlights, and small surface texture remain temporally stable after enhancement.
Standard mode offers the complete controls. Turbo prioritizes turnaround, making it useful for previews after a starting recipe is validated. Reserve slower or premium processing for approved settings and final candidates instead of rendering every experiment at maximum output.
Remember that the upscaler does not change clip length. If the shot is too long, too short, or poorly paced, make that editorial decision before upscaling. For simple trims, reframing, and delivery fixes, see how to edit Seedance videos with OpenShot.
Run a One-Variable Test
The fastest path to a reliable setting is a controlled A/B ladder. Select one difficult but representative segment: a face turning, a product crossing a highlight, fine fabric in motion, smoke against a dark background, or a cyclist passing wet reflections. Keep the source, resolution, flavor, and processing mode fixed while changing one control.
Use this five-run protocol:
- Make a baseline at 2K with creativity 0, sharpen 0, smart grain 0, and FPS Boost off.
- Change only the route or flavor if the baseline looks too synthetic or too conservative.
- Increase creativity in a small step only if missing texture is the actual failure.
- Add modest sharpening only if edges remain soft without halos or shimmer.
- Test FPS Boost separately, then compare motion at normal speed and frame by frame.
Name outputs with the variable and value. Score subject identity, geometry, texture, temporal stability, and delivery fit. Stop raising a control when a new artifact appears, even if one frame looks sharper. The winner is the lowest-change version that solves the problem across the complete clip.
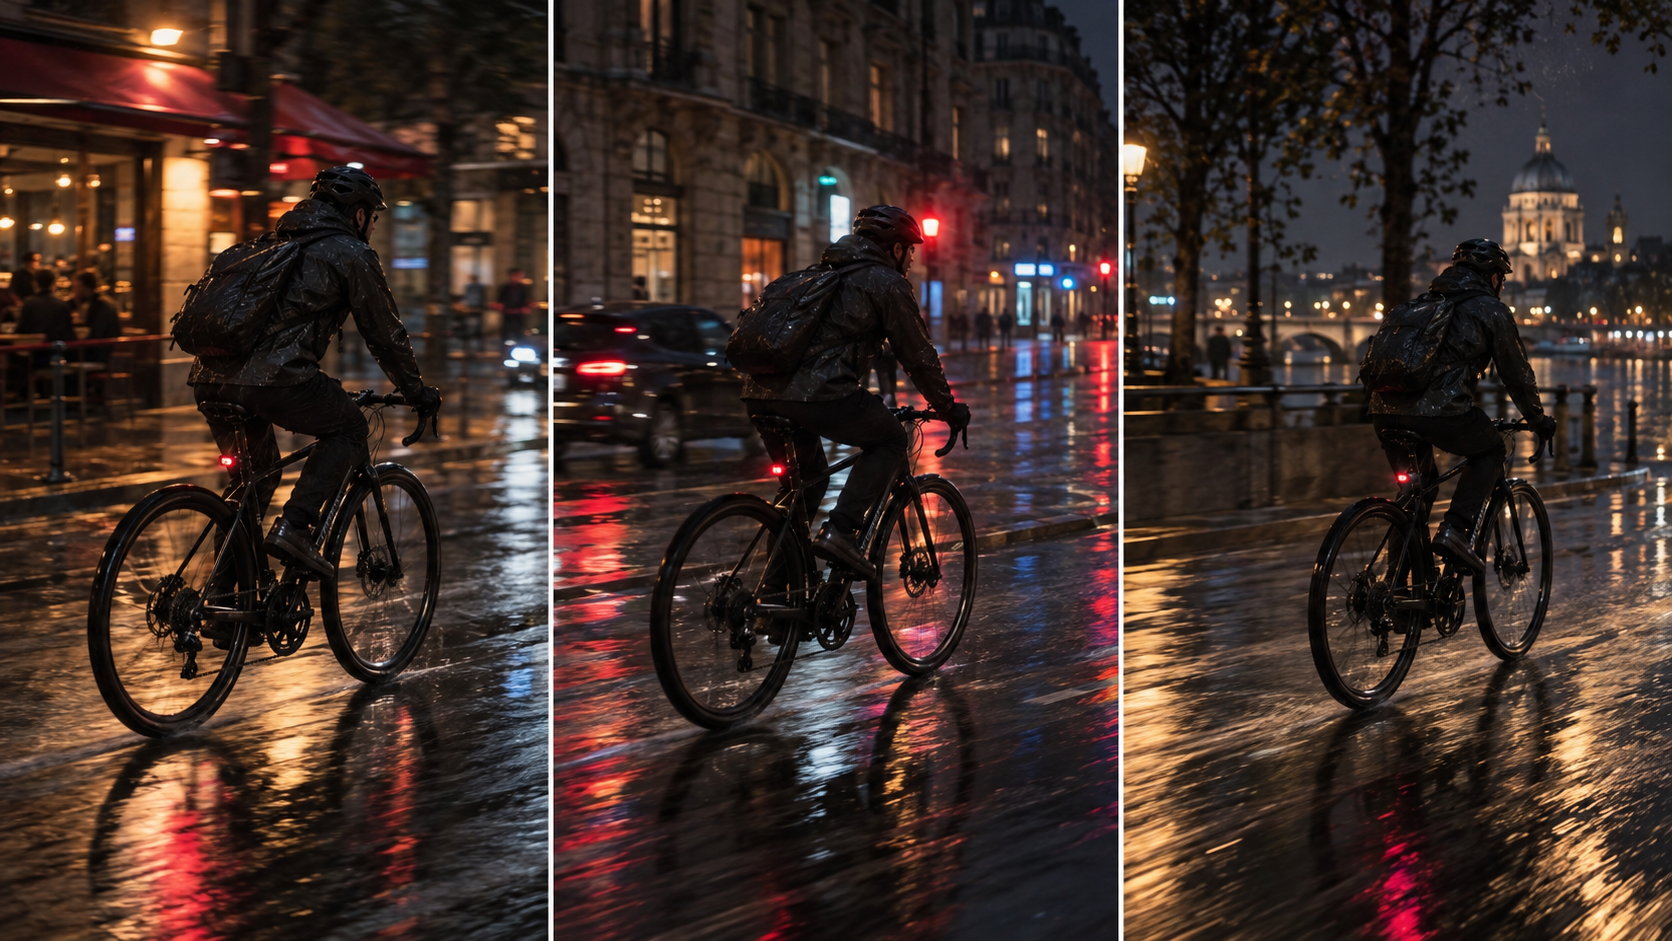
Motion review should track the bicycle, rider, wheel edges, rain, and reflections across time—not reward the sharpest single frame.
Use this distinct Seedance library clip to inspect whether an upscaler keeps product silhouette, reflections, and camera motion coherent through the full orbit.
Where Seedance Agent Fits Before and After Upscaling
Seedance Agent belongs around the upscaler, not inside a claim that enhancement can rescue every shot. Before generation, give the Agent the delivery size, aspect ratio, camera action, references, identity anchors, and continuity rules. It can turn those requirements into a shot plan, generate candidates, preserve the approved prompt and source media, and rerun only the broken part. That produces a cleaner master before any upscaling cost is incurred.
After the source passes, reuse the same production brief as the enhancement acceptance sheet. The Agent can keep the original and variants together, label the one-variable tests, and compare face, product, environment, motion, audio, and crop against the approved intent. It should not decide that a more detailed output is automatically better. The final approval remains tied to the deliverable.
Users with a damaged clip may need a better generation route; users with an approved clip need disciplined finishing. Connecting those jobs gives each visitor a relevant next step. The image-to-video workspace is the direct starting point when a still reference needs motion before enhancement.
Conclusion
The best Magnific AI video upscaler settings are the smallest controlled changes that solve a diagnosed defect: use Precision or zero-to-low creativity for fidelity, reserve creative reconstruction for synthetic texture, start around the delivery resolution you actually need, sharpen cautiously, retain grain only when it serves the source, and test FPS Boost as a separate motion decision. Judge complete clips for identity, geometry, texture, temporal stability, audio, and crop before approving a larger render. If the source itself needs better references, shot planning, or a selective rerun before upscaling, start with Seedance Agent.
Ready to try it yourself?
Put the steps from this guide into practice with Seedance and turn prompts or images into polished videos in minutes.
Free credits on signup. Plans from $28/month.
Related Articles
More posts in the same locale you may want to read next.

Seedance App Preview Video Generator 2026: Create App Store and Product Launch Clips
Use Seedance to turn app screenshots, feature copy, and launch goals into App Store previews, Google Play promo videos, and product launch clips.
Read article
How to Make a Talking AI Avatar You Can Reuse
Make a talking AI avatar with Seedance: design one consistent character, give it a voice, and make it speak in a talking photo or a full Seedance 2.5 scene, episode after episode.
Read article
Best AI Video-to-Video Models in 2026
The best AI video-to-video models in 2026 for editing footage you already shot: Higgsfield Genjutsu, Seedance 2.x, Runway Aleph, Luma Modify and Kling Omni compared.
Read article