
Magic Hour Video Colorizer TutorialH: Restore Black-and-White Clips
AI Overview
How do you colorize a video in Magic Hour?
Open Video Colorizer, upload a black-and-white or grayscale clip, start the colorization, and review the complete export for color stability before downloading the result.
What source video gives the best colorization result?
Use the cleanest scan or master available, with stable exposure, readable faces, limited compression, and no baked-in color tint. Short test sections reveal problems before a long render.
Can Magic Hour restore damaged or low-resolution footage too?
Colorizer adds inferred color; it does not automatically repair every scratch, missing frame, blur, or low-resolution detail. Handle stabilization, cleanup, and upscaling as separate decisions.
How do you stop colors from flickering between frames?
Test scenes with cuts, fast motion, occlusion, and changing light. If one shot drifts, split it, correct the source, or process that section separately instead of accepting global inconsistency.
What Magic Hour Video Colorizer Actually Does
Treat color as an interpretation, not recovered truth
Magic Hour's Video Colorizer analyzes a black-and-white or grayscale upload and infers plausible color from scene context. It is designed for old home movies, VHS transfers, film scans, and other monochrome footage. The result can make people and places easier to read, but it cannot recover the exact dye, paint, uniform, or skin tone that existed when the footage was recorded.
That distinction should shape the brief. A family film can aim for believable warmth; a museum or documentary project may require provenance, reference photographs, and a visible disclosure that color was added. “Historically plausible” is a testable goal. “Historically exact” is usually not, unless reliable color references survive.
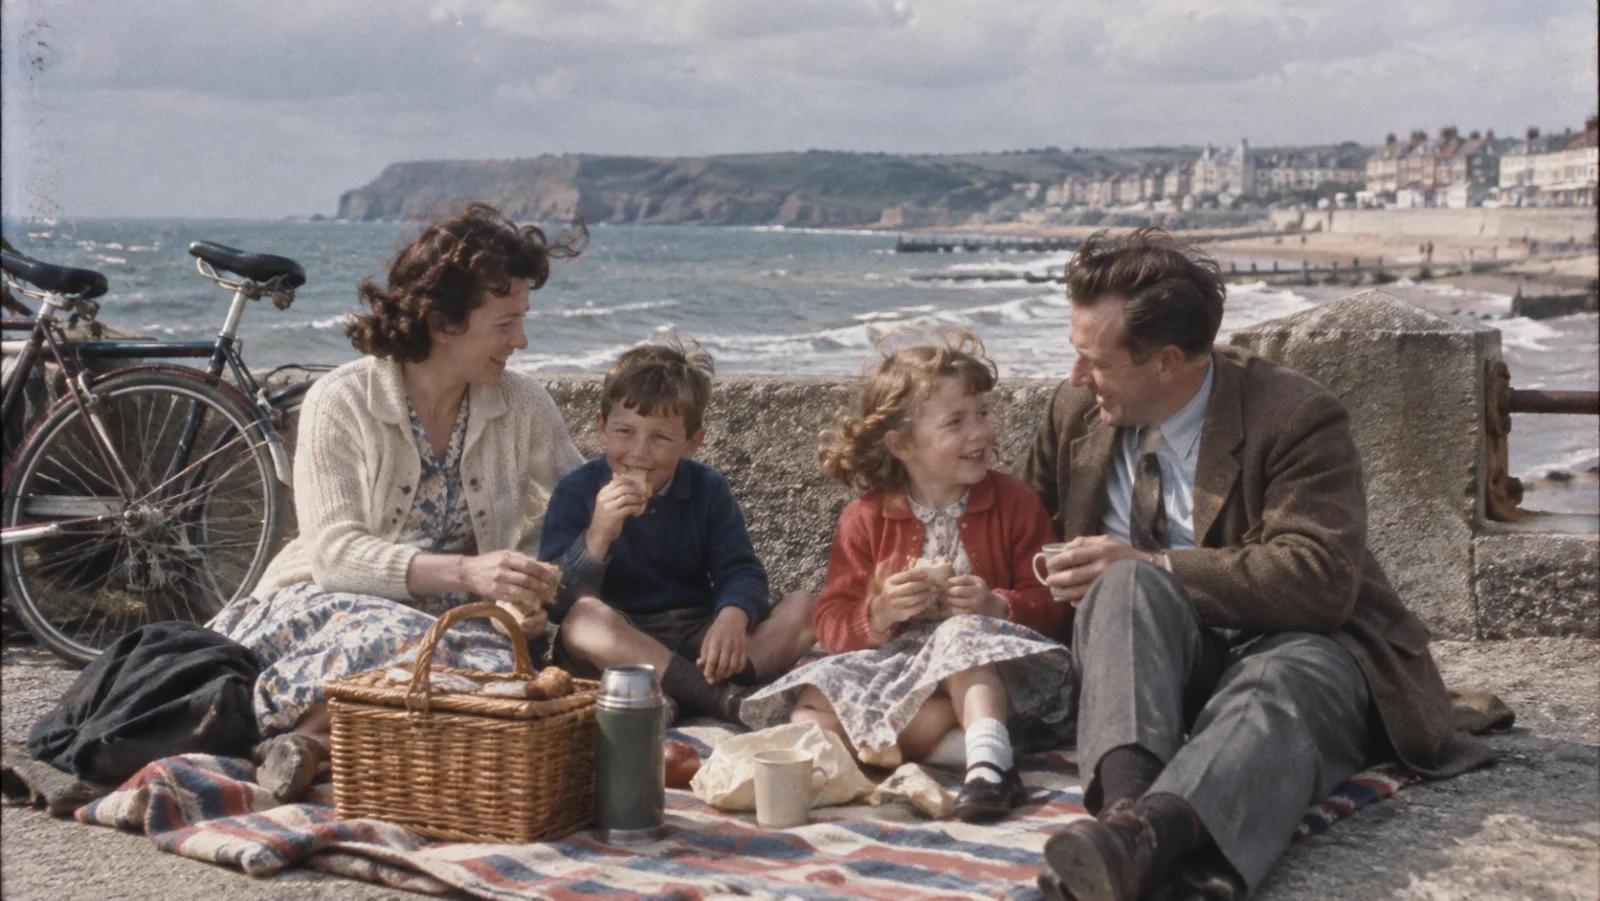
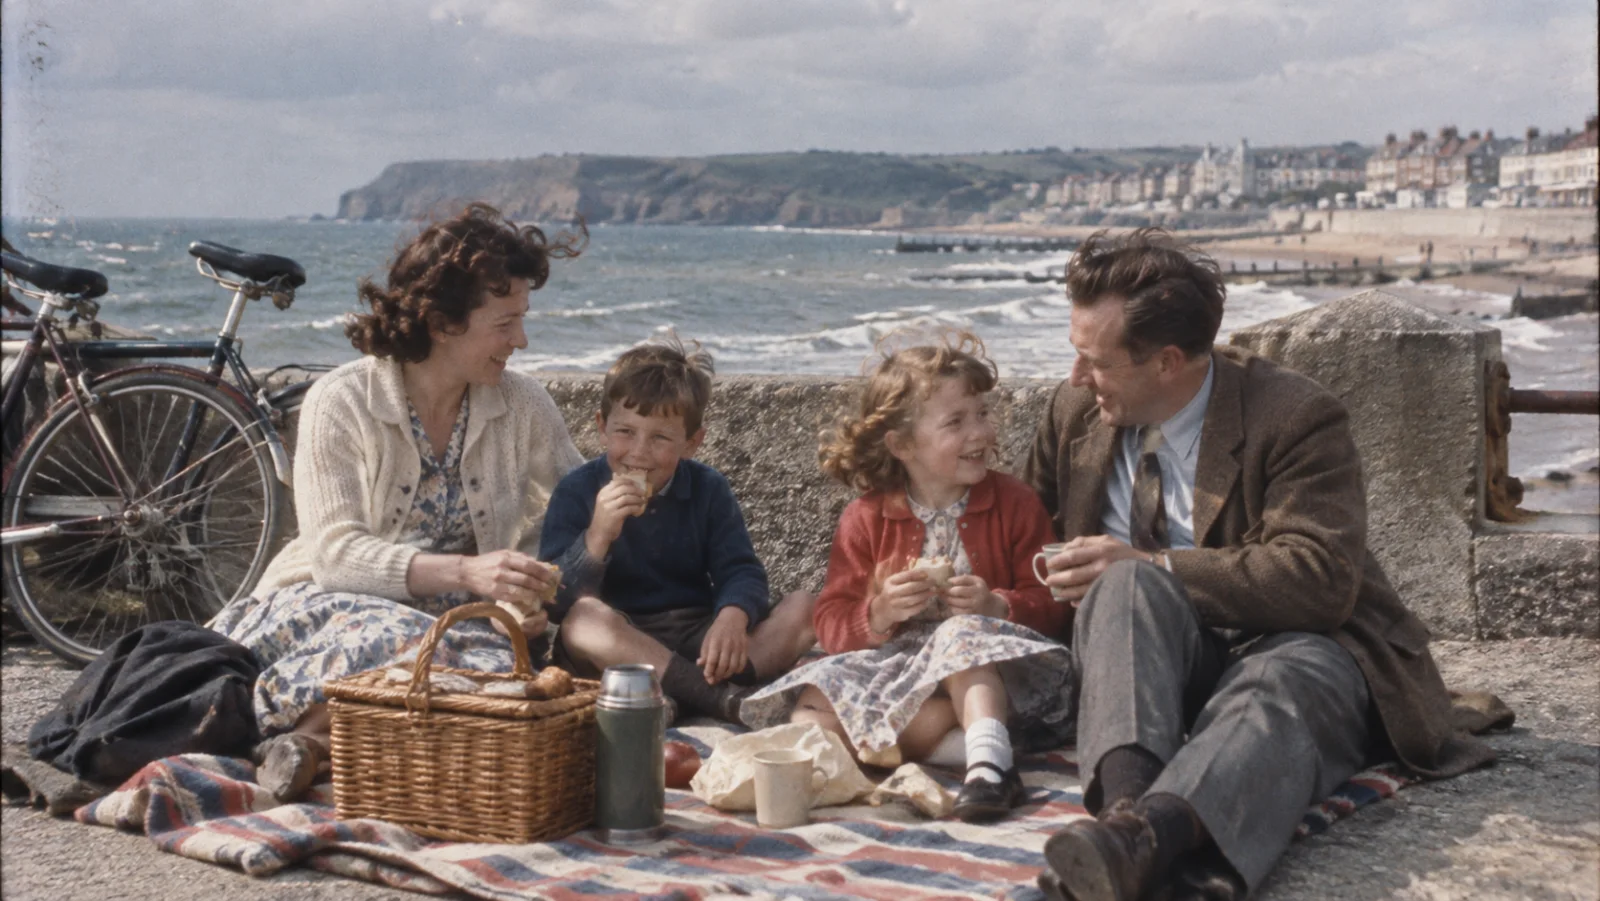 Use restrained color and period evidence so the restored scene still feels like the source footage rather than a modern commercial remake.
Know which problems belong to another tool
Colorization does not equal restoration. Dust, scratches, frame jitter, torn sprockets, motion blur, clipped highlights, missing frames, and heavy compression can remain visible after color is added. In some shots, defects become more obvious because the new color draws attention to edges and faces.
Plan separate passes for physical cleanup, stabilization, frame-rate conversion, and resolution. If the source must also change aspect ratio, finish the color decision first, then use the Magic Hour video expander guide to test how new edge content affects the archival composition.
Prepare the Source Before Uploading
Start from the least-compressed master
Use the original scan, camera master, or highest-quality transfer you can obtain. Avoid colorizing a clip downloaded repeatedly from social platforms when a cleaner file exists. Preserve the original frame rate and aspect ratio, and remove accidental black frames or duplicate slates only when they are not part of the record.
Inspect exposure before upload. A crushed black coat, blown-out sky, or face hidden in deep shadow gives the model little tonal evidence. Gentle level correction can recover separation, but aggressive contrast changes may erase texture. Do not add artificial sepia unless it represents useful source information; a baked tint can bias the color estimate.
Cut a representative test reel
Build a 20–60-second test containing the difficult material: a close face, moving fabric, foliage, sky, an interior, a hard cut, and a shot with partial occlusion. Keep the edit order intact. A beautiful single frame is not enough because the real failure mode is color that changes as objects move or leave the frame.
Record source duration, resolution, frame rate, scan origin, and known reference colors. Save two exports: an untouched archival master and a working copy. If the final project includes psychedelic or intentionally unreal color, decide that after establishing a neutral baseline; the psychedelic AI video guide covers a deliberately stylized route.
Step-by-Step Magic Hour Video Colorizer Workflow
Upload the footage and run the first pass
Open Magic Hour Video Colorizer and upload the prepared file. The product is intended to work without frame-by-frame painting. Let the first pass establish a neutral interpretation; do not judge from the opening image alone. Download or review the complete result from start to finish at normal speed, then again at half speed around cuts and fast movement.
Compare the result with the source using the same crop and playback timing. Check whether people remain recognizable, whether neutral objects stay neutral, and whether the color hierarchy makes sense: skin should not overpower clothing, the sky should not pulse, and background foliage should not turn into one uniform green block.
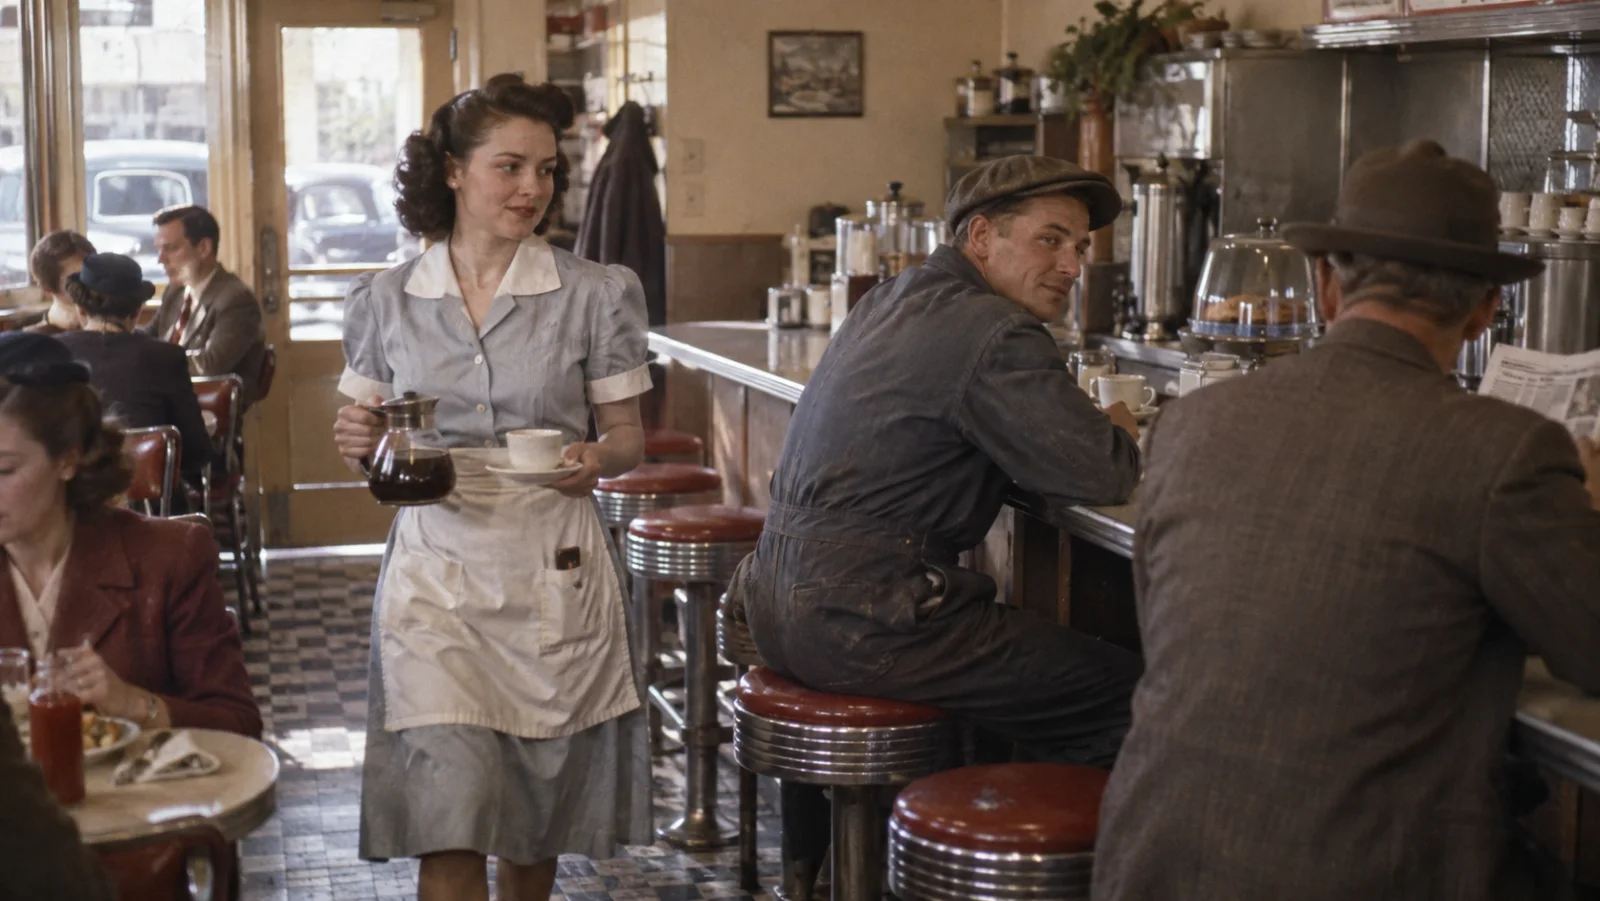 Interior footage tests skin, fabric, chrome, warm light, and mixed neutral surfaces in one scene.
Review shot boundaries rather than random frames
Mark the first and last two seconds of every shot, dissolves, flashes, and transitions. Color models can reinterpret a person when the face becomes small, turns away, or is blocked. They can also borrow the previous scene's palette across a soft transition. Review the moving boundary, not just the clean middle frame.
Create a simple log with timecode, issue, severity, and decision. Use categories such as skin drift, object recolor, edge spill, sky flicker, shadow tint, and uncertain historical reference. This converts “the color feels wrong” into a repair queue that an editor can act on.
Fix Flicker, Wrong Colors, and Weak Detail
Split unstable scenes into controlled sections
If one shot flickers while the rest works, isolate that shot and retry it separately. A shorter clip reduces competing context and makes comparison easier. Trim handles generously so the repaired section can be reinserted without a visible seam. Do not rerun an entire film because three seconds of a moving coat shift from brown to blue.
For recurring objects, collect visual references from the same production, location, or era. A reference can guide human review even when the colorizer does not accept it directly. Use known uniforms, product packaging, vehicles, and architecture to judge plausibility. If the production depends on the same environment across many shots, the environment consistency guide offers a useful continuity checklist.
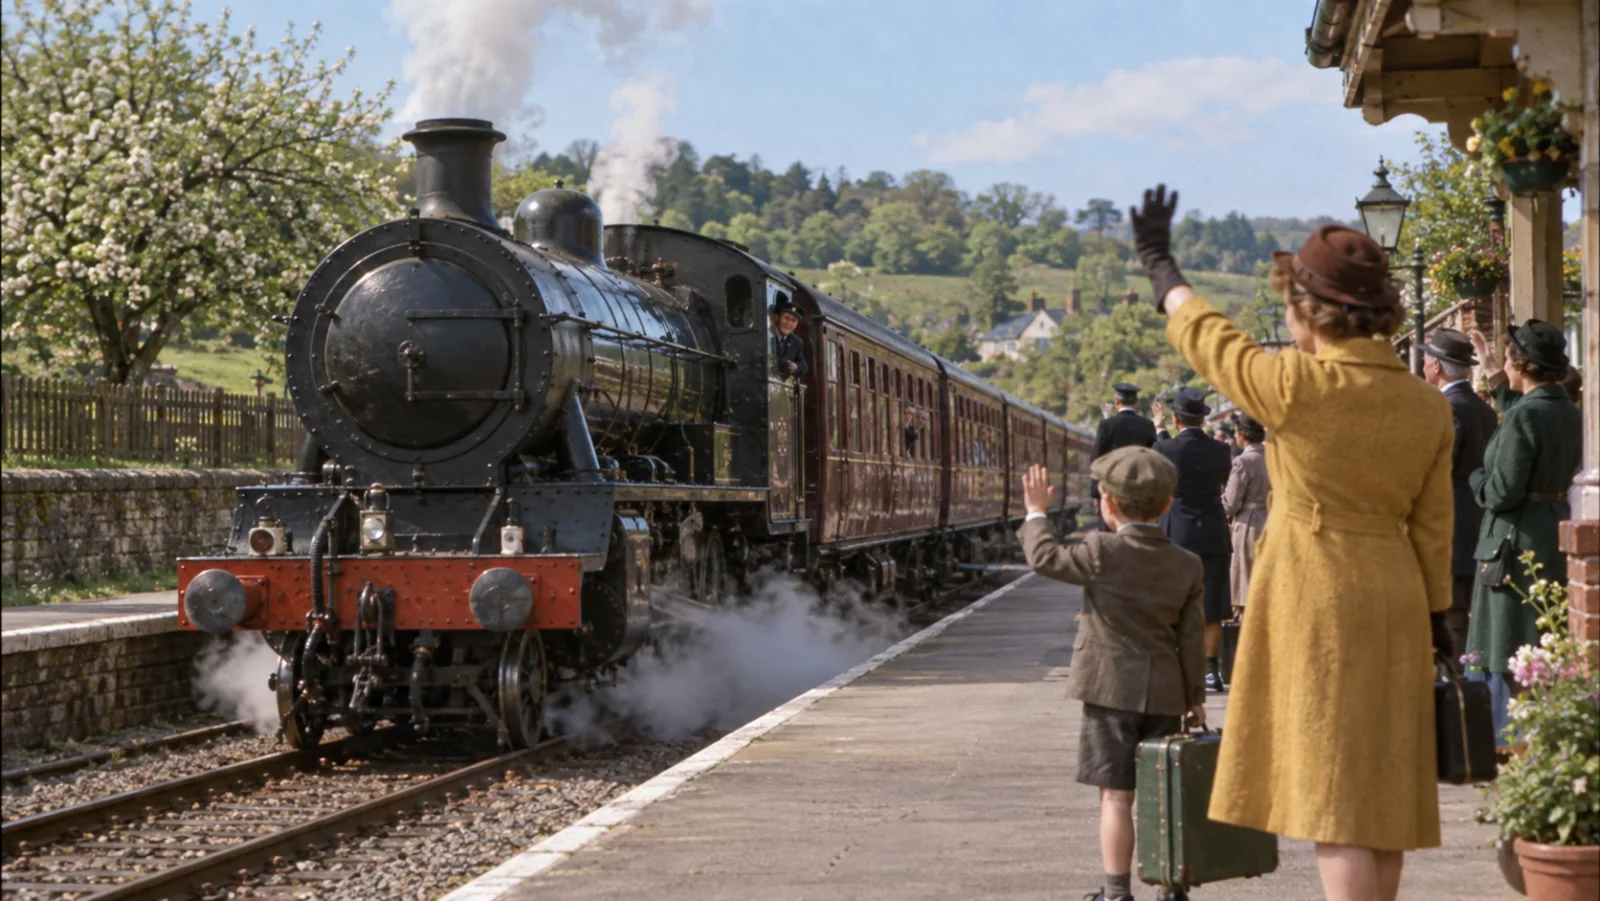 Motion, steam, foliage, small faces, and repeated carriage details reveal temporal instability that a still-frame review misses.
Repair outside the colorizer only when necessary
Use a conventional editor for shot splitting, stabilization, masks, selective hue correction, dust removal, and final grading. Keep these interventions reversible. A global saturation boost may make one dress attractive while damaging every face and shadow in the sequence.
For clips that need precise masking or scene-by-scene correction, the AI editor versus DaVinci Resolve comparison explains when an automated pass is sufficient and when timeline-based control is worth the effort. Preserve an intermediate colorized master before creative grading so later changes do not require another AI pass.
Export and Evaluate the Finished Result
Judge motion, not just color richness
Play the complete result at delivery speed with sound. Watch skin, sky, hair, foliage, painted metal, reflective glass, and fabric during movement. Look for crawling boundaries, momentary grayscale patches, sudden saturation jumps, and colors that leak across occlusions. A restrained stable result is more useful than a vivid frame that changes every second.
This real Seedance output is a motion and color-stability reference, not a Magic Hour Colorizer result. Use it to practice checking stable surfaces, shadows, sky, and moving subject boundaries.
Keep an audit-friendly delivery package
Store the untouched source, prepared upload, raw colorized output, corrected master, final encode, and issue log. Name every file with version and date. If historical accuracy matters, include the reference images and a short note explaining which colors are documented, inferred, or creatively chosen.
Export at the source frame rate unless the delivery specification requires a change. Match resolution to the real detail in the scan; a larger file does not create missing texture. Validate the final encode on a calibrated monitor and an ordinary phone or television, then check that compression did not reintroduce banding or color blocks.
When to Rebuild the Shot Instead of Colorizing It
Choose restoration for evidence, generation for missing material
Colorize when the original motion, people, and event are the value. Rebuild only when the source is unusable, rights permit reconstruction, and the audience can be told what was generated. If a face disappears into blur or ten frames are missing, colorization cannot invent reliable historical evidence.
For a creative reenactment, extract the approved composition and factual details into a shot brief, then make a clearly labeled new sequence. The GPT Image 2.5 to video workflow shows how to move from a controlled still to a short motion test without presenting a generated scene as archival footage.
Use Seedance Agent to manage variants and approval
Seedance Agent is useful when the project contains the source, restored version, alternate grades, replacement shots, and social crops. Keep each asset labeled by provenance. Ask reviewers to approve a specific version and log the reason; do not let a generated reenactment silently replace the documentary master.
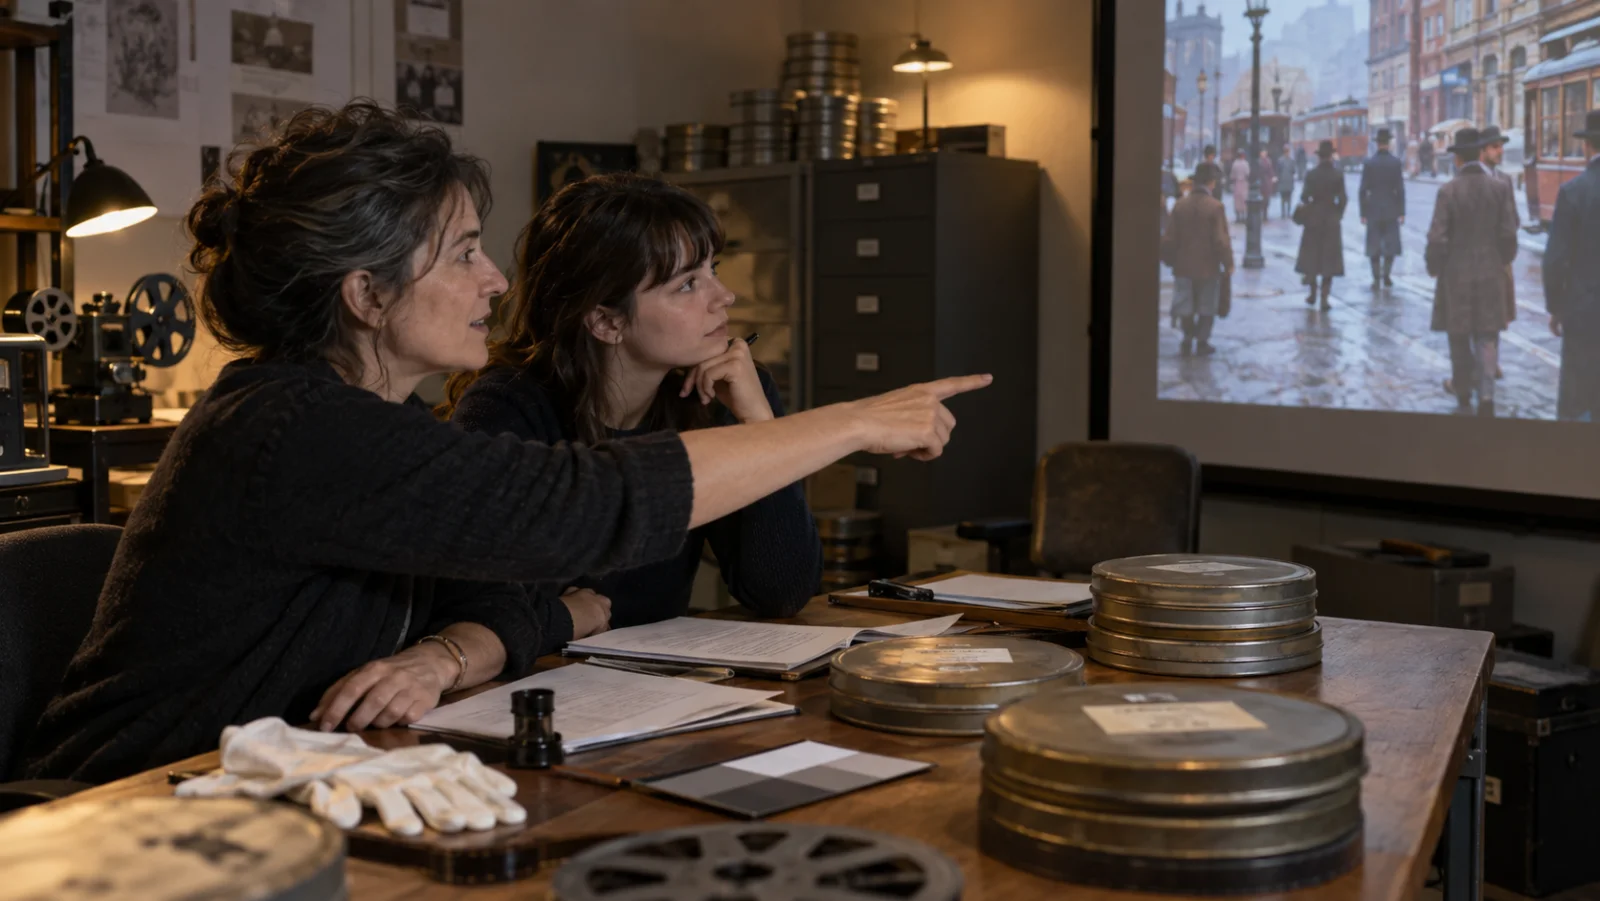 A final review should combine visual plausibility, temporal stability, source provenance, and the intended audience context.
Conclusion
This Magic Hour Video Colorizer TutorialH workflow starts with the cleanest source, a representative test reel, and a neutral first pass, then evaluates color across complete shots rather than isolated frames. Magic Hour can quickly add plausible color to home movies, film scans, VHS transfers, and grayscale clips, but it cannot recover undocumented historical truth or repair every physical defect. Split unstable scenes, keep changes reversible, document references, preserve the untouched master, and disclose generated reconstruction when colorization is no longer enough. To organize source footage, color tests, approval notes, replacement shots, and delivery variants in one production flow, start with Seedance Agent.
Ready to try it yourself?
Put the steps from this guide into practice with Seedance and turn prompts or images into polished videos in minutes.
Free credits on signup. Plans from $20/month.
Related Articles
More posts in the same locale you may want to read next.

Seedance App Preview Video Generator 2026: Create App Store and Product Launch Clips
Use Seedance to turn app screenshots, feature copy, and launch goals into App Store previews, Google Play promo videos, and product launch clips.
Read article
ElevenLabs Find Voice From Video: Exact Match or Similar Voice?
Learn how to find an ElevenLabs voice from a video, prepare a clean sample, verify exact and similar matches, and test the voice in a finished scene.
Read article
Magic Hour Video Expander Free: Limits & Workflow (2026)
Test Magic Hour Video Expander free with verified limits, ideal source clips, aspect-ratio steps, QA checks, fixes, and a repeatable Seedance workflow.
Read article