
AI Overview
How do you crop a video with audio in ComfyUI?
Split the video into frames, audio, and FPS. Crop the frames, reconnect the audio, and export at the original FPS.
Does cropping a video change its audio?
Spatial cropping does not change timing. Keep the original audio unless you also trim, retime, or reorder the video.
What is the difference between crop, trim, and resize?
Crop changes the visible area; trim changes duration; resize changes pixel dimensions. Only timing changes require matching audio edits.
Why does ComfyUI export a cropped video without sound?
An image batch carries no audio. Connect an AUDIO output to the video assembly node and choose an audio-capable export format.
Choose the Right Operation: Crop, Trim, or Resize
Crop the picture without changing duration
A practical ComfyUI crop video with audio workflow starts with one decision: are you changing the picture or the timeline? For a landscape clip becoming a portrait post, crop the picture. Keep the frame count, frame order, and playback rate unchanged so speech, music, and impacts retain their timing.
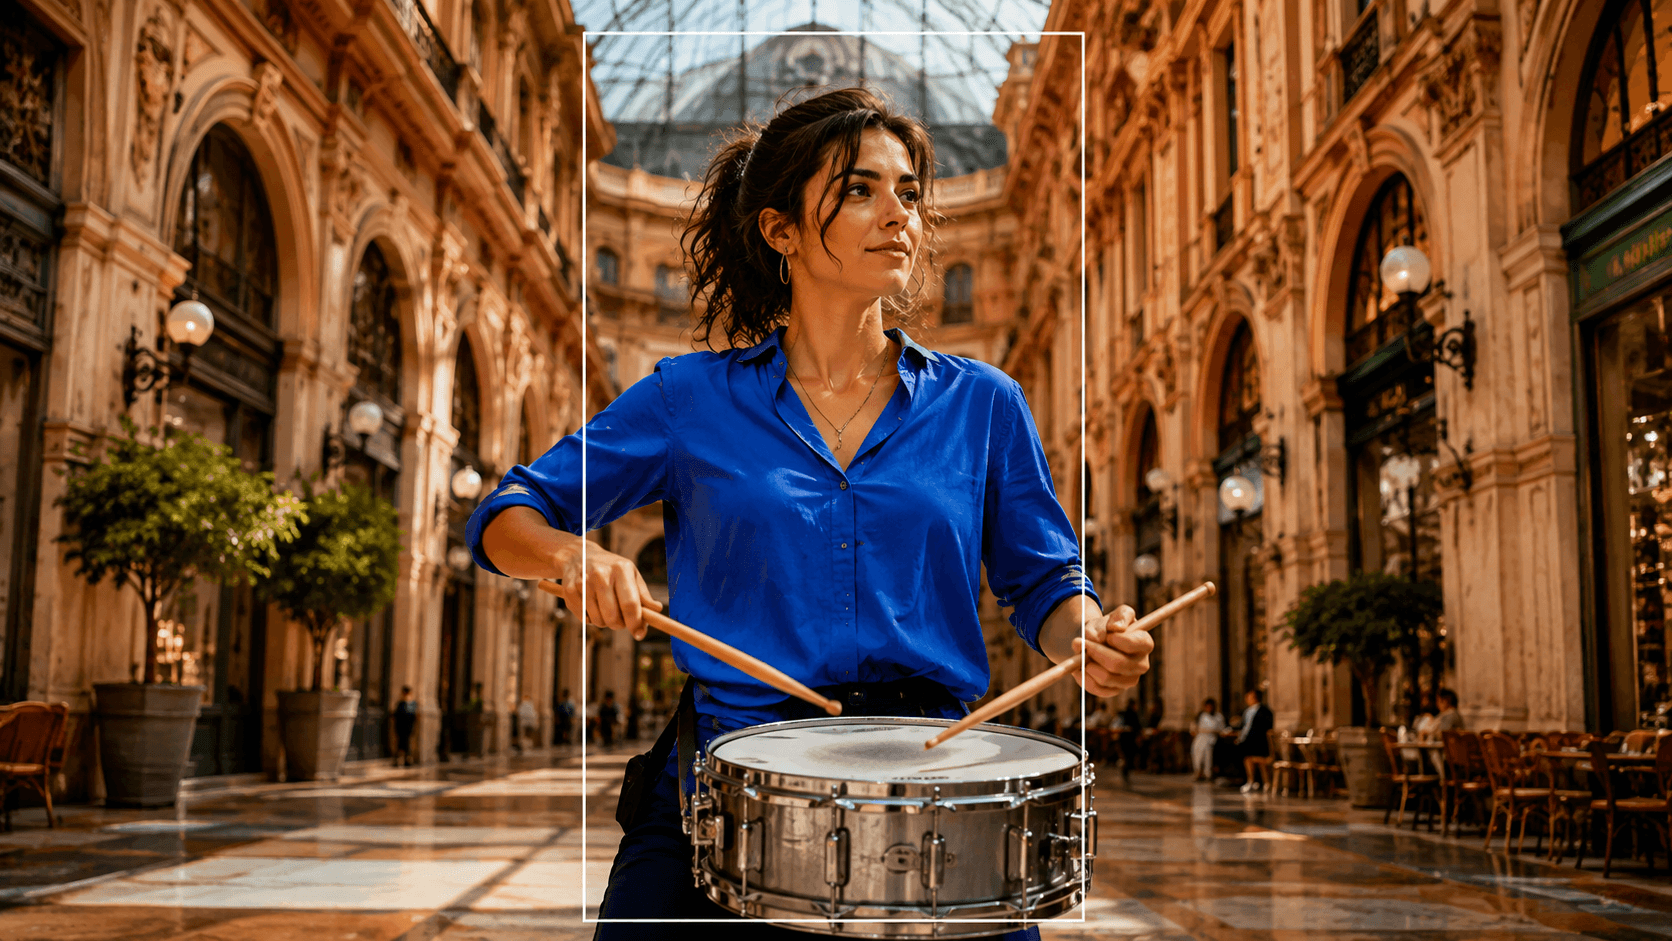
Unmute this eight-second generated sample and compare stick movements with the drum sounds. A spatial crop should preserve their timing. This is a source-clip example, not a ComfyUI before-and-after test.
Trim the timeline and matching audio
Removing a pause or shortening an introduction is trimming. Cut the same interval from both tracks. Deleting the first three seconds of pictures while keeping the complete soundtrack creates an immediate offset, even when the crop rectangle and export settings are correct.
Resize without stretching the subject
Resizing controls delivery dimensions, not composition. Crop to the intended ratio first, then scale proportionally. If every object must remain visible, fit the entire image inside the output canvas with padding. Stretching a landscape image into portrait makes faces narrow and products look distorted.
ComfyUI Crop Video With Audio: Node Workflow
Required nodes and inputs
For the core-node route, use Load Video, Get Video Components, ImageCrop, Create Video, and Save Video. Display names vary by version; search their node identifiers if necessary. Start with a short source file that already plays with sound. Record its resolution, FPS, and duration before editing.
ImageCrop works on the decoded IMAGE frames, not directly on a VIDEO object. This distinction matters when choosing a ComfyUI video crop node: a compatible socket type is more useful than a similar-looking node title.
Preserve the original audio track
Get Video Components exposes images, audio, and FPS separately. Send only the images through the crop branch; route audio around it. Create Video accepts that audio when rebuilding the clip. Preserve color-space metadata where supported, particularly with HDR footage. This keeps the original soundtrack content, but does not promise a bit-for-bit copy after encoding.
Recommended node connections
Use these connections for a spatial crop with unchanged timing:
| Output | Connect to |
|---|---|
| Load Video: VIDEO | Get Video Components: video |
| Get Video Components: images | ImageCrop: image |
| ImageCrop: IMAGE | Create Video: images |
| Get Video Components: audio | Create Video: audio |
| Get Video Components: fps | Create Video: fps |
| Create Video: VIDEO | Save Video: video |
Convert the FPS widget to an input when your interface requires it. Choose MP4 with a compatible video codec for a broadly playable delivery file.
Save the graph with the source filename, crop coordinates, and export settings. Keep the original file untouched and give each output a ratio-specific name. For long clips, test a short section first: decoding an entire video into an image batch can consume substantial memory before the crop reduces its dimensions.
Already using Video Helper Suite? Its alternative route is Load Video images → ImageCrop → Video Combine images, with the loader's audio connected to Video Combine audio. Match frame_rate to the loaded sequence. This is a separate assembly route, not another node appended after Create Video. Do not mix incompatible VIDEO and IMAGE sockets.
Crop a Video to 9:16, 1:1, or 16:9
Calculate the crop dimensions
For a 1920 × 1080 source, these rectangles give exact aspect ratios. Coordinates start at the upper-left corner.
| Target | Crop width × height | Centered x, y |
|---|---|---|
| 9:16 portrait | 576 × 1024 | 672, 28 |
| 1:1 square | 1080 × 1080 | 420, 0 |
| 16:9 landscape | 1920 × 1080 | 0, 0 |
The portrait example deliberately removes a little height to use exact, even dimensions. Scale afterward if delivery requires 1080 × 1920. Upscaling increases pixel count, not recovered detail. Respect any additional dimension requirements imposed by your downstream model or encoder.
Center crop versus subject-aware crop
Center cropping is reliable only while the important action remains central. For a cooking shot, preserve the face, hands, spout, and cup—not just the person's torso. A moving subject may need a wider frame, padding, or a tracking workflow. A fixed ImageCrop rectangle does not automatically follow motion.

Generated composition example: protect the complete pouring action when reframing. This is an illustrative still, not a ComfyUI processing result.
Preview before processing every frame
Inspect the opening, middle, final frame, and widest gesture before committing to the full sequence. Check subtitles and product labels near the edges. Render a short contiguous sample with matching audio, then play the saved file. A good first frame cannot reveal a hand leaving the crop later.
Trim Video and Audio Without Losing Sync
Convert frame numbers into seconds
For constant-rate footage, time in seconds equals frame index divided by FPS. At 30 FPS, frame 90 begins at three seconds. Keeping frames 90 through 239 retains 150 frames, or five seconds. The matching audio interval starts at three seconds and ends at eight seconds.
Keep FPS consistent through the workflow
Three hundred frames play for ten seconds at 30 FPS but 12.5 seconds at 24 FPS. Changing only the assembly rate changes playback duration; it does not perform synchronized conversion. In Video Helper Suite, check force_rate and frame-selection settings too. For variable-rate footage, normalize to constant FPS with synchronized audio before relying on frame arithmetic. See our AI video frame-rate guide.
Trim the start, end, or both
In current core builds, Trim Video accepts a start time and duration on the VIDEO stream; place it before Get Video Components. For the example above, use start time 3 and duration 5. Confirm the extracted audio covers the same interval. If your installed workflow trims images and audio separately, apply that interval to each branch exactly once. Never trim already-offset audio again.

Generated sound-sync scenario: in a real clip, compare the visible strike with its sound near both ends. A still image cannot demonstrate synchronization.
Fix Missing Audio, Drift, and Export Problems
The exported video has no audio
First play the source outside ComfyUI. If it has sound, inspect the AUDIO connection into Create Video or Video Combine. An image-sequence export or GIF will not carry the soundtrack. Check the saved file in an unmuted player, not only the workflow preview. Generating frames cannot restore audio absent from the source.
For a reliable ComfyUI combine audio and video check, listen through the whole short export with headphones. Confirm the opening word is intact, the final sound is not cut off, and the output contains the intended track rather than a silent or unrelated recording. Keep this check separate from visual approval.
Audio starts correctly but drifts later
Increasing drift usually points to a timing mismatch: wrong FPS, skipped frames, or variable-rate input interpreted as constant-rate. Compare frame count divided by output FPS against the intended duration. A constant offset instead suggests mismatched start times. Check a visible impact early and late; a single spot check can miss accumulating drift.
The video is stretched or incorrectly framed
Check the crop ratio before the resize operation. Confirm that x plus width and y plus height stay within the source dimensions. Disable a second automatic crop in the export branch. Keep a high-quality master: spatial cropping re-encodes the picture, and repeatedly encoding compressed copies can soften detail.
Custom nodes are missing after importing the workflow
Identify the missing node package and verify its trusted repository before installing it. Restart ComfyUI and reload the workflow afterward. Record package versions alongside your settings. If you only need a fixed crop, try the core-node route first; a large downloaded graph may introduce dependencies unrelated to your edit.
Use Seedance Agent Before or After the ComfyUI Edit
Generate the correct ratio and audio from the start
If the source cannot survive a tight crop, start with the intended composition. Use Image to Video for an approved product image or Text to Video for a new scene. Request room around hands and important objects. Select an audio-capable model when sound is required; capabilities vary. Our native-audio guide explains what to check before generation.
Let the Agent build a reviewable shot plan
Seedance Agent provides a planning step before paid generation. Give it your product references, intended audience, delivery ratio, and essential action. Review the proposed script and framing before approving generation. Include a concrete requirement such as “keep both hands and the product visible throughout.” This reduces avoidable reframing, although generated output still needs inspection.
Use a hybrid production workflow
Use Seedance for a missing or unsuitable source shot, then ComfyUI for repeatable crops and matched audio assembly. If the existing footage is already good, keep it: a deterministic edit does not require regeneration. Finish captions, music levels, and multiple-shot timing in an editor; our OpenShot editing workflow covers that handoff. Recheck every delivered ratio independently.
Conclusion
To crop video with audio in ComfyUI, treat framing and timing separately: crop the images, preserve the audio branch, and keep FPS consistent. When trimming, give both tracks the same interval and verify the exported file. If you need a better source composition first, start your next video with Seedance Agent →.
Ready to try it yourself?
Put the steps from this guide into practice with Seedance and turn prompts or images into polished videos in minutes.
Free credits on signup. Plans from $28/month.
Related Articles
More posts in the same locale you may want to read next.

Seedance App Preview Video Generator 2026: Create App Store and Product Launch Clips
Use Seedance to turn app screenshots, feature copy, and launch goals into App Store previews, Google Play promo videos, and product launch clips.
Read article
Best AI Video-to-Video Models in 2026
The best AI video-to-video models in 2026 for editing footage you already shot: Higgsfield Genjutsu, Seedance 2.x, Runway Aleph, Luma Modify and Kling Omni compared.
Read article
Kling 4.0 vs Seedance 2.5: Full Comparison
Kling 4.0 vs Seedance 2.5 compared by spec: 30-second clips, keyframes vs 50 references, audio, 4K and 10-bit color, editing, and which model fits which job.
Read article