How to Use Seedance First and Last Frame to Video: The Complete 2026 Guide
If you have ever wanted a video that starts on one exact image and ends on another, the Seedance first and last frame feature is the tool you have been looking for. Instead of uploading a single photo and hoping the AI moves it the way you imagined, you hand Seedance two keyframes — a start image and an end image — and let the model build the motion in between. The result is far more control: smooth transitions, before-and-after reveals, product morphs, and outfit or scene changes that land on a frame you actually chose.
This guide walks through exactly what Seedance first and last frame to video means, when to use it instead of regular image-to-video, the step-by-step workflow on Seedance, copy-ready prompt examples, how to pick keyframes that generate cleanly, and the QA checks that separate a polished clip from a glitchy morph. Everything here reflects what Seedance can actually do today, including the 5s/10s and 480p/1080p options on the Image to Video tool.
Quick Answer: What Is Seedance First and Last Frame?
Seedance first and last frame (sometimes written as "first-last frame," "start and end frame," or FLF) is a generation mode where you upload two images:
Ready to create your own AI video?
Free credits on signup. Plans from $20/month.
- A first frame — the exact opening shot of your video.
- A last frame — the exact closing shot you want to land on.
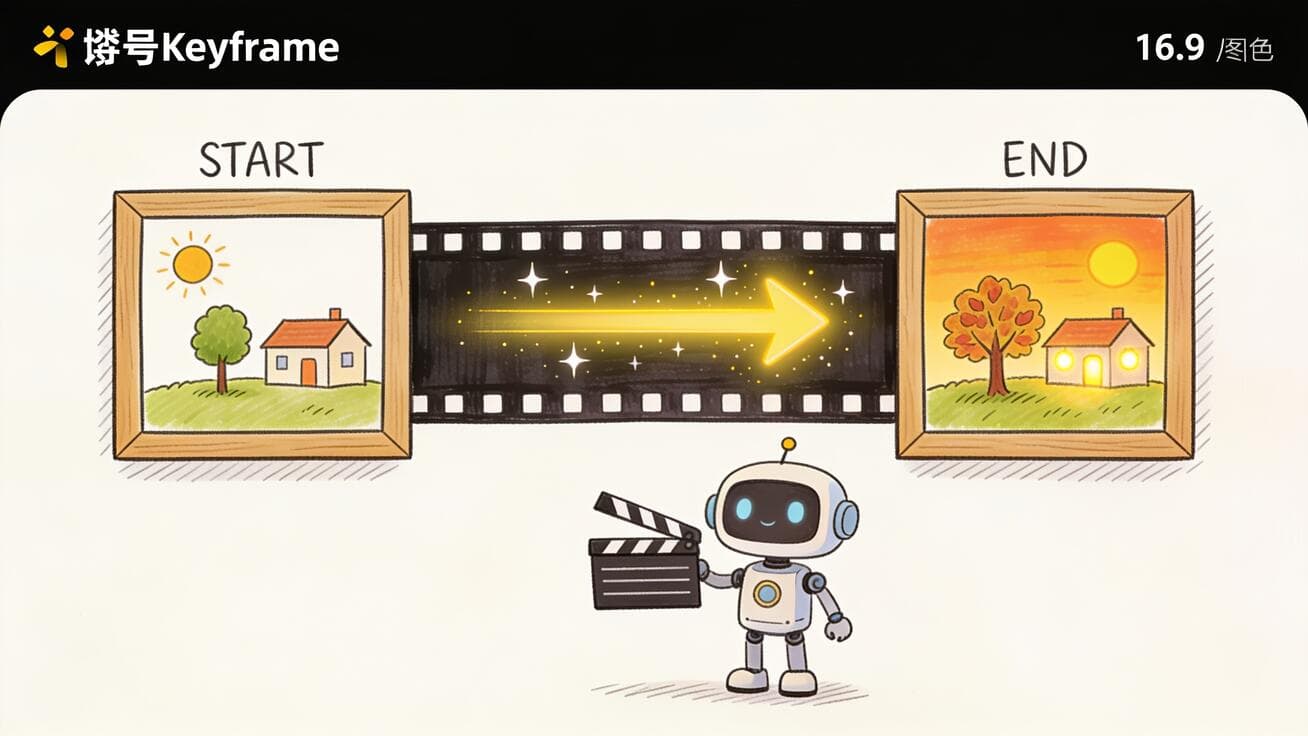
Seedance then synthesizes the frames in between, generating new, plausible motion that travels from your start image to your end image while keeping subjects, colors, and composition coherent. It is not a simple cross-fade or pixel warp between two photos. The model interprets the prompt and the two anchors and invents the connective motion — a camera push, a transformation, a character action — so the clip feels like real footage rather than a slideshow dissolve.
On the Seedance Image to Video workflow you set a first frame, optionally set a last frame, write a short prompt describing the motion, choose duration (5s or 10s) and resolution (480p or 1080p), and generate. If you skip the last frame, you get standard single-image image-to-video. Add the last frame and you switch into first-and-last-frame control.
 The first frame anchors the opening shot, the last frame anchors the closing shot, and Seedance generates the motion that connects them.
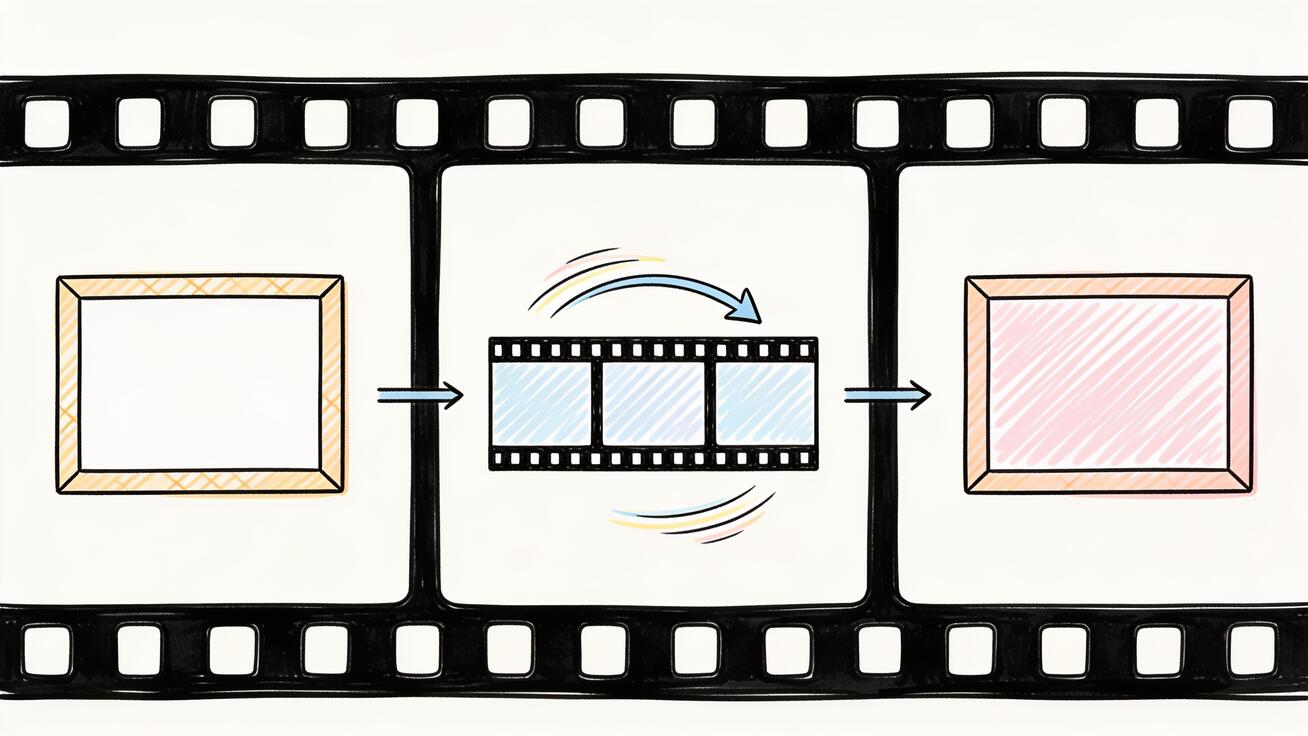
First Frame vs. Last Frame vs. Single-Image to Video
It helps to understand how the three input modes differ, because picking the right one is half the battle:
- Single image (first frame only): You upload one photo and a prompt. Seedance decides where the motion ends. Great for ambient motion — hair moving, water rippling, a slow camera drift — when you do not care about the exact final frame.
- First and last frame: You pin both ends. Seedance must start on image A and arrive at image B. Use this whenever the ending matters: a logo reveal, a finished product, a transformed character, a specific pose.
- Reference / multimodal mode: On newer Seedance 2.0 workflows you can also attach reference videos for camera motion or audio for rhythm. That is a more advanced path; for most creators, first and last frame is the sweet spot between control and simplicity.
The mental model: single-image is "give it a nudge and see where it goes," while first and last frame is "I know exactly where this starts and ends — fill in the middle." If you are coming from single-image work, see our Seedance image-to-video guide for the basics, then come back here for keyframe control.
When to Use First and Last Frame (Best Use Cases)
First and last frame shines anywhere the destination frame is non-negotiable. Real, repeatable use cases:
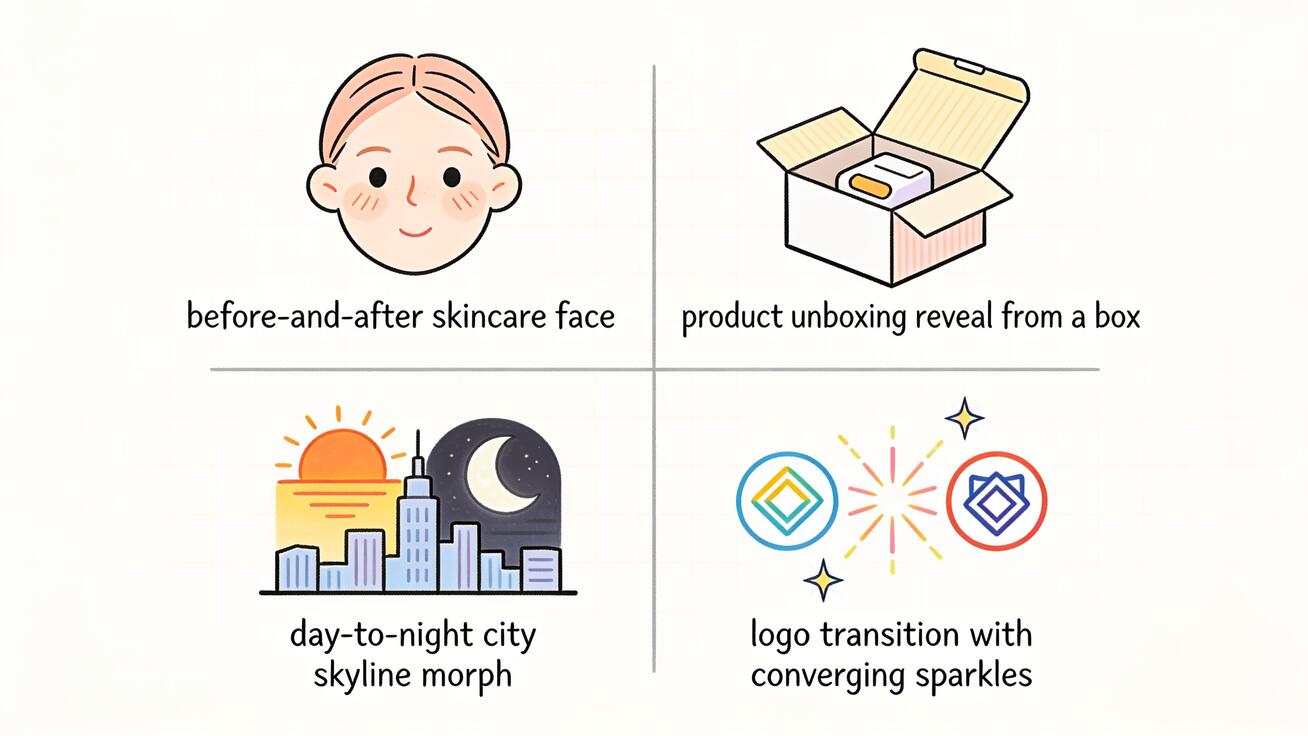
1. Before-and-after reveals. Skincare, cleaning, renovation, fitness, design mockups. First frame is the "before," last frame is the "after," and Seedance generates a convincing transition. This is one of the highest-converting formats for ads because the payoff is built into the structure.
2. Product reveals and packaging shots. Start on a closed box or a blank surface; end on the unboxed product or the finished hero shot. The model builds the reveal motion. Pair it with our reference image workflow when you need the product to stay pixel-accurate.
3. Morphs and transformations. Day to night, summer to winter, sketch to render, young to old, one outfit to another. Two distinct keyframes plus a "smooth morph" prompt gives you transformation content that is tedious to shoot live.
4. Logo and brand transitions. First frame is a scene; last frame is your logo lockup. Useful for intros, outros, and stingers where you must land on the exact brand frame.
5. Looping and seamless social clips. Make the last frame identical (or near-identical) to the first frame and Seedance generates a clip that loops cleanly — ideal for background loops, hero headers, and "oddly satisfying" social content.
6. Storyboard-to-shot. If you have two storyboard panels, treat them as keyframes and let Seedance generate the connecting beat. This pairs naturally with the Seedance storyboard workflow for multi-shot sequences.
 First and last frame is built for content where the final frame is the whole point — reveals, morphs, and brand transitions.
How to Use Seedance First and Last Frame: Step by Step
Here is the full workflow on Seedance. It takes a couple of minutes once your keyframes are ready.
Step 1: Prepare your two keyframes
Export your first frame and last frame as clean images. Match their aspect ratio (both 16:9, or both 9:16, etc.) and ideally their resolution. The closer the two frames are in composition, lighting, and subject placement, the smoother the generated motion. If you are morphing a character, keep the framing and scale consistent so the model is interpolating motion, not fighting a layout change.
Step 2: Open Image to Video and upload the first frame
Go to the Seedance Image to Video tool and upload your start image as the first frame. This locks the opening shot of the clip.
Step 3: Add the last frame
Set your end image as the last frame. This is the step that switches you from single-image motion into first-and-last-frame control. Now Seedance knows both anchors and only needs to generate the path between them.
Step 4: Write a motion prompt
Describe how you want to travel from frame A to frame B — the motion, camera, and pacing — not what each frame looks like (the images already say that). Keep it specific and physical. Example: "Smooth continuous transition, the camera slowly pushes in as the closed box opens to reveal the product, soft studio lighting, natural motion." A focused prompt about the transition beats a long description of the scene.
Step 5: Choose duration and resolution
Pick 5s or 10s and 480p or 1080p. Shorter clips (5s) give the model less time to drift, so transitions stay tighter and more controllable; choose 10s only when the change between your two frames is large enough to need the extra time. Use 1080p for anything you will publish; 480p is fine for fast drafts and prompt testing.
Step 6: Generate and review variants
Generate, then watch the clip end-to-end. Confirm it actually starts on your first frame and lands on your last frame. If it overshoots, glitches mid-transition, or warps the subject, adjust the prompt or swap a keyframe (covered in QA below) and regenerate. Generating 2–3 variants and picking the cleanest is normal — treat it like casting takes, not a one-shot.
Step 7: Export and reuse
Download the clip and drop it into your editor for TikTok, Reels, Shorts, a landing-page hero, or an ad. Because you controlled both ends, first-and-last-frame clips stitch together predictably when you chain several into a longer sequence.
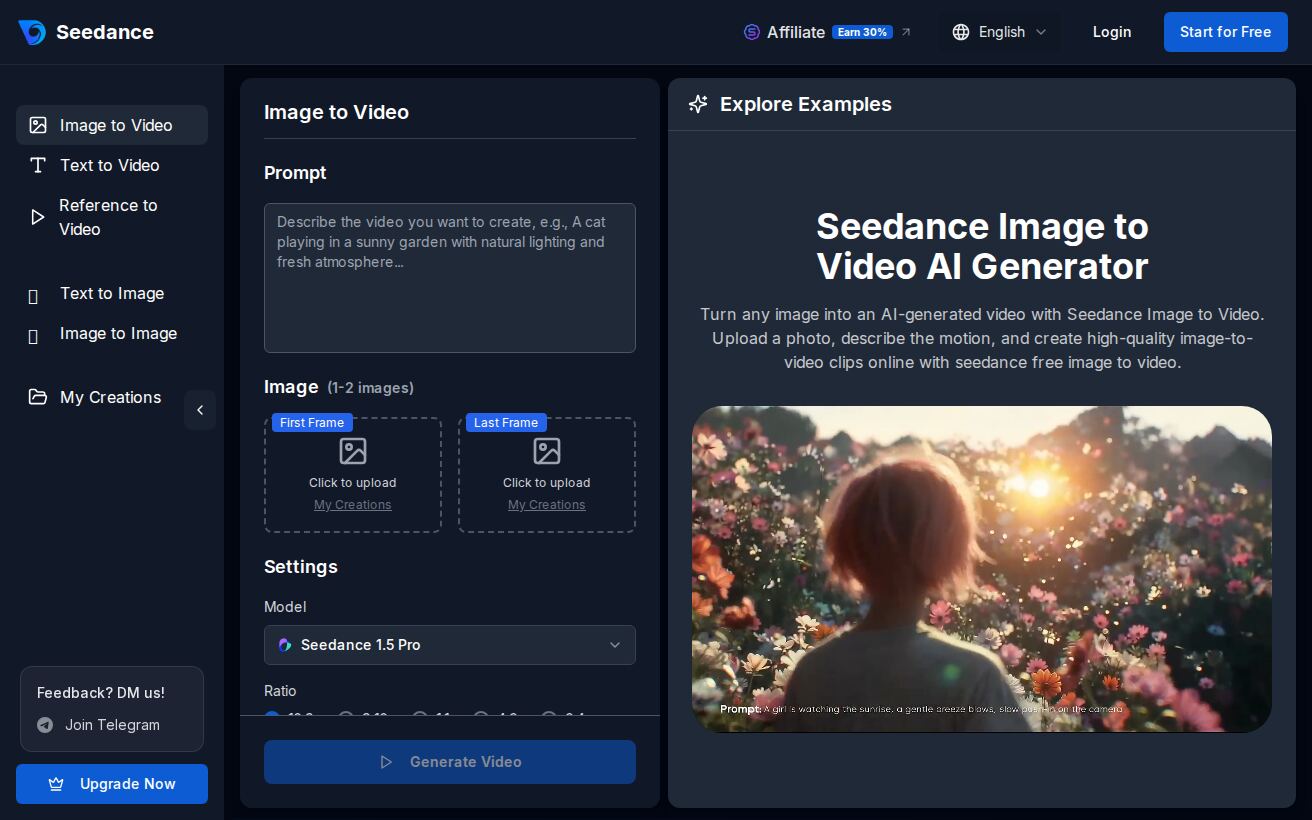 The Seedance Image to Video workflow shows dedicated First Frame and Last Frame upload boxes — upload one or both, describe the motion, pick the model and settings, and generate. (Source: seedance.tv/image-to-video.)
First and Last Frame Prompt Examples (Copy-Ready)
Prompts for first and last frame should describe the connective motion, not re-describe the images. Here are templates you can adapt. Replace the bracketed parts.
Product reveal
Smooth continuous shot, the camera slowly pushes in while the [closed package] opens to reveal the [product] on the final frame. Soft studio lighting, clean reflections, natural physical motion, no abrupt cuts.
Before-and-after morph (skincare / cleaning / renovation)
Seamless gradual transformation from the first frame to the last frame, the [skin / surface / room] visibly improves over the clip, steady framing, even lighting, realistic and believable transition.
Outfit or character change
The same character smoothly transitions from the first outfit to the last outfit, consistent face and body, fluid motion, the camera holds steady, clean continuous transformation.
Day to night (scene morph)
Time-lapse style transition from the daytime first frame to the nighttime last frame, the sky and lighting gradually shift, lights turn on across the scene, smooth and cinematic.
Logo / brand outro
The scene gracefully resolves into the final logo frame, elements converge toward the center, soft motion blur, premium and clean, ending exactly on the last frame.
Seamless loop
Continuous looping motion that returns to the starting composition, subtle and smooth, no jump cut, the last frame matches the first frame for a clean loop.
Two prompting rules that matter most for keyframe work: (1) use words like smooth, continuous, gradual, seamless to discourage hard cuts, and (2) name the subject that must stay consistent ("the same character," "the same product") so the model preserves identity through the transition. For finer camera language, borrow from the Seedance camera movement prompts guide.
How to Pick Good Keyframes (the 80/20 of Quality)
Most bad first-and-last-frame results trace back to the input images, not the prompt. A few rules will fix the majority of problems:
- Keep the two frames related. The model interpolates best when the start and end share a subject, scale, and rough composition. Going from a tight close-up to a wide aerial in 5 seconds asks the AI to invent too much and invites warping.
- Match aspect ratio and resolution. Mismatched dimensions force the model to crop or stretch, which shows up as drift.
- Consistent lighting and color. If frame A is warm daylight and frame B is cool night, that is fine for an intentional day-to-night morph — but for a simple reveal, big lighting jumps create flicker.
- Hold identity-critical details steady. For faces and products, keep the key features in a similar position across both frames so the model has an easy path. For more on this, see character consistency in Seedance.
- Let the duration match the distance. Small change between frames → 5s. Large transformation → 10s. Asking for a huge change in a short clip is the number-one cause of rushed, unnatural motion.
Common Problems and How to Fix Them (QA Checklist)
Run these checks on every first-and-last-frame clip before you publish:
- It doesn't land on my last frame. Shorten the duration (5s tightens control), simplify the prompt to focus on the transition, and make the two keyframes more similar in composition. If the end frame is wildly different from the start, the model may only approximate it.
- The subject warps or melts mid-transition. Your two frames are too far apart. Move the subject to a similar position/scale in both frames, or add an intermediate step (generate A→middle, then middle→B and stitch).
- Abrupt cut instead of smooth motion. Add "smooth, continuous, seamless, no hard cut" to the prompt and avoid describing two separate scenes as if they are cuts.
- Face or logo identity drifts. Name the element to preserve ("the same person," "keep the logo unchanged") and keep that element framed similarly in both keyframes.
- Flicker or color pulsing. Usually a lighting mismatch between frames; normalize exposure and white balance on your inputs.
- Loop has a visible jump. For loops, make the last frame as close to pixel-identical to the first as possible, and prompt for "returns to the starting composition."
Treat the first generation as a draft. Two or three iterations — adjusting a keyframe or one prompt phrase at a time — will get you a clean clip far faster than rewriting the whole prompt at once.
First and Last Frame vs. Other Modes: Which Should You Use?
A quick decision guide so you pick the right tool:
- Use single-image (first frame only) when you want ambient motion and you don't care about the exact ending — lifestyle B-roll, subtle hero loops, atmospheric shots.
- Use first and last frame when the ending is the point — reveals, morphs, transformations, logo outros, clean loops.
- Use text-to-video when you have no source images at all and want to generate a scene from a description.
- Use the multimodal / reference workflow when you also need to copy camera motion from a reference video or drive timing with audio — a more advanced setup on Seedance 2.0.
You can also mix Seedance's available models inside the platform. Because Seedance gives you access to multiple leading video models in one place, you can try the same keyframe pair across models and keep the smoothest result. For a deeper look at the newest model behavior, see how to use Seedance 2.5.
Frequently Asked Questions
Does Seedance really support first and last frame? Yes. Seedance supports setting both a first frame and a last frame for image-to-video generation, and the model generates the motion in between rather than cross-fading. You set it up in the Image to Video workflow by adding both a start image and an end image.
Is the last frame optional? Yes. If you upload only a first frame, Seedance runs standard single-image image-to-video and decides the ending itself. Add a last frame to switch into first-and-last-frame control.
How long can first-and-last-frame clips be? On the Seedance Image to Video tool you can choose 5s or 10s. Shorter clips give tighter control over the transition; longer clips give the model more room for big transformations.
What resolution can I export? The Image to Video workflow offers 480p and 1080p. Use 1080p for anything you publish and 480p for quick prompt tests.
Why doesn't my video end exactly on my last frame? Seedance approximates the end frame rather than guaranteeing a pixel-perfect match, especially when the two frames are very different. Keep your keyframes similar in composition, use a shorter duration, and keep the prompt focused on a smooth transition to land closer to your target.
Can I make a seamless loop with first and last frame? Yes. Make the last frame match the first frame and prompt for a continuous motion that "returns to the starting composition." That produces a clip that loops without a visible jump.
What's the difference between first-and-last-frame and a reference image? A last frame defines the exact ending of the clip. A reference image (in multimodal mode) influences style, character, or composition without pinning a specific final frame. They solve different problems and can be combined in advanced workflows.
Conclusion
The Seedance first and last frame feature turns vague "make this photo move" guesses into precise, directed clips: you choose the opening shot, you choose the closing shot, and Seedance generates believable motion in between. That control is what makes it the right tool for reveals, morphs, transformations, brand outros, and clean loops — the formats where the final frame is the whole payoff.
To get great results, keep your two keyframes related in composition and lighting, write prompts that describe the transition rather than the scenes, match duration to how much change you need, and iterate two or three times with small adjustments. Then export and reuse the clip across TikTok, Reels, Shorts, ads, and landing pages.
Ready to try it? Upload a start image and an end image in the free Seedance Image to Video tool, describe the motion, and let Seedance first and last frame build the in-between for you.
Ready to create your own AI video?
Turn ideas, text prompts, and images into polished videos with Seedance. If this article helped, the fastest next step is to try the product.
Free credits on signup. Plans from $20/month.
Related Articles
More posts in the same locale you may want to read next.
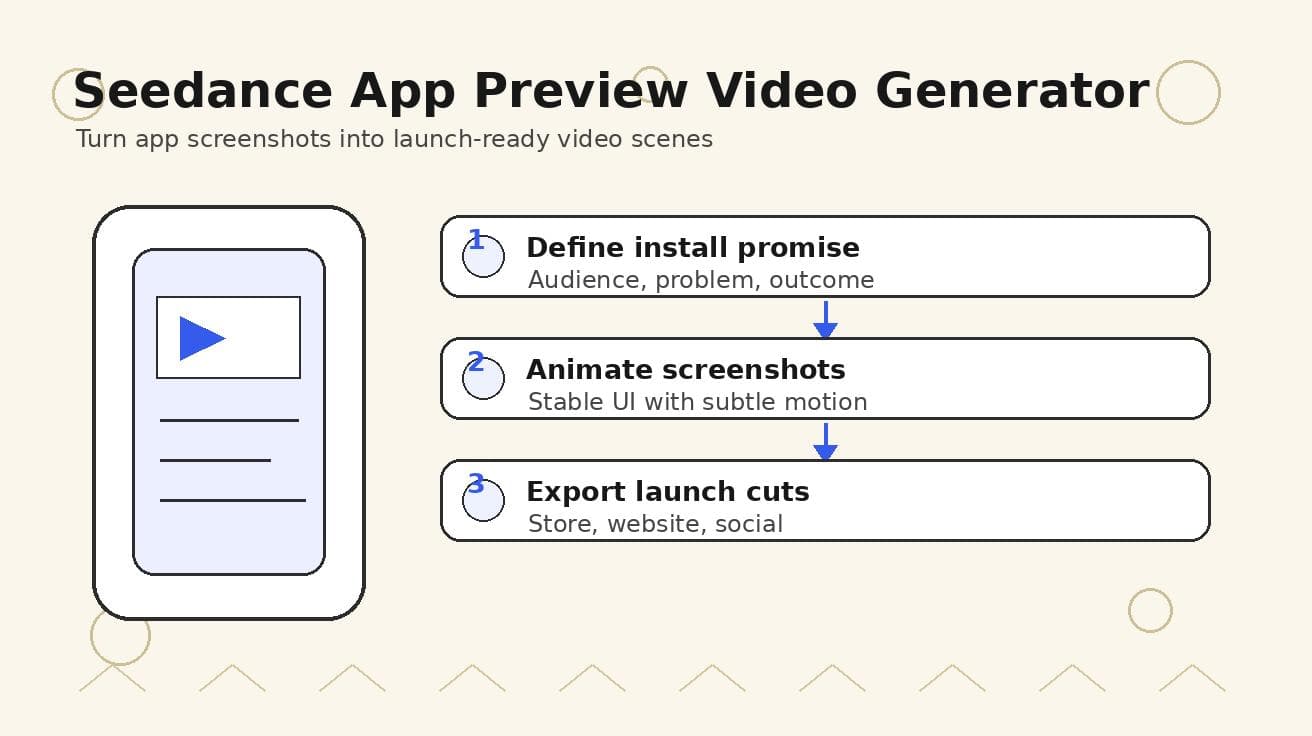
Seedance App Preview Video Generator 2026: Create App Store and Product Launch Clips
Use Seedance to turn app screenshots, feature copy, and launch goals into App Store previews, Google Play promo videos, and product launch clips.
Read article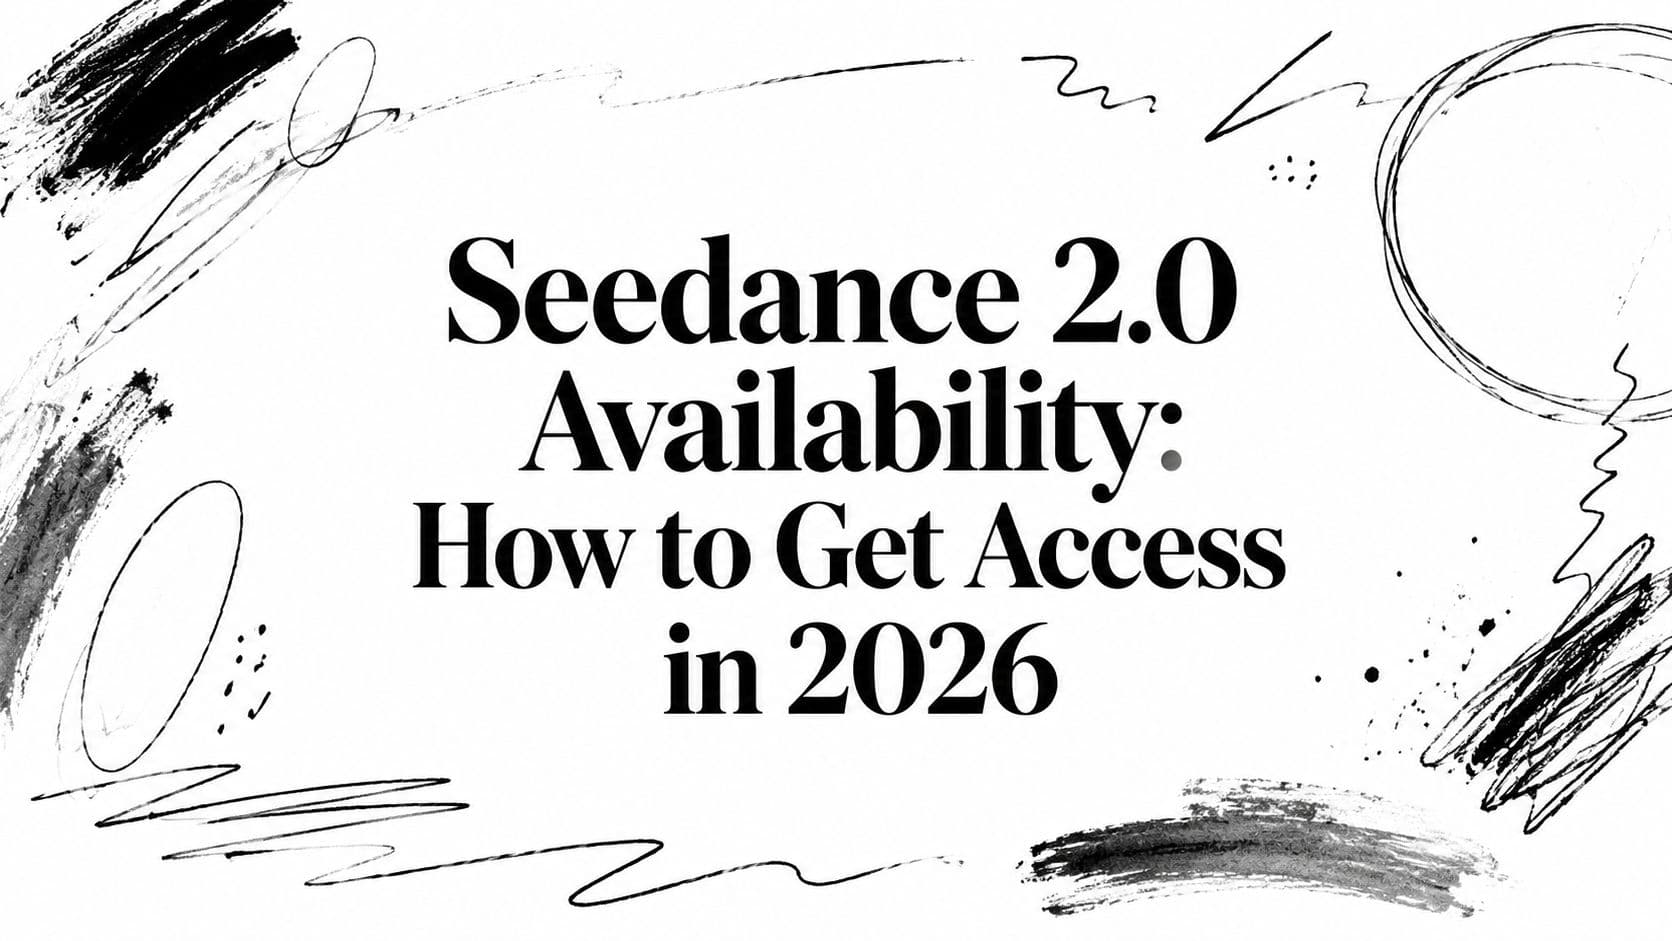
Seedance 2.0 Availability: How to Get Access in 2026
Your complete guide to Seedance 2.0 availability. Learn how to access ByteDance's new AI video tool, platform requirements, pricing, and key considerations.
Read article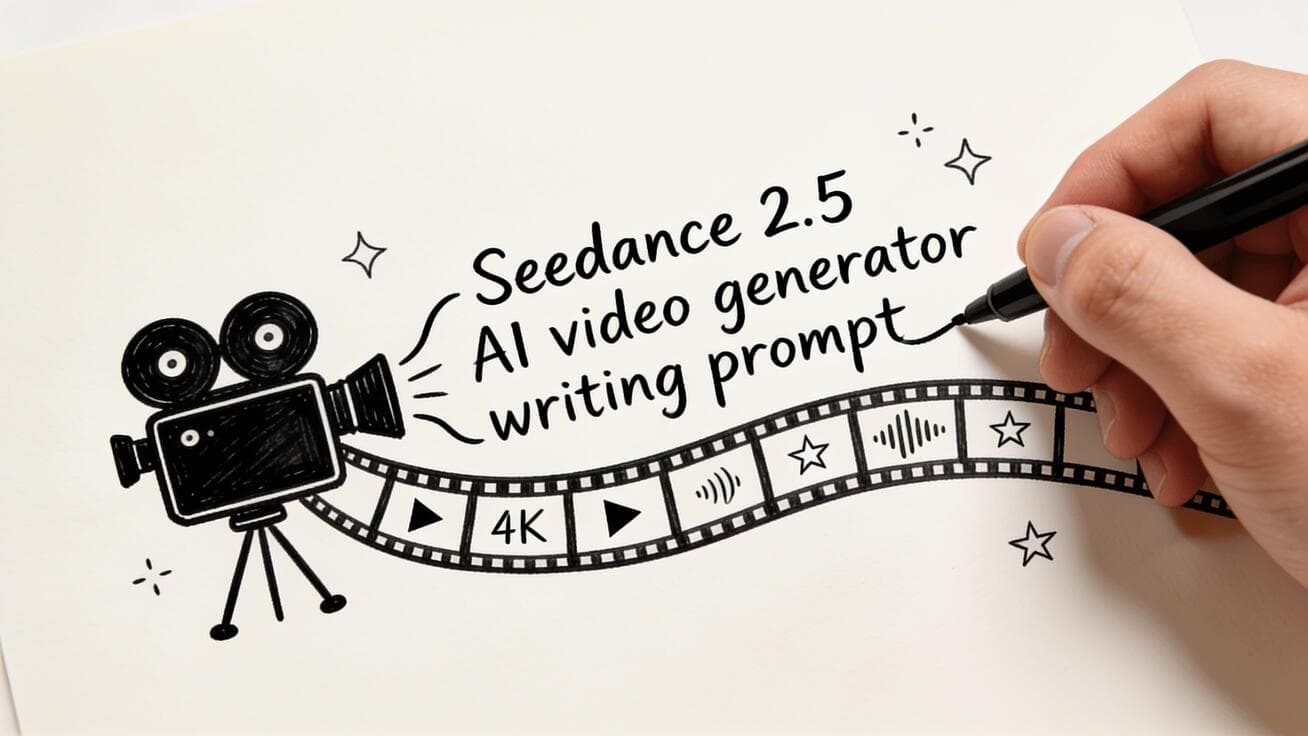
Seedance 2.5 Prompt Guide: How to Write Prompts for Cinematic AI Videos (2026)
A practical, copy-paste guide to writing Seedance 2.5 prompts: the subject-action-camera-lighting-style formula, camera-movement syntax, image-to-video prompting, references, 10 ready-to-use examples, and a QA checklist.
Read article