How to Use Seedance 2.5: Complete Step-by-Step Guide (2026)

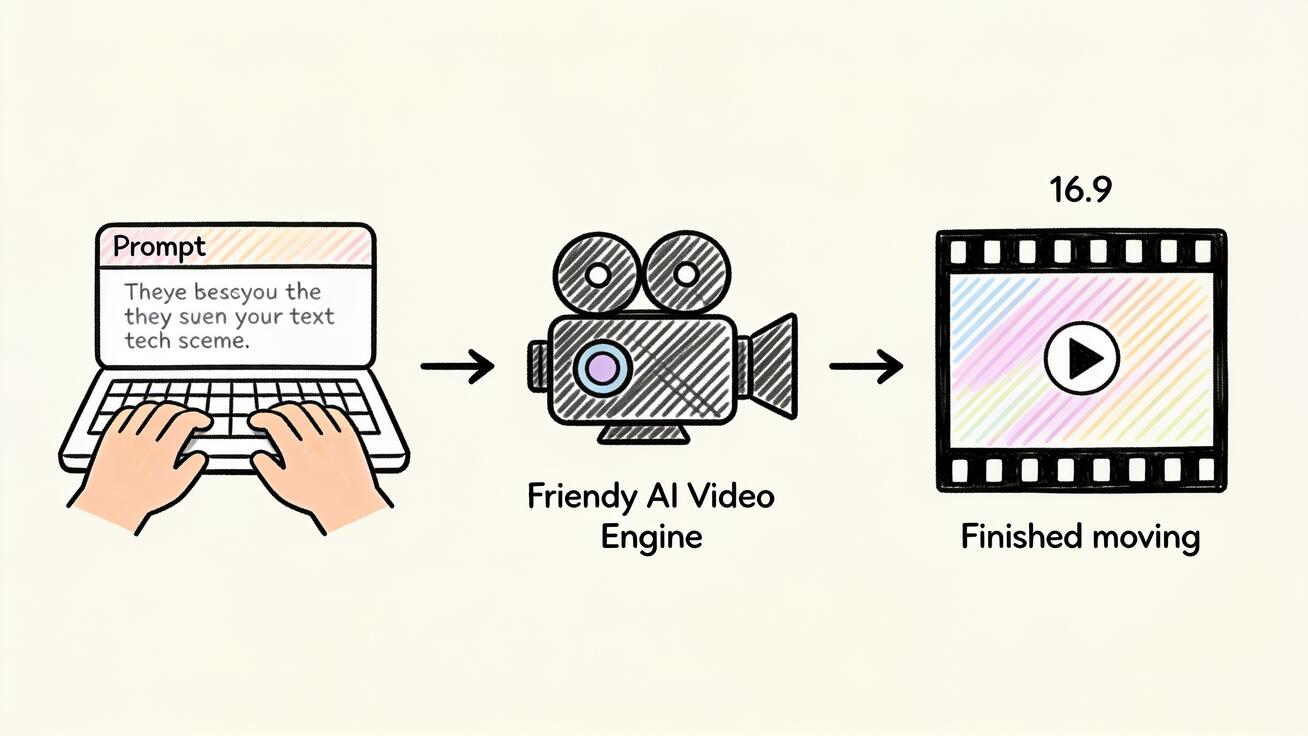
If you want to learn how to use Seedance 2.5, the short version is this: you write a prompt or upload an image, pick your settings, and the model returns a single continuous clip with sound already attached. That's the whole loop. But getting a clip you can actually publish — coherent, sharp, on-message — takes a bit more direction than "type words, hit generate." This guide walks through the full Seedance 2.5 workflow step by step, covering both text-to-video and image-to-video, the reference-image system, prompt structure, audio, and the QA checks that separate a usable shot from a pretty mess.
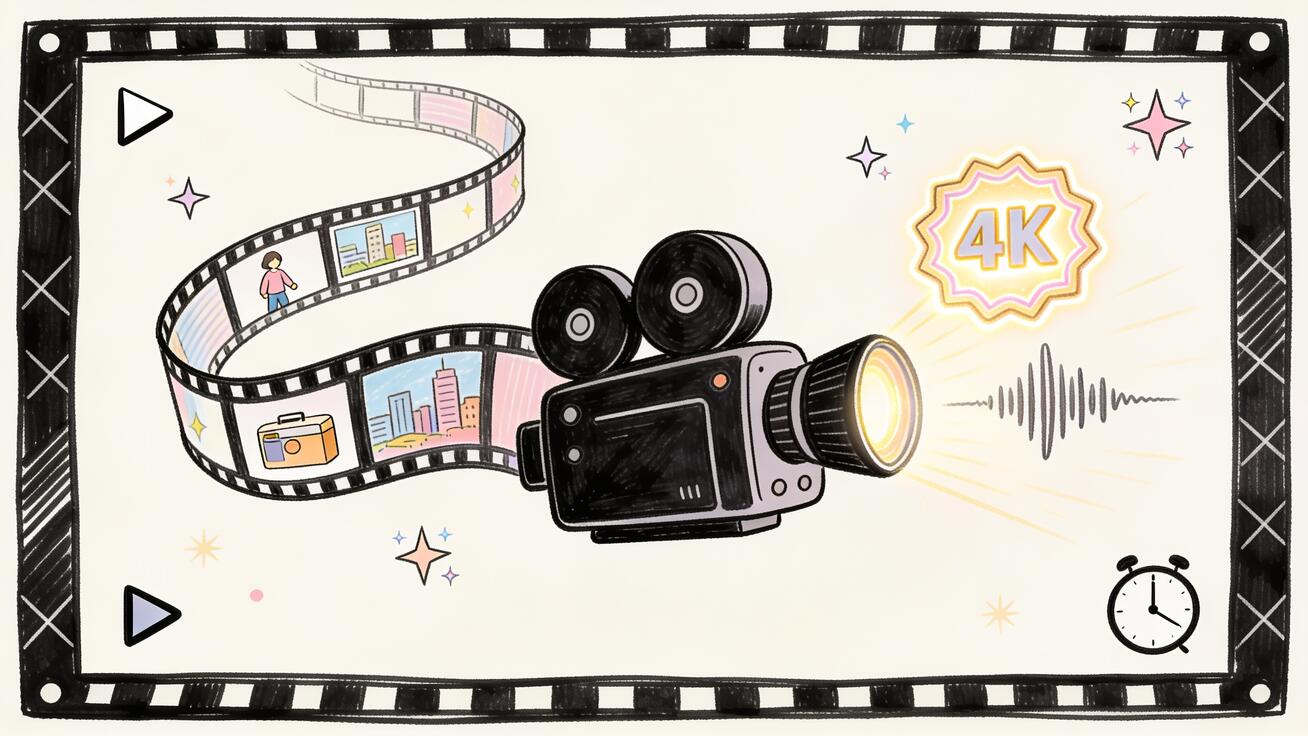
Seedance 2.5 is ByteDance's next-generation video model, announced in June 2026 and rolling out to everyone in early July 2026. The headline change is range: it generates a single continuous 30-second clip from one prompt — no stitching, no cutting separate shots together — at native 4K with synchronized audio produced in the same pass. If you've used earlier models that capped out around 15–20 seconds and forced you to assemble a sequence by hand, this is a different way of working. Let's get into it.
Ready to try it yourself?
Free credits on signup. Plans from $20/month.
Quick Answer: How to Use Seedance 2.5 in 5 Steps
For people who just want the workflow without the background:
- Open Seedance and choose a mode — Text-to-Video (start from a prompt) or Image-to-Video (start from a still image).
- Write your prompt. Describe the subject, the action, the camera movement, the setting, and the mood. Be specific; Seedance 2.5 has strong prompt adherence, so detail pays off.
- Add references if you have them. Upload an image to anchor your look, or attach multiple references (up to 50) for consistent characters, products, or style.
- Generate. Seedance 2.5 returns one continuous clip up to 30 seconds, in 4K, with audio already synced.
- Review and export. Check character consistency, motion, and audio sync, then download or regenerate with a tweaked prompt.
That's the core loop. The rest of this guide makes each step reliable so you're not burning generations on guesswork. If you're brand new to AI video and want a gentler on-ramp, the Seedance 2.5 model page lays out the capabilities at a glance.
What's New in Seedance 2.5 (and Why It Changes Your Workflow)
Before the steps, it helps to know what the model actually does differently, because the new capabilities change how you should prompt.
- One continuous 30-second clip. Instead of generating short fragments and editing them together, you describe a whole scene and Seedance 2.5 renders it as one coherent take — roughly twice the length of what most competing models produce in a single generation. Coherence holds across the entire clip, so a character or product stays consistent from the first second to the last.
- Native 4K, 10-bit color. Output is 4K with 10-bit color depth, a real jump from the 720p/1080p era. That means smoother gradients, less banding in skies and shadows, and footage that holds up on a large screen.
- Synchronized audio in one pass. Sound is co-generated with the picture, not bolted on afterward. Ambient noise, effects, and timing are produced alongside the visuals.
- Up to 50 multimodal references. You can feed the model a large set of reference images to lock in a character's face, a product's design, or a consistent visual style across generations.
- Strong prompt adherence. The model follows detailed instructions closely, which rewards precise prompts and punishes vague ones.
There's also a lighter sibling, Seedance 2 Mini, built for speed and cost: 3 credits per second, 4–15 second clips, 480p or 720p output, and audio included. Use the full 2.5 model when you need length, resolution, and fidelity; reach for Mini when you're iterating fast or batching many short clips.
The practical takeaway: because one prompt now drives a long, coherent, sounded clip, your prompt has to carry more information than it used to. You're not describing a two-second moment — you're directing a scene with a beginning, middle, and end.
How to Use Seedance 2.5 for Text-to-Video
Text-to-video is the fastest way to start because you don't need any assets — just a clear description. Here's the step-by-step.
Step 1: Choose Text-to-Video mode
Open Seedance and select the Text-to-Video option. This tells the model to build the entire scene from your description alone, with no source image constraining the composition.
Step 2: Structure your prompt
A weak prompt names a thing. A strong prompt directs a shot. Build your prompt around five elements:
- Subject — who or what is in frame, described concretely.
- Action — what they do, including how it changes over the clip.
- Camera — the shot type and movement (static, slow push-in, tracking, orbit, crane).
- Setting — location, time of day, lighting.
- Mood / style — the emotional tone and visual treatment (cinematic, documentary, warm, moody).
Because Seedance 2.5 can run a full 30 seconds, you can also describe a small arc — an opening state, a change, and a resolution — instead of one frozen moment.
Step 3: Write the full prompt
Here's a complete, copy-ready example you can adapt:
A lone barista in a small specialty coffee shop at early morning, warm window light falling across the counter. She steams milk, then slowly pours a delicate rosetta into a flat white. The camera starts on a tight close-up of the cup, then smoothly pulls back and rises to reveal the cozy shop and a few quiet customers. Cinematic, shallow depth of field, soft warm color grade, gentle ambient café sounds.
Notice how it names the subject, sequences the action (steam → pour), directs two distinct camera moves (push-out + rise), fixes the setting and light, and sets the mood. That's the level of specificity that the model's strong prompt adherence is built to reward.
Step 4: Set resolution and length
Choose 4K if your destination is a website hero, a large screen, or anything you'll scale up later. Set the duration up to 30 seconds. Longer clips give the model more room to follow your arc, but they also commit more of the scene to a single description — so make sure your prompt actually fills the time rather than leaving 20 seconds of nothing.
Step 5: Generate and review
Run the generation, then watch the whole clip — not just the first second. Check that the action sequence happened in order, the camera did what you asked, and the audio matches the picture. If something's off, adjust one variable at a time (see the troubleshooting section below) rather than rewriting the whole prompt.
For a deeper library of prompt patterns — cinematic, product, social, character-consistent — the best Seedance 2.0 prompts guide carries over almost entirely; the same prompt discipline applies to 2.5, you just have more seconds to fill.
How to Use Seedance 2.5 for Image-to-Video
Image-to-video starts from a still you already have — a product photo, a character render, a brand frame, a piece of art — and brings it to life. This is the workflow to use when you need the output to match an existing asset exactly.
Step 1: Prepare your source image
Seedance 2.5 accepts JPG, PNG, and WEBP files up to 10MB, with a minimum width and height of 300px. For the best result:
- Use the highest-resolution version of your image you have. The model can only animate the detail that's actually in the file.
- Make sure the subject is clear and well-lit. A muddy, low-contrast source produces muddy motion.
- Crop to the composition you want as the opening frame — the model animates outward from what you give it.
Step 2: Choose Image-to-Video mode and upload
Select Image-to-Video, then upload your prepared file. The image becomes the anchor: the starting composition the model brings into motion.
Step 3: Describe the motion you want
This is the step people skip, and it's the most important one. The image tells Seedance what the scene is; your prompt tells it what should move and how. Without a motion prompt you get either an unpredictable result or near-stillness.
A copy-ready image-to-video prompt:
Keep the product and background exactly as shown. Slowly rotate the bottle 30 degrees to reveal the label, while a soft highlight sweeps across the glass. Gentle camera push-in. Subtle studio ambience. Photoreal, no distortion to the product shape.
The phrase "keep the product exactly as shown" matters: it tells the model to preserve your asset while adding only the motion you describe. That's how you get animation without the model reinventing your product.
Step 4: Generate, then check fidelity to the source
Generate, then compare the output against your original image. The two things to watch in image-to-video specifically are subject distortion (did the product or face warp as it moved?) and identity drift (does the subject still look like the source by the end of the clip?). If either fails, tighten the "preserve" language in your prompt and reduce the amount of motion you're asking for.
For a focused deep-dive on this mode — including more prompt templates and fix-it tactics — see the complete guide to Seedance image-to-video conversion.
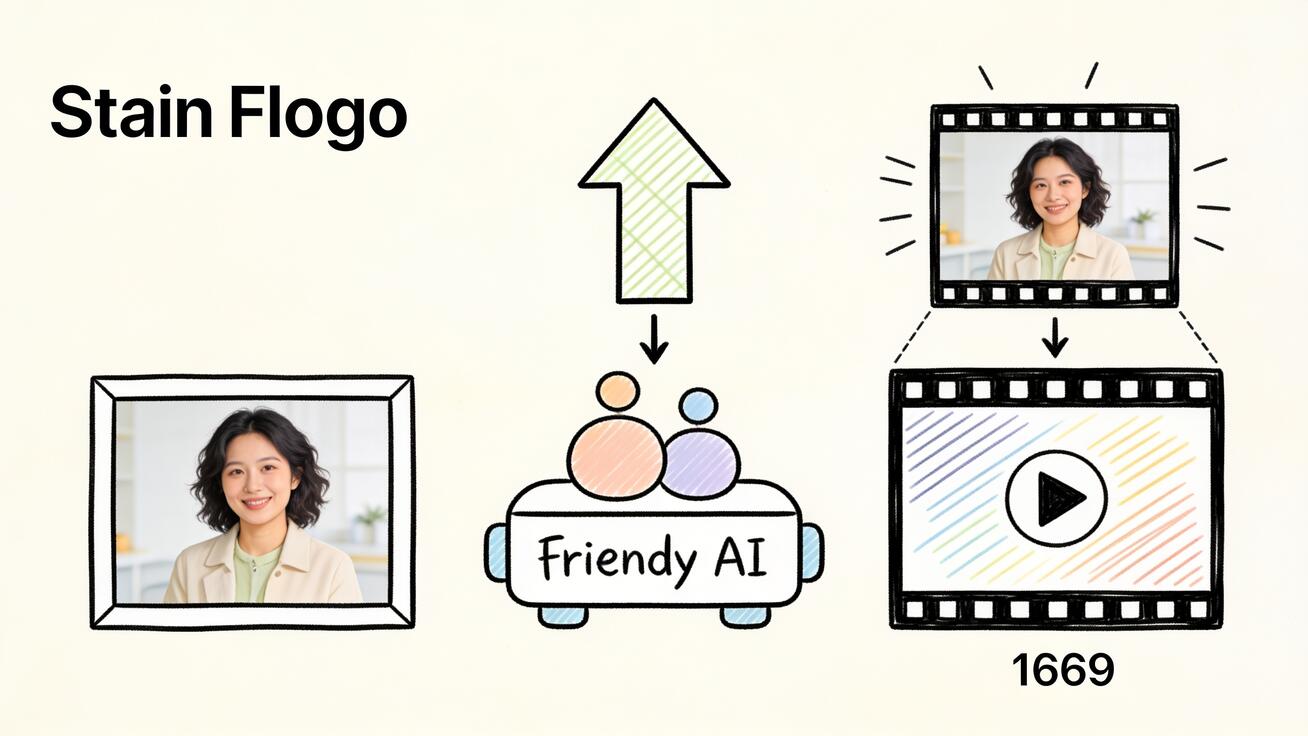
Using Reference Images for Consistency
The reference system is where Seedance 2.5 gets genuinely powerful for repeat work. You can attach up to 50 multimodal references to guide a generation, which solves the single hardest problem in AI video: keeping the same character, product, or style consistent across multiple clips.
Use references when you need:
- Character consistency — the same person's face and clothing across a series of clips. Feed several clear photos of the character from different angles.
- Product consistency — a product that must look identical in every shot of a campaign. Provide multiple product images: front, side, detail.
- Style consistency — a unified look across a whole content series. Supply reference frames that share the color grade, lighting, and composition you want repeated.
Step-by-step reference workflow
- Collect your references. Gather clear, high-quality images that show the subject or style from the angles and conditions you care about. Variety helps the model generalize; blur and clutter hurt it.
- Attach them to the generation. Add your references alongside your prompt.
- Reference the references in your prompt. Describe the subject in words too ("the woman with short dark hair in the red jacket") so the text and images reinforce each other.
- Generate one clip and lock your set. Once a reference set produces a good result, reuse the same set for every clip in the series so the look stays consistent.
This is the difference between a one-off clip and a coherent body of content. A campaign, an explainer series, or a recurring brand character all depend on it.
Getting the Audio Right
Because Seedance 2.5 co-generates audio with the picture, you can shape sound directly in your prompt rather than adding it later. A few practical tips:
- Name the soundscape. Words like "gentle café ambience," "quiet room tone," "soft wind and distant waves," or "subtle studio hum" steer the audio toward what you want.
- Match audio to action. If your prompt sequences an action — a pour, a footstep, a door — the synchronized audio tends to track it. Describe the action clearly and the sound usually follows.
- Keep it subtle for B-roll. For footage that will sit under a voiceover or music in your final edit, prompt for restrained ambient sound so it doesn't fight your soundtrack.
- Review with sound on. Always check the clip with audio enabled. A visual that looks fine can have audio that's distractingly mismatched, and you only catch that by listening.
If your final destination needs a specific licensed track or a recorded voiceover, treat the generated audio as a guide track and replace it in your editor — but for ambient and effect-driven clips, the co-generated audio often ships as-is.
Best Use Cases for Seedance 2.5
Where the 30-second length, 4K resolution, and synced audio actually earn their keep:
- Website hero videos. A single continuous 4K clip is exactly what a landing page hero wants — long enough to loop convincingly, sharp enough for large screens.
- Product demos and ads. Image-to-video from a product photo, plus reference images to keep the product identical across a campaign, gives you clean commercial footage.
- Social media content. The Mini model is ideal for fast short-form batches; the full model is for the flagship pieces you want to look premium.
- Explainer and educational series. Reference-driven character consistency lets you build a recurring presenter or mascot across many clips.
- Cinematic B-roll and mood pieces. Long, coherent, sounded takes are well suited to atmospheric footage that earlier short-clip models couldn't sustain.
The common thread: pick the full model when length, resolution, and consistency matter, and Mini when speed and volume matter more than polish.
Troubleshooting and QA Checklist
Most "bad" AI video isn't a model failure — it's a prompt or review failure. Here's how to diagnose the common problems and a checklist to run before you publish.

Common problems and fixes
- The camera ignores your intent. Be explicit and use one clear camera instruction. "Slow push-in" beats a pile of competing movement words. If you stack three camera moves, the model may average them into mush.
- The subject changes over the clip. For text-to-video, add stronger descriptive anchors. For image-to-video or series work, switch to reference images and reuse the same set.
- The product or face distorts. Reduce the amount of motion you're asking for and add explicit "preserve the shape, no distortion" language. Big, fast motion is where warping creeps in.
- The action doesn't happen in order. Sequence it plainly in the prompt ("first she steams the milk, then she pours") so the model has an explicit timeline to follow across the longer clip.
- The audio feels off. Re-prompt the soundscape in plainer terms, or plan to replace it in your edit.
- The clip looks soft. Confirm you generated at 4K, and for image-to-video, start from the highest-resolution source you have.
Pre-publish QA checklist
Run this every time before you export:
- [ ] Watch the entire clip, start to finish, not just the opening.
- [ ] Character / product consistency holds from first frame to last.
- [ ] Camera movement matches what you asked for.
- [ ] Action sequence happened in the right order.
- [ ] No distortion in faces, hands, products, or text.
- [ ] Audio sync — check with sound on; replace if it fights your final edit.
- [ ] Resolution is correct for the destination (4K for hero/large screen).
- [ ] Brand safety — nothing unexpected or off-message slipped into the frame.
Treating QA as a required step, not an afterthought, is what makes the output dependable enough to publish.
FAQ
How long a video can Seedance 2.5 make? A single continuous clip of up to 30 seconds from one prompt, generated as one coherent take with no stitching — roughly twice the length most competing models produce in a single generation.
What resolution does Seedance 2.5 output? Native 4K with 10-bit color depth, a step up from the 720p/1080p of earlier models.
Does Seedance 2.5 generate sound? Yes. Audio is synchronized and co-generated with the picture in the same pass, so you don't add it separately.
What image formats can I upload for image-to-video? JPG, PNG, and WEBP files up to 10MB, with a minimum width and height of 300px.
When can I use Seedance 2.5? It was announced in June 2026 and is rolling out to everyone in early July 2026.
What's the difference between Seedance 2.5 and Seedance 2 Mini? The full 2.5 model is built for length, 4K resolution, and fidelity. Seedance 2 Mini is the lightweight, fast option: 3 credits per second, 4–15 second clips, 480p or 720p output, with audio included. Use the full model for flagship pieces and Mini for fast, high-volume short clips.
Conclusion
Learning how to use Seedance 2.5 comes down to three habits: write prompts that direct a whole scene rather than name a moment, use reference images whenever consistency matters, and run a real QA pass before you publish. The model gives you a single continuous 30-second clip in 4K with synced audio — but that range only helps if your prompt is specific enough to fill it and your review is honest enough to catch the misses. Start with one text-to-video clip and one image-to-video clip, compare what each mode does with your prompts, and build from there. When you're ready, open the Seedance 2.5 model page and create your first clip.
Ready to try it yourself?
Put the steps from this guide into practice with Seedance and turn prompts or images into polished videos in minutes.
Free credits on signup. Plans from $20/month.
Related Articles
More posts in the same locale you may want to read next.
Seedance App Preview Video Generator 2026: Create App Store and Product Launch Clips
Use Seedance to turn app screenshots, feature copy, and launch goals into App Store previews, Google Play promo videos, and product launch clips.
Read article
Seedance 2.5 Prompt Guide: How to Write Prompts for Cinematic AI Videos (2026)
A practical, copy-paste guide to writing Seedance 2.5 prompts: the subject-action-camera-lighting-style formula, camera-movement syntax, image-to-video prompting, references, 10 ready-to-use examples, and a QA checklist.
Read article
Seedance 2.5 vs Veo 3.1: Which AI Video Model Should You Use?
Seedance 2.5 vs Veo 3.1 compared head-to-head: clip length, 4K, audio, references, prompt adherence, use cases, and which AI video model to pick.
Read article