
PixVerse AI Video Agent Workflow: From Brief to Finished Shots
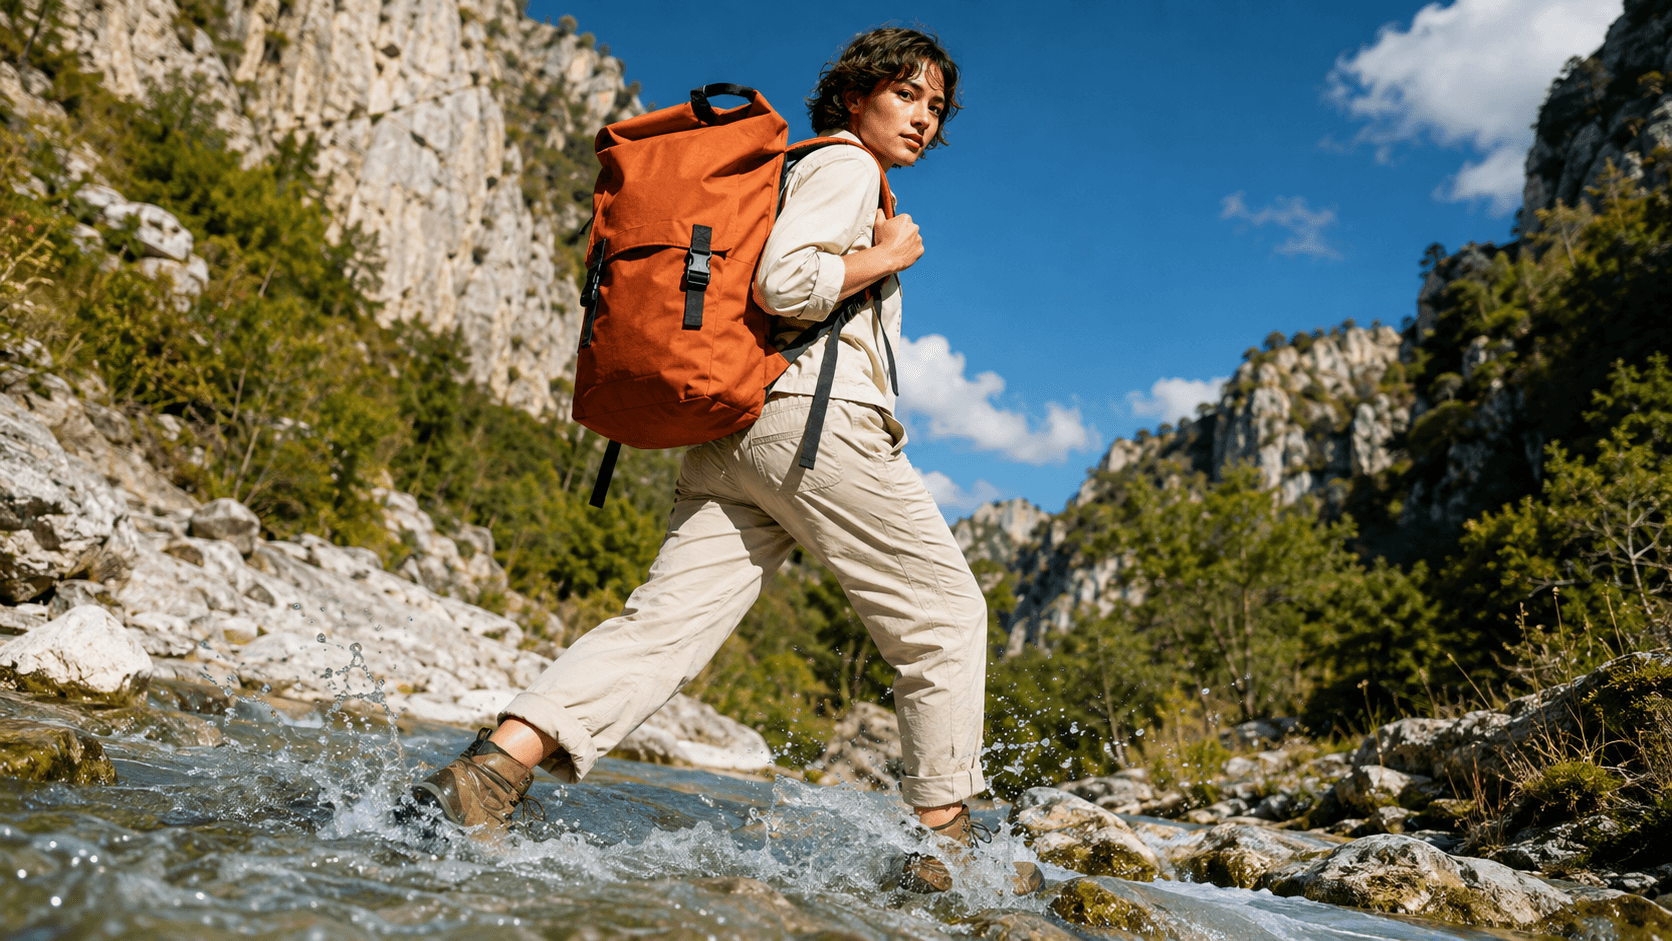
AI Overview
What is a PixVerse AI video agent workflow?
It turns a creative brief and reference images into a planned video sequence. Review each shot for motion, consistency, and usefulness before assembling the edit.
Do I need the CLI to use a video agent?
No. Use the browser Agent for guided creation; choose the CLI when you need scripted batches, structured task results, or repeatable technical workflows.
How do I keep different shots consistent?
Reuse approved references and keep the subject, clothing, setting, and lighting consistent. Describe only the action or camera change needed in each new shot.
When should I consider Seedance Agent?
Consider Seedance Agent when you want guided shot planning without terminal setup. Review the proposed plan and estimated credits before approving paid generation.
Choose the Right PixVerse Agent Entry Point
Browser Agent for a guided creative brief
The useful question is not whether an agent can generate a clip. It is whether you can turn an idea into an approved sequence without losing references, decisions, or good results. Start by choosing the interface that fits your working habits.
PixVerse presents its browser Agent as a guided way to develop a video direction from an idea, image, template, or reference. This suits creators who want to discuss the result before choosing generation settings. Check the controls available in your account: a capability elsewhere in the platform does not necessarily appear in every Agent task.
A practical PixVerse AI agent tutorial should begin with a small deliverable, not a campaign-sized request. If you have only a written concept, first settle the visual direction; the same preparation applies to a text-to-video project.
CLI and Skills for repeatable technical work
The official PixVerse CLI is the terminal route. It supports structured JSON output and account authentication, while the separate Skills repository describes reusable capabilities and composed workflows. Its documentation currently requires a subscription for CLI use, and generation consumes account credits.
Choose this route when you need repeatable inputs, task tracking, or scripted batches. Check the installed version, supported model settings, and account access before scheduling jobs. Browser Agent, CLI automation, and specialized API agents are related entry points, not interchangeable instructions. This guide combines documented capabilities with a proposed production method; it is not a timed comparison or a hands-on PixVerse benchmark.
Prepare a Brief That Produces Usable Shots
Define one outcome, format, and approval boundary
Imagine a short campaign for an orange hiking backpack. The goal is to show outdoor use while keeping the product recognizable. Decide the audience, delivery format, approximate sequence length, and final action before generating. A vertical social edit needs different subject placement from a landscape website film.
Write a stopping rule: approve the plan, test one demanding shot, then expand only if the reference survives movement. Set a spending limit for the test batch and include room for revisions. Do not let an attractive first frame count as approval of an entire moving clip.
Give each reference a specific role
Separate product identity, person identity, environment, and visual mood. A clear backpack photograph defines the buckle placement; a landscape establishes the location. Neither should silently override the other. Avoid supplying several contradictory product designs and expecting the system to choose correctly.
For a reference-led image-to-video workflow, select a source with readable edges, hands, and contact points. Use images you own or are authorized to upload. Check the selected mode's supported reference types and limits rather than treating every upload as an equivalent control.
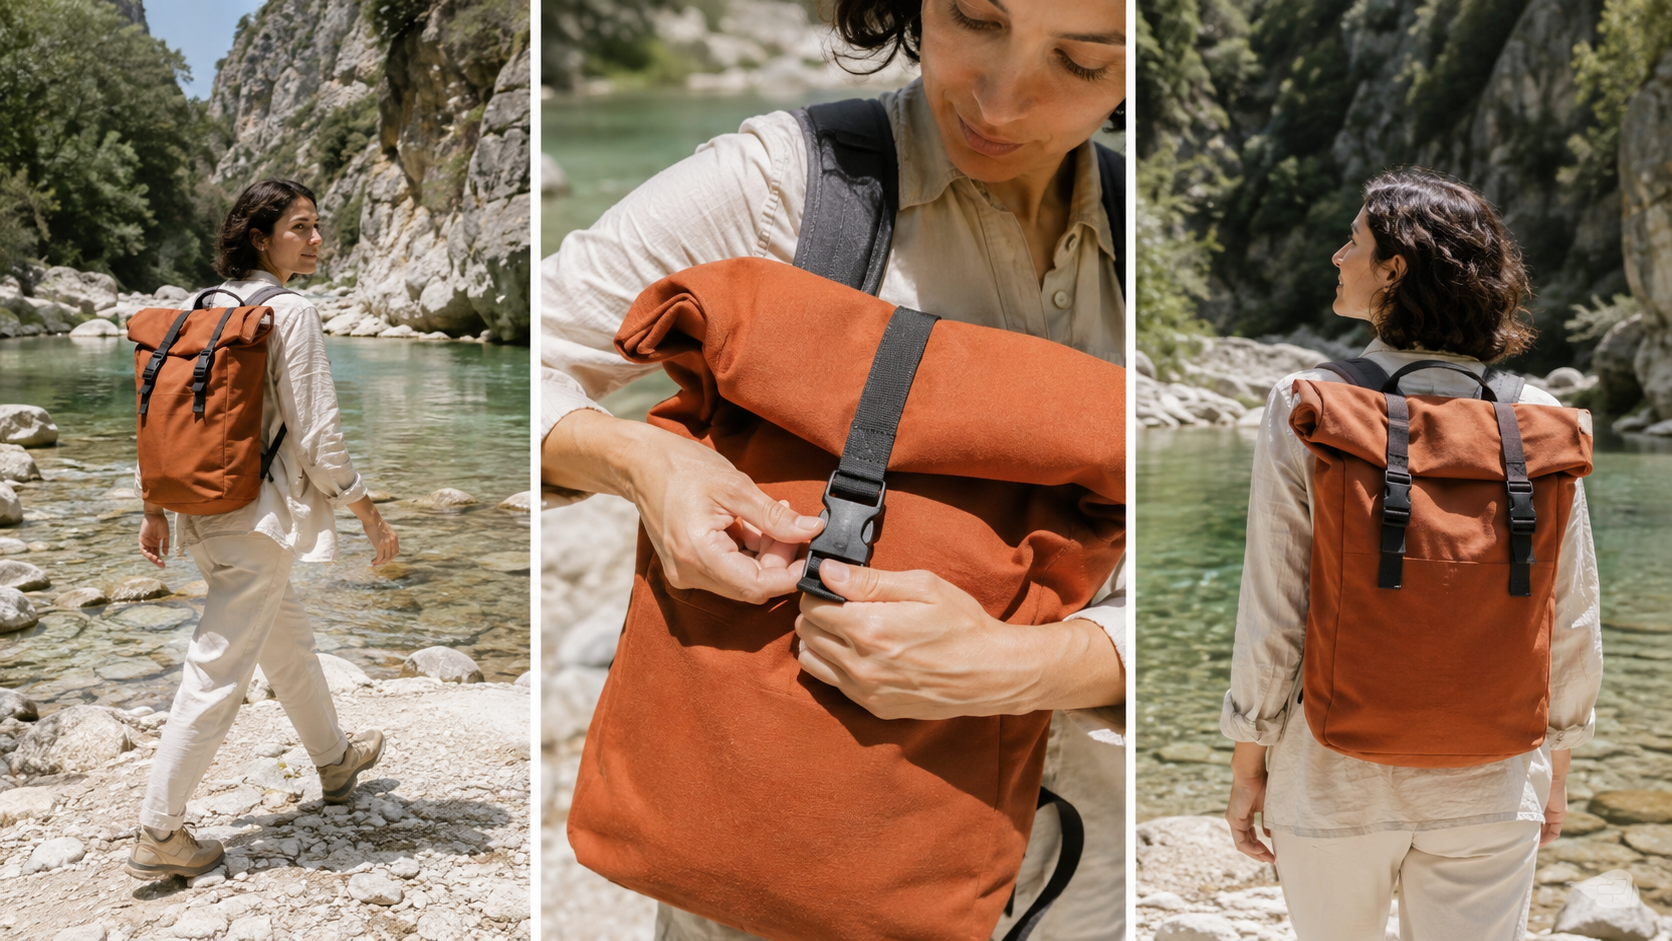
Newly generated editorial examples, not PixVerse outputs. Compare the pack construction, clothing, and location across compositions before choosing reference images.
Build a PixVerse Image-to-Video and Storyboard Workflow
Approve one motion test before expanding
Start with the shot most likely to expose a problem. For the backpack campaign, that could be a step across a stream: the body moves, straps shift, and the product changes angle. Keep the request narrow enough to judge.
Animate the supplied reference as one continuous shot. The hiker takes one careful step onto a stone. The camera tracks gently to the right. Preserve the orange backpack, two black buckles, cream clothing, and bright limestone setting. Use natural body balance and restrained water movement. No cuts, new people, or added lettering.
Treat this as a creative prompt, not a guarantee of exact output. Review the result at normal speed before inspecting details. If the backpack changes shape, simplify the action or improve the source before requesting several more shots.
An existing generated motion sample from the Seedance blog library, not a PixVerse test. Watch the complete movement and garment behavior; a poster cannot establish temporal quality.
Connect shots with continuity anchors
A PixVerse storyboard-to-video workflow needs both shot variety and persistent details. The official Skills example builds a four-shot storyboard, separates its frames, animates them, and assembles the results. That is a documented technical workflow; it does not mean every browser Agent task follows the same sequence.
For the smaller campaign here, plan three editorial beats:
| Shot | Viewer should understand | Keep unchanged |
|---|---|---|
| Wide approach | Where the hiker is going | Location, outfit, travel direction |
| Medium action | How the pack moves during use | Pack shape, straps, buckles |
| Detail finish | What the product looks like | Material, color, construction |
These are proposed shots, not fixed model settings. Leave enough motion at each boundary for a clean edit. A close-up should reveal information, not reset the weather, wardrobe, or direction of travel. If you extract references from a composite, upload individual frames rather than accidentally animating the whole grid.
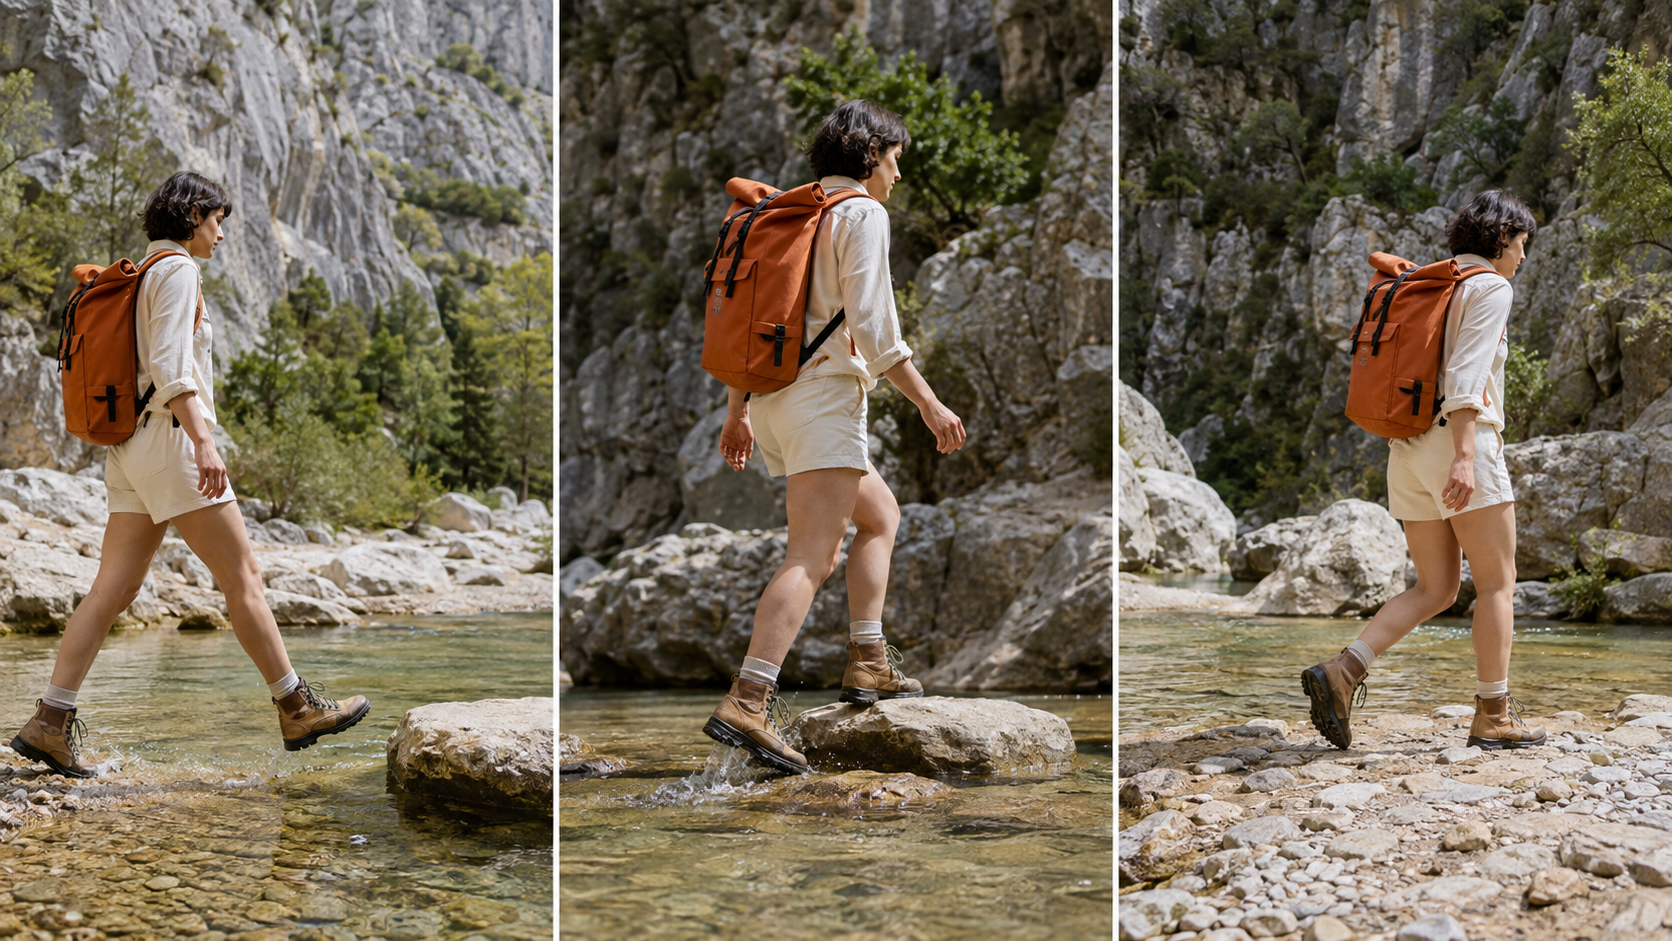
Generated composition studies for reviewing screen direction and setting. These stills illustrate the plan; they do not prove that a video model will preserve every detail.
Automate Retries Without Losing Good Results
Track task state and preserve accepted outputs
For a PixVerse CLI AI agent workflow, save the returned task identifier before starting another job. The documented task commands can check status or wait for completion. Keep a small record containing shot name, input version, prompt, model settings, task ID, output location, and review decision.
A waiting task is not a failed shot. If a request times out locally, inspect the existing task before submitting again. Once an output is accepted, preserve that file and its settings. A wider multi-model AI video workflow benefits from the same discipline, particularly when different tools produce different shots.
Change one failing variable at a time
Distinguish technical failures from creative rejection. Authentication or unsupported settings require correcting the request. A completed clip with drifting buckles requires a better reference, simpler action, or another creative attempt. Repeating everything makes the cause harder to identify.
Keep the accepted wide shot while revising the problematic medium shot. Name versions clearly and record why you rejected them. Set a retry ceiling, then reconsider the shot design if the same defect persists. Automation should preserve your decisions, not produce an endless folder of nearly identical failures.
Check Quality and Cost Before the Final Export
Review the sequence in its intended order. Check product geometry, hand contact, face identity, motion direction, and framing. Then examine the beginning and end of every clip for sudden changes. A technically valid export can still fail because the viewer cannot understand the action.
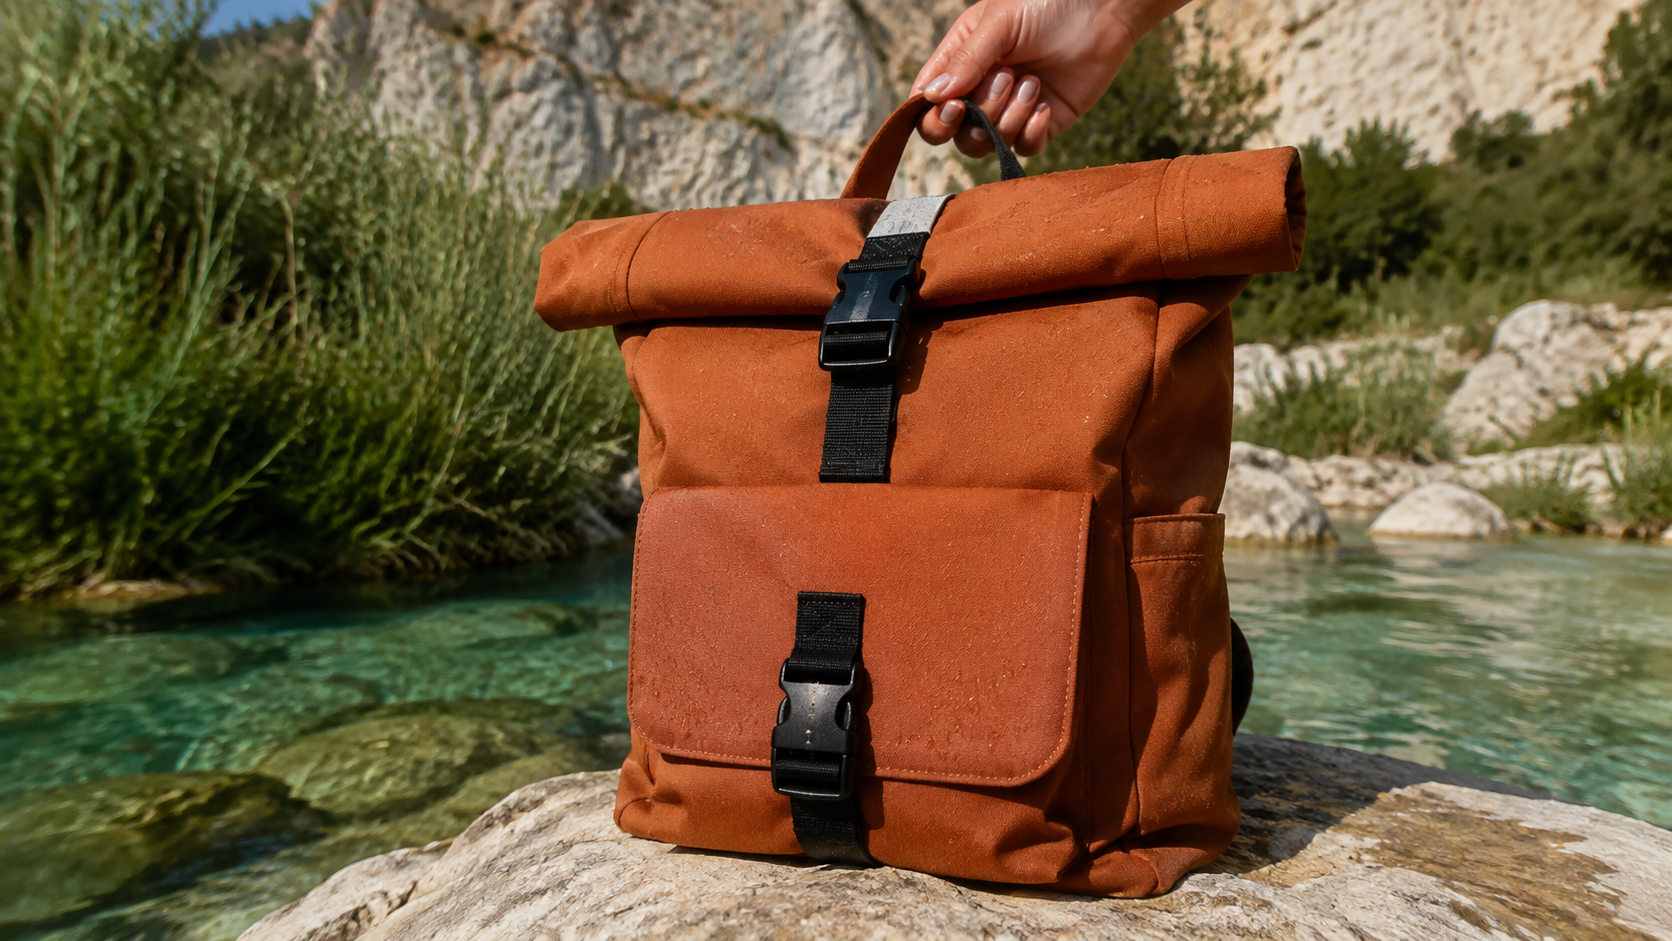
Generated detail study: inspect seams, buckle count, and material definition. Still-image detail is a reference target, not evidence of video fidelity or a comparative score.
Handle sound explicitly. Decide whether the sequence needs ambience, speech, music, or silence, and inspect what the chosen generation mode actually returns. Do not assume that assembling clips creates a coherent soundtrack. The native-audio video guide explains what to check when sound and visuals are generated together.
Measure cost per accepted shot rather than cost per submission. Include rejected attempts and finishing work in the comparison. Match the delivery aspect ratio and export settings to the intended placement, then watch the downloaded file from beginning to end. Keep the original accepted clips alongside the final edit.
Use Seedance Agent When Project Coordination Is the Bottleneck
If the difficult part is turning a brief into an approved plan, Seedance Agent offers a hosted route worth considering. Its approval flow separates free planning from paid generation and presents an estimated credit cost before approval. You can request changes to the proposed shots, copy, format, resolution, or model before committing.
Bring the same backpack brief and references. Ask for a short shot plan, identify which details must persist, and review the proposed generation scope. Keep per-run approval enabled when you want to review each spend; a session-wide approval option is not a spending cap. Judge the actual outputs against your acceptance criteria rather than assuming an agent removes review work.
An existing Seedance Agent product-ad output, shown in its full frame. It demonstrates a finished deliverable, not the backpack campaign or a head-to-head PixVerse comparison.
Conclusion
A useful PixVerse AI video agent workflow starts with the right entry point, a clear reference set, and one approved motion test. Expand into connected shots, retain successful outputs, and revise only the part that fails. Compare the complete sequence and its real production cost before delivery. If you prefer guided planning and approval to terminal coordination, start your next video project with Seedance Agent.
Ready to try it yourself?
Put the steps from this guide into practice with Seedance and turn prompts or images into polished videos in minutes.
Free credits on signup. Plans from $28/month.
Related Articles
More posts in the same locale you may want to read next.

Seedance App Preview Video Generator 2026: Create App Store and Product Launch Clips
Use Seedance to turn app screenshots, feature copy, and launch goals into App Store previews, Google Play promo videos, and product launch clips.
Read article
Best AI Video-to-Video Models in 2026
The best AI video-to-video models in 2026 for editing footage you already shot: Higgsfield Genjutsu, Seedance 2.x, Runway Aleph, Luma Modify and Kling Omni compared.
Read article
Kling 4.0 vs Seedance 2.5: Full Comparison
Kling 4.0 vs Seedance 2.5 compared by spec: 30-second clips, keyframes vs 50 references, audio, 4K and 10-bit color, editing, and which model fits which job.
Read article