
MiniMax H3 Turbo LoRA: 5× Faster Video Generation Setup Guide
AI Overview
What is the MiniMax H3 Turbo LoRA?
It is an open LoRA adapter for MiniMax H3 that reduces the usual roughly 20 sampling steps to 4–8—about a 5× sampling-step reduction at four steps—while retaining joint video and synchronized stereo audio.
How do I use MiniMax H3 Turbo LoRA in ComfyUI?
Install MiniMax-H3 Turbo through ComfyUI Manager, put the LoRA in ComfyUI/models/loras/, then connect its LoRA and sampler nodes to the official H3 graph. Start at 6–8 steps, strength 1.0, and the recommended scheduler.
Which Turbo LoRA checkpoint should I use — v4 or v1?
Use v4-step600-ema for most shots, especially faces, texture, and subtle motion. Use the older v1-850 only when you must render at four steps and the scene has large, fast motion.
Does MiniMax H3 Turbo LoRA reduce video quality?
At 6–8 steps it is intended to stay close to the normal 20-step look; four steps trade some fine texture and fast-motion stability for speed. Six to eight steps are the practical quality-speed sweet spot.
What Is MiniMax H3 Turbo LoRA and Why Does It Matter?
MiniMax H3 Turbo LoRA is a few-step sampling adapter: a small set of learned weight updates applied on top of the H3 base model. It does not replace the diffusion model, text encoder, or VAEs. Instead, it teaches H3 to reach a useful result with far fewer denoising steps.
The original larryvrh release targets 4–8 steps instead of roughly 20, so a four-step run represents about one-fifth as many sampling iterations. That is the source of the “5× faster” claim; actual wall-clock speed still depends on GPU, resolution, frame count, offloading, and decode time. H3's synchronized stereo audio remains in the same generation path.
This matters for local iteration. Four-step previews let you reject weak prompts quickly, while six or eight steps give approved shots more detail. Larryvrh publishes the original weights and custom nodes; drbaph provides pruned ComfyUI conversions, while LightX2V-derived variants extend the idea to FL2V and Ref2V. If H3 itself is new to you, begin with the complete MiniMax H3 ComfyUI setup.
A real output published with the recommended pruned v4 workflow, rehosted on Seedance R2 for reliable playback.
Turbo LoRA v4 vs v1 — Which Checkpoint Should You Use?
Choose v4-step600-ema by default. The release notes identify minimax_h3_turbo_v4_step600_ema.safetensors as the strongest general checkpoint. It improves static or low-motion shots, faces, fingers, and fine texture, while reducing the over-sharpened, plastic look associated with earlier v1 weights. With a pruned H3 base, use the matching minimax_h3_turbo_v4_step600_ema_pruned_comfyui.safetensors conversion.
Keep v1-850 as a narrow fallback. At exactly four steps, v4's static-frame enhancement can leave trails or smear during very fast movement. For that specific combination—four steps plus heavy motion—minimax_h3_turbo_4step_ema_ckpt850 can be friendlier.
Decision rule: using 6–8 steps → v4; using 4 steps with mild motion → v4; using 4 steps with large, fast motion → try v1-850. Do not push beyond eight steps: the model-card guidance says extra steps stop helping and may introduce over-sharp artifacts.
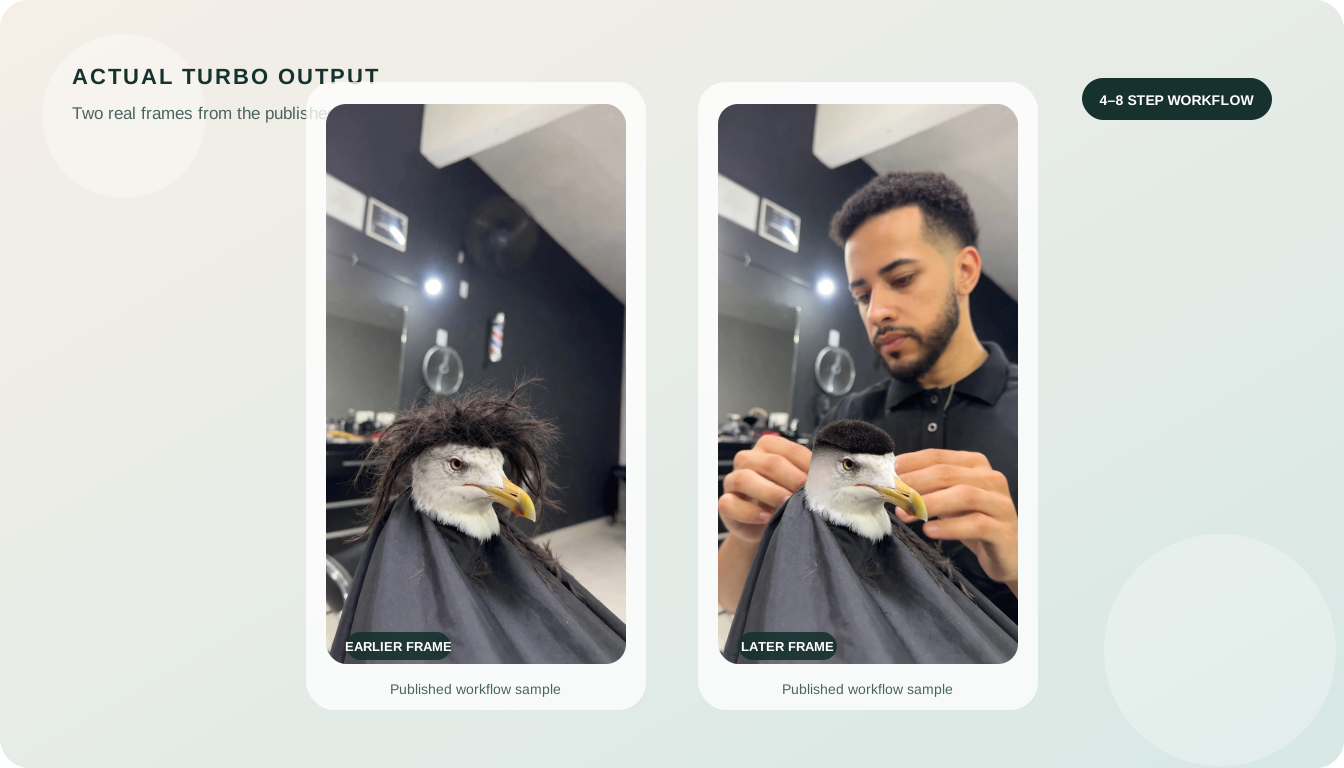
Two actual generated frames distributed with the published Turbo LoRA example, showing continuity across the same vertical clip.
Prerequisites — Base Models and Files You Need
Update ComfyUI to 0.30.0 or later before building the graph. The standard FL2VA workflow needs these four base files:
| File | Folder |
|---|---|
minimax_h3_fl2va_pruned_int8_convrot.safetensors |
ComfyUI/models/diffusion_models/ |
qwen3vl_32b_minimax_h3_nvfp4_awq.safetensors |
ComfyUI/models/text_encoders/ |
minimax_h3_video_vae_fp16.safetensors |
ComfyUI/models/vae/ |
minimax_h3_audio_vae_fp32.safetensors |
ComfyUI/models/vae/ |
Then download the Turbo LoRA. For the pruned model above, the recommended file is minimax_h3_turbo_v4_step600_ema_pruned_comfyui.safetensors; put it in ComfyUI/models/loras/. Full H3 bases can use the original non-pruned v4 EMA file. Restart ComfyUI or refresh its model list after copying weights.
Step-by-Step ComfyUI Setup for MiniMax H3 Turbo LoRA
- Open ComfyUI Manager, search MiniMax-H3 Turbo, install the custom-node package, and restart ComfyUI.
- Download the v4 EMA LoRA that matches your full or pruned base and place it in
ComfyUI/models/loras/. - Load the official H3 Text-to-Video or Image-to-Video template. The Text to Video workspace is a useful hosted comparison when checking the same prompt without a local graph.
- Insert MiniMax-H3 Turbo LoRA after Load Diffusion Model and before the model input used by the sampler. Select the Turbo file and leave
low_vramoff unless memory pressure requires it. - Connect MiniMax-H3 Turbo Sampler to the
samplerinput onSamplerCustomAdvanced. This node preserves the correct video/audio schedule across current and older ComfyUI versions. - Set steps to 6–8, strength to 1.0, and use
simplewith the original node. The pruned conversion workflow recommends Euler with Beta; do not mix settings from two example graphs without checking which nodes you loaded.
For image-led tests, preserve the source geometry before describing motion; the Image to Video workflow offers the same input-first idea without local weights.
Recommended Settings — Steps, Strength, and Scheduler
| Steps | Best use | Expected tradeoff |
|---|---|---|
| 4 | Fast prompt and motion previews | Maximum speed; more texture loss or fast-motion smear |
| 6 | Default production tests | Strong balance of detail, stability, and speed |
| 8 | Final local pass | Best Turbo quality; slower than six, still far below 20 steps |
Keep LoRA strength at 1.0 first. If one clip shows blur or ghosting, test a small increase; if it looks gritty or over-sharp, test a small decrease. Change one variable at a time and keep steps within 4–8. Use the scheduler specified by your workflow: simple for the original custom-node graph, or Euler + Beta for the published pruned conversion graph.
Start around a 768px short edge, keep width and height divisible by 32, and test a short clip before increasing length. Prompt structure still matters after acceleration; use the MiniMax H3 prompting guide when dialogue, shot timing, or sound instructions drift.
FL2V and Ref2V Turbo Variants — Which to Use for I2V and R2V
FL2V 4-step 768p is the speed choice for first-frame, last-frame, and image-to-video work. FL2V 8-step prioritizes motion consistency and audio stability. Ref2V 4-step is for reference-conditioned character, style, motion, or voice transfer and must be paired with the Ref2V base and conditioning graph.
Choose by graph, not filename similarity: ordinary T2V/I2V → larryvrh v4 or the matching FL2V variant; fast FL2V draft → four-step FL2V; quality FL2V → eight-step FL2V; character/style/voice references → Ref2V. LightX2V-derived files use the correct full ComfyUI layout, while drbaph's smaller files are dynamic-rank or pruned-base conversions. They are not interchangeable with the original full-size weights in every workflow.
For reference assignment and prompt syntax, use the MiniMax H3 reference-video guide.
An earlier real Turbo workflow output. Compare it with the v4 sample for texture, motion trails, audio, and edge sharpness.
MiniMax H3 Turbo LoRA vs Running H3 Without LoRA vs Seedance
| Factor | H3 + Turbo LoRA | H3 without LoRA | Seedance |
|---|---|---|---|
| Sampling steps | 4–8 | About 20 | Managed in the browser |
| Setup | Base weights, LoRA, custom nodes | Base weights and standard graph | No local model setup |
| Local VRAM | Required; low_vram can help |
Required | Not required |
| Quality control | Fast drafts plus 6–8-step finals | Slower baseline for comparison | Streamlined hosted workflow |
| Native audio | H3 synchronized stereo audio | H3 synchronized stereo audio | Audio-video generation workflow |
| Best for | Local batches and speed-sensitive iteration | Baseline checks and maximum local control | Fast creation without downloads or GPU planning |
Use Turbo when repeated local sampling is the bottleneck. Keep one non-Turbo render as a baseline before converting a large batch. Choose Seedance when the time spent downloading models, managing VRAM, and repairing graphs outweighs node-level control. Try Seedance in your browser →
Conclusion
MiniMax H3 Turbo LoRA cuts sampling from roughly 20 steps to 4–8, with 6–8 steps and v4-step600-ema as the strongest default; reserve v1-850 for four-step shots with very fast motion. It is a practical local batch accelerator rather than a universal five-times wall-clock guarantee, and Seedance remains the simpler browser option when you want fast video generation without local setup.
Ready to try it yourself?
Put the steps from this guide into practice with Seedance and turn prompts or images into polished videos in minutes.
Free credits on signup. Plans from $28/month.
Related Articles
More posts in the same locale you may want to read next.

Seedance App Preview Video Generator 2026: Create App Store and Product Launch Clips
Use Seedance to turn app screenshots, feature copy, and launch goals into App Store previews, Google Play promo videos, and product launch clips.
Read article
Gemini AI Video Prompt Examples: Copy-Ready Veo Scenes and a Better Prompt Formula
Copy Gemini AI video prompt examples for cinematic motion, product ads, dialogue, and vertical clips, then adapt them with a practical Veo prompt formula.
Read article
How to Keep Product Shape Consistent in AI Video Ads
Lock product geometry, packaging, labels, references, camera angles, and approval checks so AI video ads preserve the real SKU across every shot.
Read article