
Seedance 2.5 Render Time: How Long Does It Take and How to Speed It Up
AI Overview
How long does Seedance 2.5 take to render a video?
A public 5-second 720p run took about 224 seconds of compute. For planning, allow roughly 20–30 minutes for a 30-second 720p clip after queue time is included; busy periods can take longer.
What is the difference between queue time and render time in Seedance 2.5?
Queue time is the wait before processing starts; render time is the model’s active compute. The delay you experience is wall-clock time: upload and queue, plus rendering, final encoding, and delivery.
Does lowering resolution make Seedance 2.5 generate faster?
Usually, yes. A 480p frame has about 55% fewer pixels than a 720p frame, so drafts can finish materially faster. Use 480p to approve motion and composition, then rerun only the winner at 720p.
How does Seedance 2.5 render speed compare to other AI video models?
Seedance may take longer per job because it can create one continuous clip up to 30 seconds. Short-clip tools often finish sooner, but a comparable 30-second sequence may require several generations, selection, and stitching.
How Seedance 2.5 Render Time Actually Works
Seedance 2.5 generation is an asynchronous job, not an instant browser effect. You submit a prompt, resolution, duration, aspect ratio, and any references; the service returns a job ID; the interface or API checks that ID until the result is ready. The browser can show “generating” while the job moves through several different stages.
The useful production formula is wall-clock time = upload + queue + render + encode + delivery. Render time is the GPU work that creates frames and audio. Queue time depends on platform load and available concurrency. Upload and delivery become noticeable when you attach several reference videos or work on a slow connection.
The largest predictable cost is output volume. More seconds create more frames, and more pixels make each frame heavier. Reference-led work can add input processing, but prompt complexity alone does not translate into a reliable number of extra minutes. Treat any displayed estimate as a planning aid, not a service-level guarantee.
Real Render Time Benchmarks — What the Data Shows
One public 5-second 720p text-to-video run reported about 224 seconds of active compute. That is a useful baseline, but it is still one route, one job, and one moment in time. The longer figures below are linear planning estimates based on that baseline and pixel area—not official promises.
| Output | Planning estimate for render | Practical wall-clock budget |
|---|---|---|
| 5 seconds · 480p | about 100 seconds | 2–6 minutes |
| 5 seconds · 720p | about 224 seconds | 4–10 minutes |
| 15 seconds · 720p | about 11 minutes | 12–25 minutes |
| 30 seconds · 720p | about 22–24 minutes | 20–40+ minutes |
Use the left column to compare settings and the right column to schedule people. At peak traffic, queue time can equal or exceed render time. A reference-heavy input can also require more upload and preprocessing. Measure your own route for at least ten jobs before promising a delivery window.
A full 30-second result may replace several shorter renders, selection rounds, and edit transitions.
What Factors Control Seedance 2.5 Render Time
Resolution is the strongest adjustable factor. A 1280×720 frame contains 921,600 pixels; an 854×480 frame contains 409,920. The lower setting therefore removes roughly 55% of the pixel area before duration is considered.
Duration scales the job. A 30-second output contains about six times as much timeline as a 5-second output. Real systems do not scale perfectly linearly, but multiplying the short-run baseline is a sensible first budget.
Input media adds preparation. Text to video starts with the smallest payload. Image to video adds a first frame, while reference to video can include multiple images, video clips, and audio. Those assets improve control, but they also increase transfer, validation, and preprocessing.
Queue load remains outside the prompt. Two identical jobs can finish at different times because they entered different queues. Audio generation, encoding, retries, provider routing, and failed jobs also affect total elapsed time. That is why a team should log both submitted-at and completed-at timestamps instead of recording only the on-screen rendering phase.
480p vs 720p — The Speed and Cost Tradeoff
Use 480p when the question is “Does the shot work?” It is usually enough to review framing, subject identity, action order, camera direction, dialogue timing, and major artifacts. Social drafts and internal approvals rarely need every edge to be final-quality.
Use 720p when the question is “Can this ship?” The extra detail matters for product texture, faces, typography added in post, large displays, and crops for alternate aspect ratios. Because many providers price by duration and resolution, the lower-pixel draft commonly reduces both time and spend, although the exact rate depends on the access route.
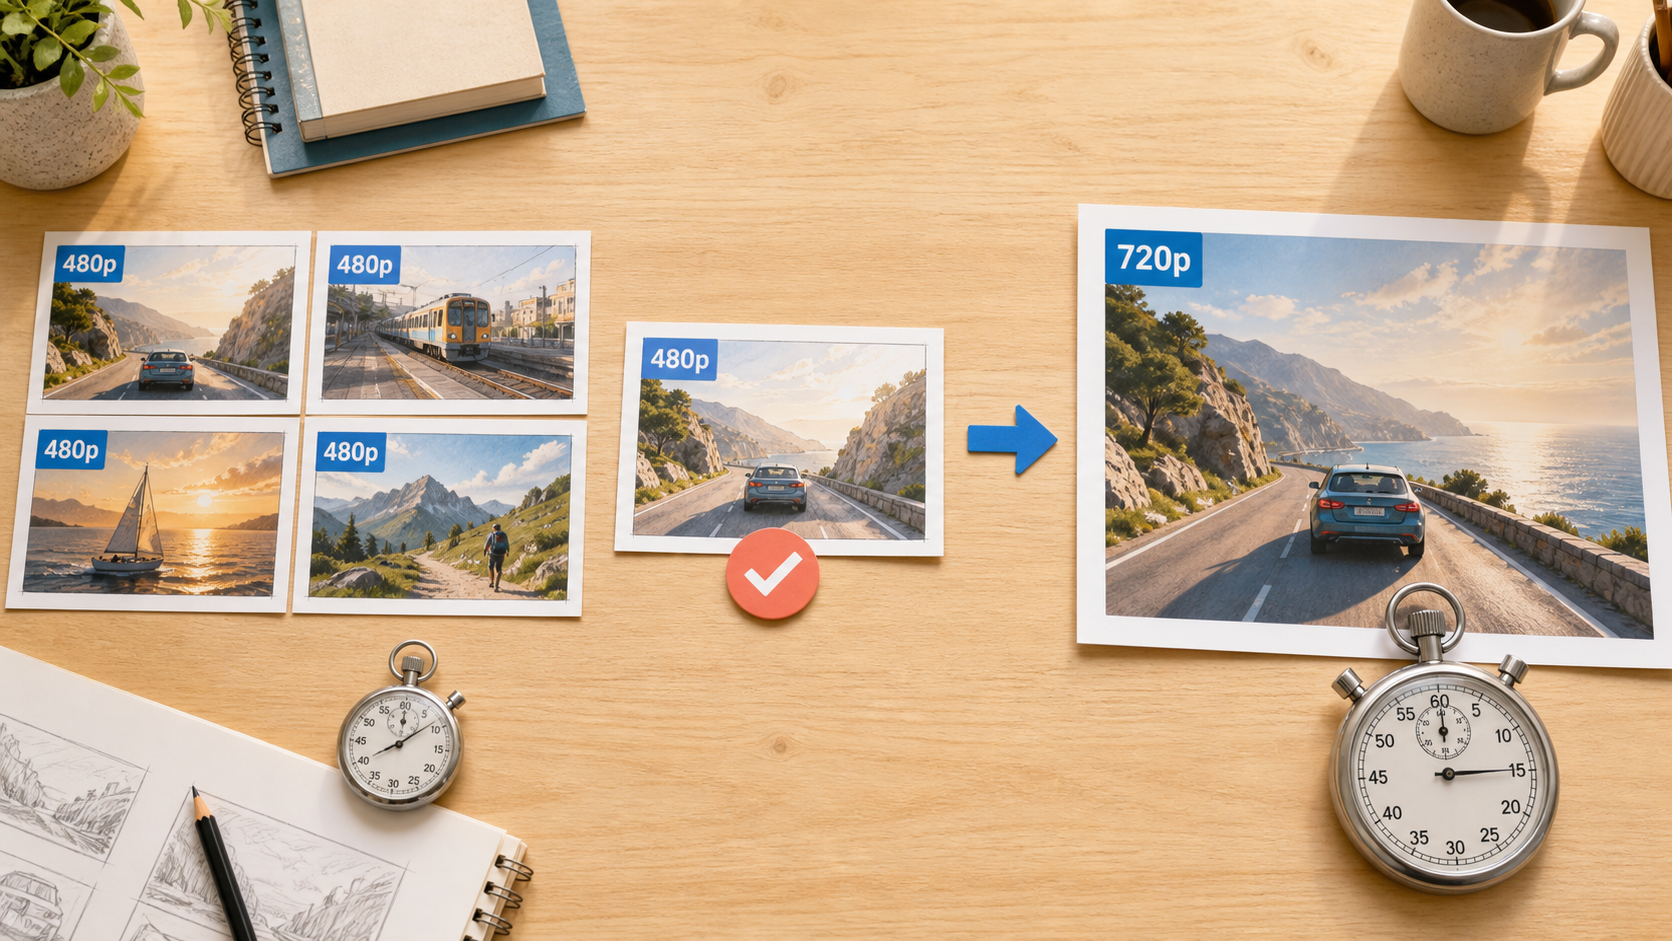
Test several ideas at 480p; spend the longer 720p render only on the approved composition.
This two-pass method is more efficient than generating every idea at maximum quality. Keep the prompt, seed where available, aspect ratio, reference files, and duration unchanged between the approved draft and final. Change only resolution unless the draft revealed a specific problem.
Queue Time — The Variable Nobody Talks About
Queue time begins after submission and ends when compute starts. It can be seconds during quiet periods or longer than the render during heavy traffic. A provider may also separate free, paid, and high-concurrency users, so another creator’s screenshot is not a dependable forecast for your account.
Run a small route test at the hours your team normally works. Record timestamp, setting, queue start, render start, finish, and status. After ten to twenty jobs, use the median for routine scheduling and the slowest successful job as the safer client-facing buffer.
If the route is consistently busy, move batch submissions to lower-demand hours, use permitted parallel capacity, or split non-dependent jobs across planned sessions. Do not assume UTC 00:00–08:00 will always be fastest; verify it on your own account. For launches, render approved masters at least a day before delivery rather than trusting a same-hour queue.
How to Build a Workflow Around Seedance 2.5 Render Time
For one to ten clips, a creator can work serially: prepare everything, submit one 480p draft, review it, then make the final. For ten to fifty clips, batch-submit independent drafts, store every job ID, and review results as they finish instead of refreshing one browser tab.
At fifty or more clips, use an asynchronous task queue with job records, polling backoff, retry limits, and webhooks when the provider supports them. Separate “waiting,” “running,” “succeeded,” and “failed” states. Never keep a request or worker blocked for twenty minutes while a generation completes.
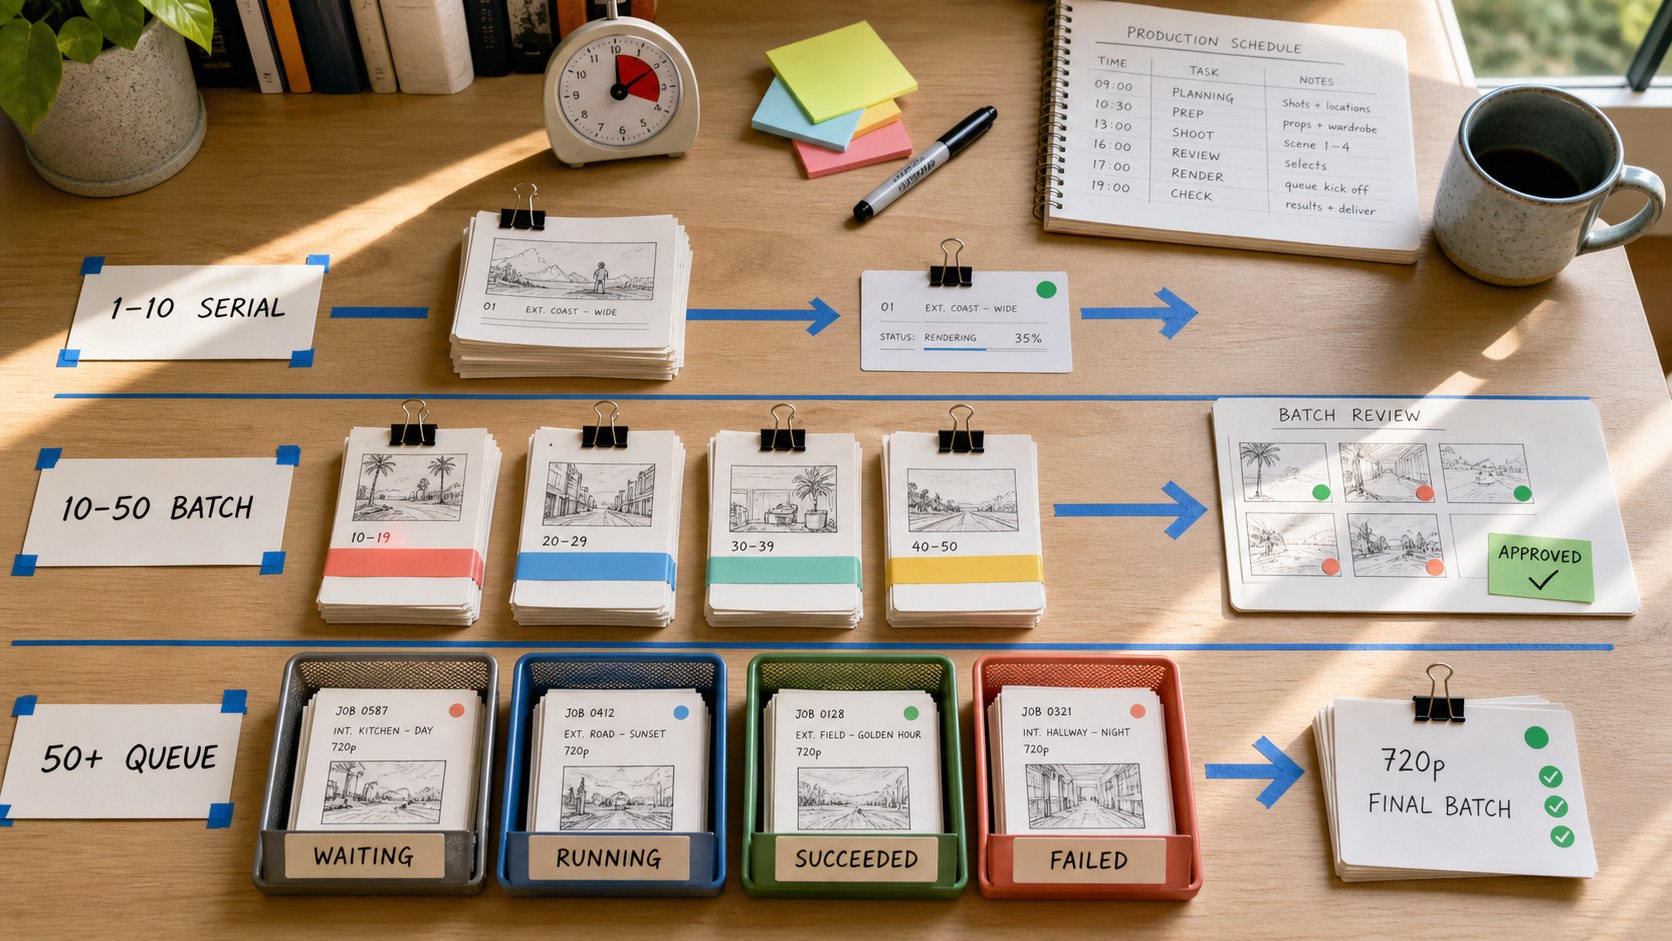
Scale the process with the workload: serial review for a few clips, batch review for dozens, and explicit queue states for high-volume production.
Build the review calendar around completed batches rather than individual predictions. For example, submit ten prepared drafts at 09:00, review every result that is ready at 09:30, and move approved shots into a separate 720p final batch. A slow outlier no longer stops the other nine. Set a retry rule before production starts: retry a technical failure, but return a visually wrong clip to creative review instead of automatically spending another generation. This makes render time visible as a capacity problem and prevents the team from confusing repeated creative revisions with platform latency.
Creative planning matters just as much. Divide longer concepts into timed beats before submitting them; the Seedance 2.5 timeline prompt guide explains how to give each range one action and one camera job. Approve references, prompt, duration, and ratio together so a slow final render does not expose a decision that should have been settled earlier.
Seedance 2.5 Render Time vs Competitors
Absolute minutes can be misleading because the models do not return the same amount of finished timeline. These ranges are practical observations across hosted routes, not official SLAs, and queue conditions can move them substantially.
| Model | Typical maximum single clip | Observed planning range | Workflow advantage |
|---|---|---|---|
| Seedance 2.5 | 30 seconds | about 4 minutes for 5s; 20+ minutes for 30s | One continuous narrative pass |
| Kling 3.0 | 10 seconds | about 1–2 minutes | Short social motion tests |
| Hailuo 02 | 15 seconds | about 2–3 minutes | Short high-detail clips |
| Runway Gen-4 | 10 seconds | about 1–2 minutes | Short commercial shots |
A ten-second job finishing in ninety seconds is faster in isolation. But a 30-second brief may need three jobs, multiple retries, continuity review, and an edit. Compare time to approved sequence, not only time to first file. Seedance is most valuable when its longer pass removes stitching and continuity work; a shorter model is more efficient when the brief genuinely ends after one beat.
Tips to Minimize Seedance 2.5 Render Time in Practice
- Draft at 480p and finish at 720p. Reserve the heavier render for an approved shot.
- Test five seconds first. Prove the visual language, camera direction, and character identity before expanding.
- Aim for 15–20 seconds when the story allows it. This often gives enough time for a clear arc without committing to the maximum job.
- Upload only useful references. Every file should control identity, composition, motion, or sound; remove duplicates.
- Parallelize independent jobs. Submit separate shots together within your account limits, then review as they complete.
- Save the full job record. Prompt, settings, references, timestamps, route, and output make slowdowns diagnosable.

Speed comes from testing smaller, keeping only useful inputs, running independent work together, and recording enough evidence to diagnose every slowdown.
If access, credits, or browser setup is delaying the work before rendering even begins, use the Seedance 2.5 access guide. The fastest generation is the one you do not have to repeat because the brief, inputs, and delivery settings were already correct.
Conclusion
Seedance 2.5 render time is best understood as queue plus compute, encoding, and delivery—not one fixed number. A 5-second 720p run around 224 seconds is a useful baseline, while a 30-second 720p result deserves a 20–30-minute minimum planning window and a larger buffer during busy periods. Draft at 480p, test short, keep references purposeful, and submit independent jobs asynchronously. That workflow protects quality while reducing the expensive final renders that must be repeated.
Ready to try it yourself?
Put the steps from this guide into practice with Seedance and turn prompts or images into polished videos in minutes.
Free credits on signup. Plans from $28/month.
Related Articles
More posts in the same locale you may want to read next.

Seedance App Preview Video Generator 2026: Create App Store and Product Launch Clips
Use Seedance to turn app screenshots, feature copy, and launch goals into App Store previews, Google Play promo videos, and product launch clips.
Read article
Kling 4.0 vs Seedance 2.5: Full Comparison
Kling 4.0 vs Seedance 2.5 compared by spec: 30-second clips, keyframes vs 50 references, audio, 4K and 10-bit color, editing, and which model fits which job.
Read article
Kling 4.0 Keyframes & Omni Reference Guide
Learn how Kling 4.0 uses up to 10 keyframes and 15 Omni Reference assets in one 30-second video, with 3 worked plans, common mistakes, and Seedance 2.5 tips.
Read article