Seedance Video Transitions: How to Create Smooth AI Video Transitions (2026)
Smooth AI video transitions are what separate a clip that looks generated from a sequence that looks directed. If your shots cut hard and your subject jumps between frames, viewers feel it instantly. This guide shows you how to create seamless transitions inside Seedance using first-and-last-frame control, multi-shot generation, and prompt-driven motion, so two separate moments melt into one continuous shot instead of a clumsy splice.
You do not need an editor with a transitions pack to get a cinematic morph, match cut, or whip pan. Seedance can bake the transition into the generation itself by controlling how a clip starts and ends. By the time you finish reading, you will know exactly which Seedance features to use, the step-by-step workflow, and a set of copy-ready transition prompts you can paste straight into the prompt box.
Quick Answer: How to Make AI Video Transitions in Seedance
The fastest way to create an AI video transition in Seedance is to control the last frame of clip A and the first frame of clip B so the motion carries across the cut. Concretely:
Ready to try it yourself?
Free credits on signup. Plans from $20/month.
- Generate or upload your two key images (the end of one moment, the start of the next).
- Use Seedance's first-and-last-frame mode to render a single clip that travels from image A to image B.
- Or use multi-shot generation and describe the transition (match cut, morph, whip pan) directly in the prompt.
- Keep camera direction and lighting consistent across the boundary so the eye reads continuity, not a cut.
- Generate two or three versions, pick the smoothest, and export.
That is the whole idea: instead of editing a transition on top of finished clips, you let the model generate the in-between motion. Everything below is how to do that well.
What "AI Video Transitions" Actually Means
There are two different things people call AI video transitions, and mixing them up is why most results look off.
Editor transitions are applied after the fact. You finish two clips, drop them on a timeline in CapCut or Premiere, and add a cross-dissolve, glitch, or zoom between them. The clips never actually connect, an effect just hides the seam.
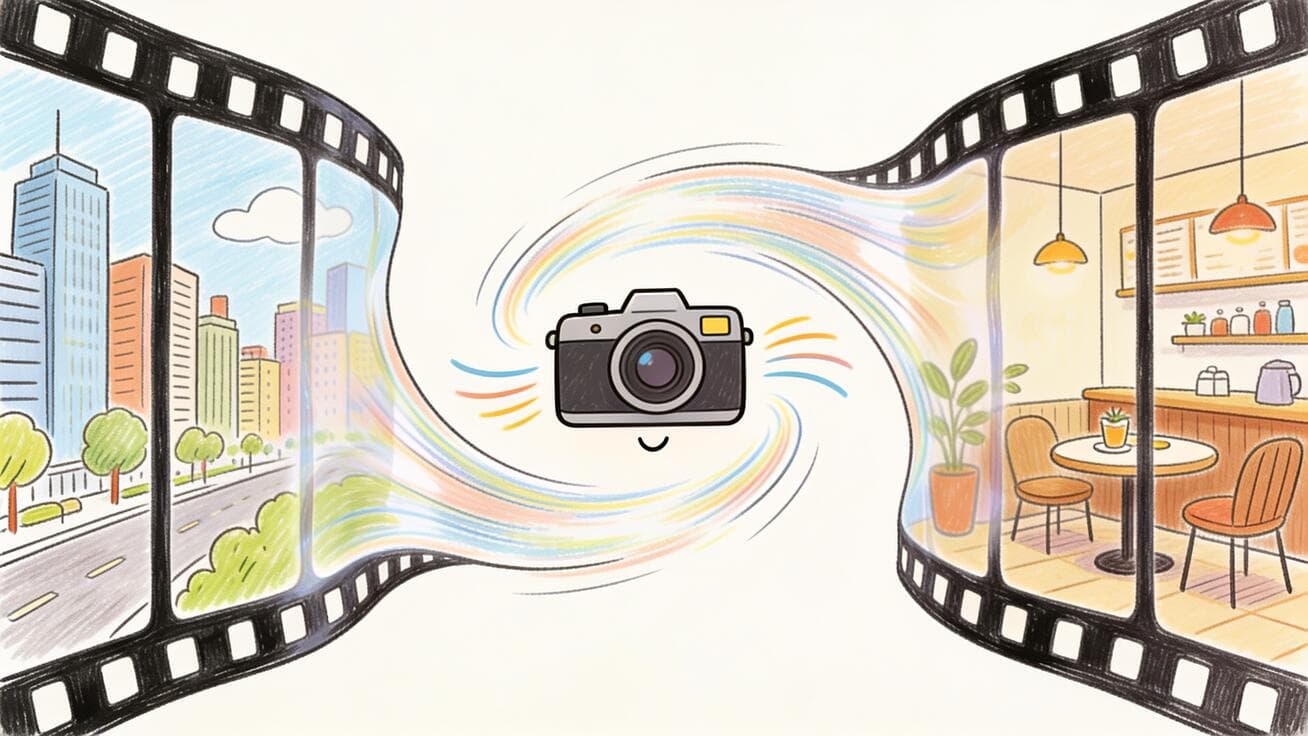
Generated transitions are produced by the model. The transition motion, the morph, the camera move, the object that wipes across the lens, is rendered as real frames. There is no seam to hide because the two moments were generated as one continuous movement.
Seedance specializes in the second kind. Because the model understands motion, camera, and subject across a clip, you can ask it to start on one composition and resolve to another, and it will invent believable frames in between. That is how you get a hand passing over the lens that reveals a completely new scene, or a face that morphs into a different character without a hard cut. For high-intent creators making TikTok hooks, product reveals, and brand intros, this is the difference between "AI slop" and something that holds attention.
The Seedance Features That Power Transitions
You do not need a separate transitions tool. Three existing Seedance capabilities do the work.
 First-and-last-frame control: you set the start and end frame, Seedance generates the transition motion between them.
First-and-Last-Frame Control
This is the single most important feature for transitions. You give Seedance a starting image and an ending image, and it generates the motion that connects them. For a transition, your "last frame" of clip A and your "first frame" of clip B become the two anchors of one generated clip. The model fills the journey, a zoom that lands on the new subject, a pan that reveals it, a dissolve through motion blur. If you have not used it, start with the Seedance first-and-last-frame guide.
Multi-Shot Generation
Seedance's multi-shot mode lets one generation contain several distinct shots with controlled cuts between them. Instead of stitching clips in an editor, you describe the sequence, and the transitions between shots are generated natively, so subject and lighting carry over. This is ideal for a montage or a three-beat product reveal. See the Seedance multi-shot workflow for how to structure those prompts.
Image-to-Video and Reference Images
When the transition needs to land on a specific product, face, or logo, feed that exact frame in as a reference. Image-to-video keeps the destination composition locked while the model animates the approach to it. Pair this with the Seedance image-to-video workflow when you need pixel-accurate end frames, like a product hero shot the transition has to resolve to.
How to Create Smooth Transitions in Seedance, Step by Step
Here is the repeatable workflow. It works for a two-clip transition or a longer chained sequence.
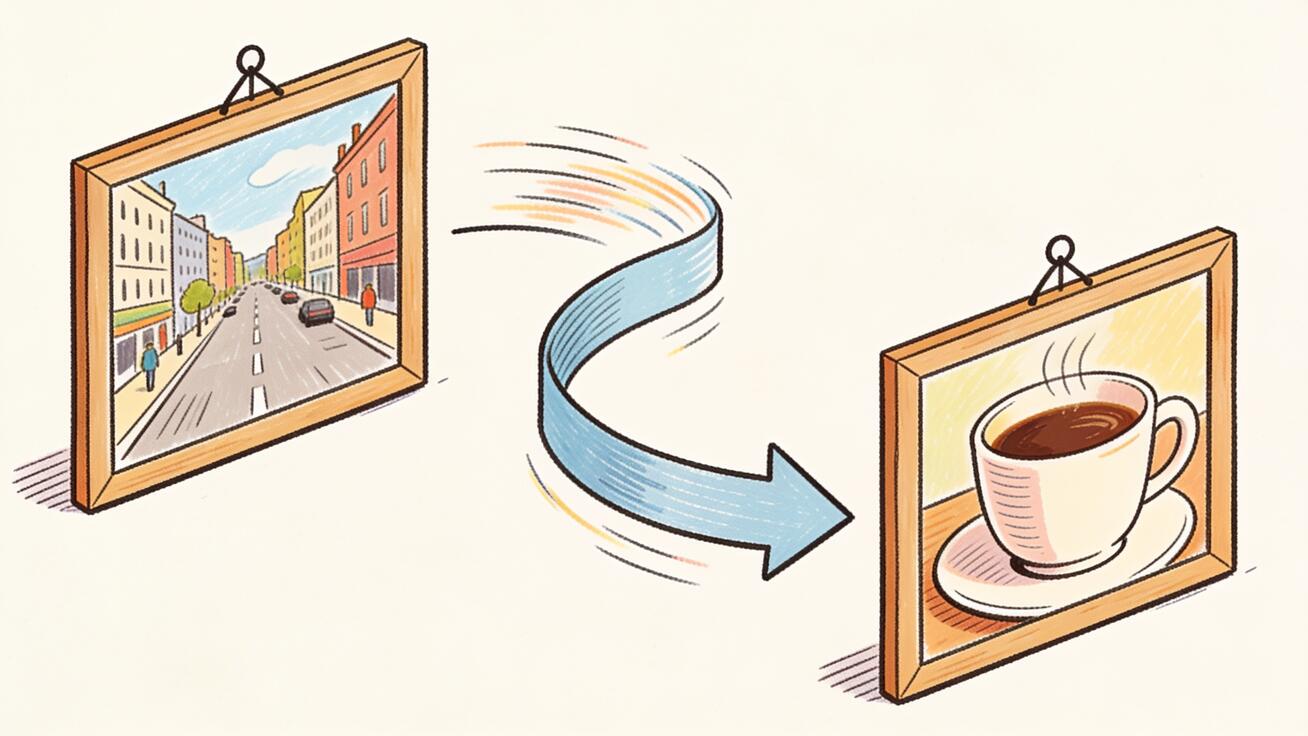
Step 1: Plan the two moments. Decide what the viewer sees right before and right after the transition. A transition is a relationship between two compositions, so name them: "wide shot of a city street" to "close-up of a coffee cup on a cafe table." The more the two share, like a dominant color, a line of motion, a light source, the smoother the model can bridge them.
Step 2: Lock your anchor frames. Generate or upload the end frame of clip A and the start frame of clip B. If you are using text-to-video only, write both compositions into a single multi-shot prompt instead. If you have exact images, use first-and-last-frame mode so the model has to begin and end exactly where you want.
Step 3: Describe the transition, not just the scenes. This is where most people fail. Do not only describe the two shots, describe the move between them: "camera pushes in fast and the motion blur dissolves into the next scene," or "a hand swipes across the lens and reveals." The transition verb is as important as the subjects.
Step 4: Match camera and lighting across the cut. If clip A ends on a slow push-in, start clip B mid-push so the momentum continues. Keep the light direction consistent unless the cut is supposed to feel like a hard change. Continuity of motion is what reads as "smooth."
Step 5: Generate two or three versions. Transitions are the hardest motion for any video model, so never accept the first render. Generate a small batch, compare how cleanly each one resolves, and keep the one with the least flicker and identity drift. For larger sequences, the Seedance batch generation workflow saves time.
Step 6: QA, then export. Scrub the boundary frame by frame. Check that the subject does not pop, the morph does not melt faces unnaturally, and the motion direction is consistent. Then export in your platform's aspect ratio.
Transition Types and Copy-Ready Prompts
These are the transition styles that work well in Seedance, with prompt templates you can paste and adapt. Keep the subject description and the transition instruction in the same prompt.
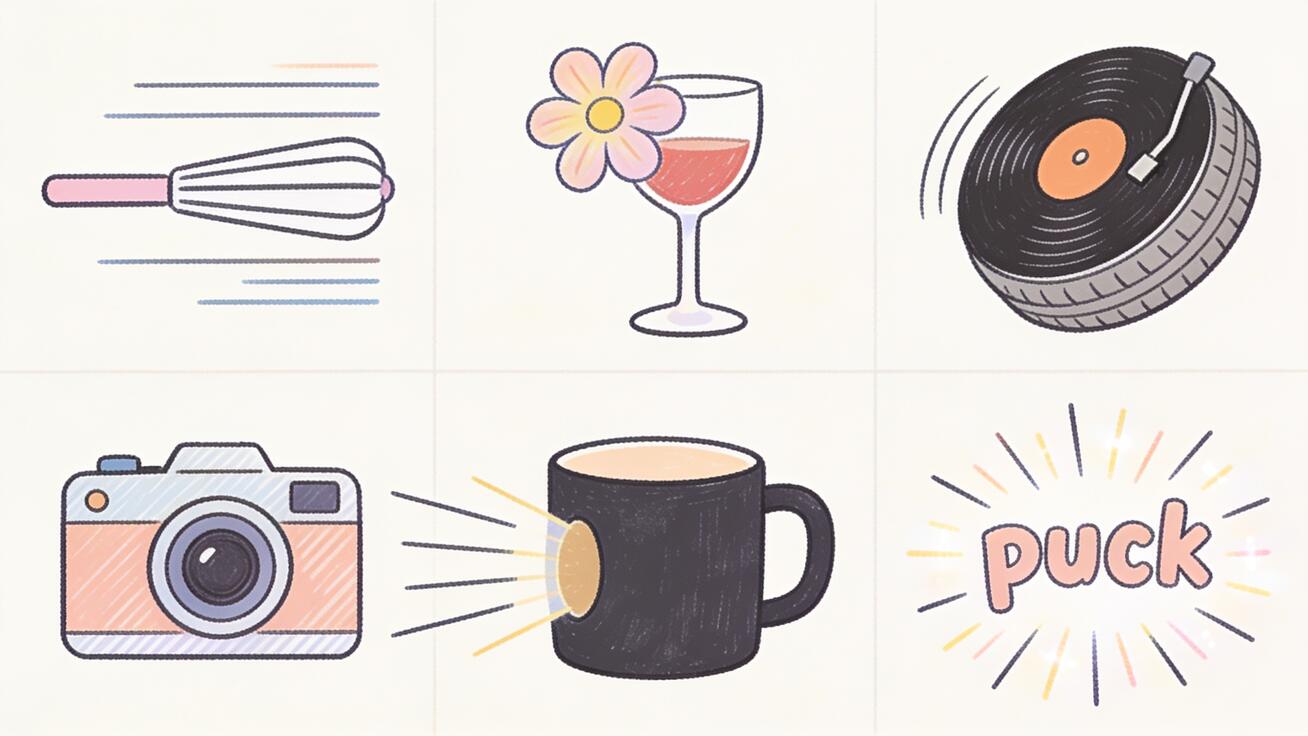 Six transition styles that generate well in Seedance, each with a copy-ready prompt below.
Match Cut
A match cut links two scenes by a shared shape or motion, a round clock becomes a round wheel, a falling pen becomes a falling building. It feels intentional and editorial.
Prompt: "Close-up of a spinning vinyl record, camera locked overhead, the record keeps spinning and seamlessly becomes a car tire spinning on asphalt, match cut on the circular motion, consistent rotation speed, cinematic lighting."
Morph Transition
A morph melts one subject into another. Great for character changes, before-and-after, and surreal brand moments.
Prompt: "A blooming red rose in soft daylight, petals slowly morph and reshape into a glass of red wine on a table, smooth organic transformation, no hard cut, shallow depth of field, warm cinematic tone."
Whip Pan
A fast horizontal blur that throws the viewer from one location to the next. The motion blur hides the join and adds energy, perfect for TikTok hooks.
Prompt: "Person standing on a busy city sidewalk, camera whip pans hard to the right with heavy motion blur, and lands on the same person now sitting in a quiet cafe, fast energetic transition, matched lighting."
Push-Through Object
The camera pushes into a dark object, a coffee cup, a doorway, a phone screen, and emerges in a new scene. The black or texture mid-frame is the natural wipe.
Prompt: "Camera pushes fast into the dark interior of a coffee mug until the frame goes dark, then pulls out into a sunny morning kitchen, continuous forward motion, seamless reveal, cinematic."
Zoom Punch
A sudden zoom on a focal point snaps to a tighter or wider shot of a related subject. Energetic and good for product reveals.
Prompt: "Wide shot of a sneaker on a studio pedestal, fast zoom punch into the logo, the logo fills the frame and resolves into a close-up of the same sneaker now on a runner mid-stride, snappy transition, high energy, clean studio lighting."
Light Wipe
A flare or burst of light washes the frame and clears to reveal the next moment, clean and premium for brand intros.
Prompt: "Product bottle on a reflective surface, a bright lens flare sweeps across the frame from left to right, the light fully blooms and clears to reveal the product in a new outdoor setting, elegant premium transition."
Chaining Multiple Clips Into One Sequence
A single transition is easy. A montage is where planning pays off. The trick is to treat the last frame of every clip as the first frame of the next. That shared frame is your handoff.
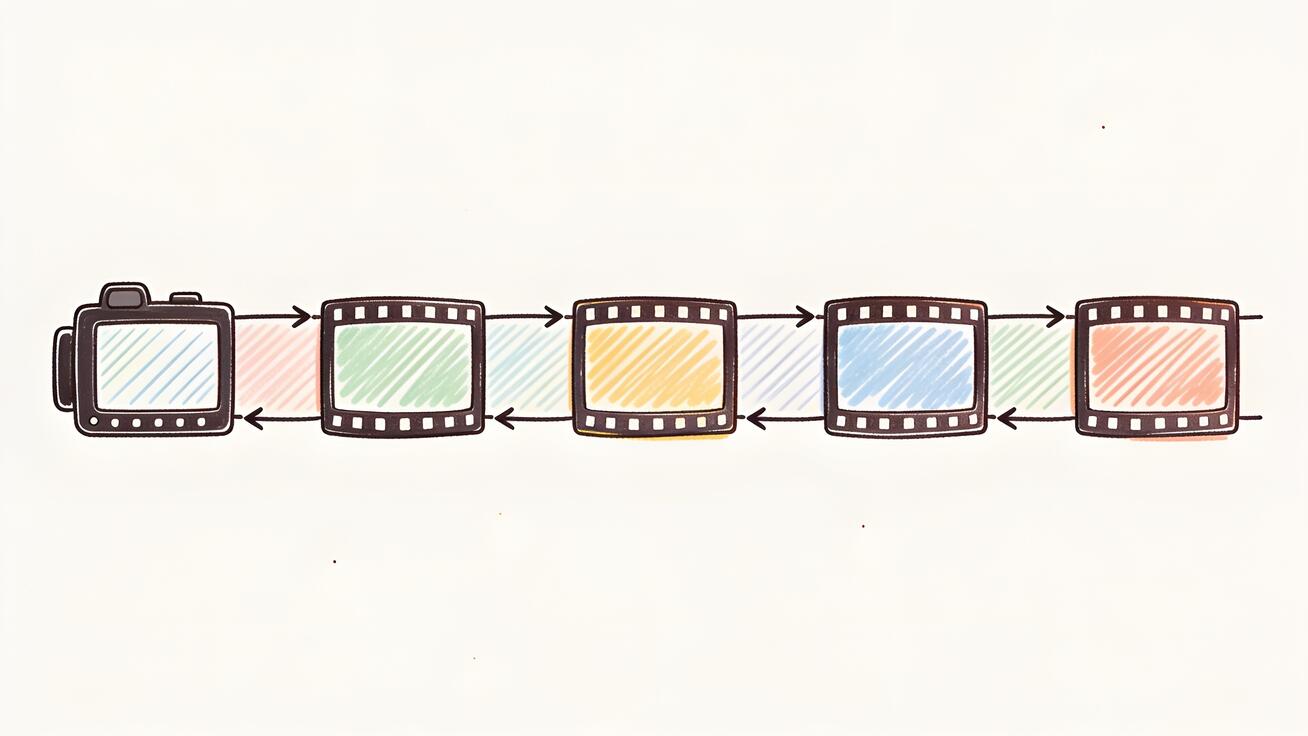 Chaining clips: the last frame of each shot becomes the first frame of the next, so a montage plays as one continuous piece.
- Storyboard the beats first. Map each shot and the transition that links it to the next. The Seedance storyboard workflow is built for exactly this.
- Export the final frame of each generated clip.
- Feed that frame as the first frame of the next generation, then describe where it goes.
- Keep a consistent character or product across all clips by reusing the same reference image, so identity does not drift over a long sequence.
- For tighter control over a single multi-beat clip, use multi-shot generation instead of stitching, and describe each cut in order.
Done this way, a six-clip travel montage or product story plays as one directed piece, not six separate AI clips taped together.
Best Use Cases for Seedance Transitions
- TikTok and Reels hooks: A whip pan or push-through in the first second stops the scroll. Pair it with a vertical export for Instagram Reels.
- Product reveals: Zoom punch or light wipe that resolves to the hero product shot, ideal for ecommerce and ad creative.
- Brand intros: A clean morph from a logo into a real scene gives a premium open without motion-graphics work.
- Travel and lifestyle montages: Match cuts on shared shapes turn a pile of clips into a polished story.
- Before-and-after content: A morph transition is a natural way to show transformation, renovations, makeovers, skincare, fitness.
Common Problems and a QA Checklist
Transitions are demanding, so expect to troubleshoot. The most frequent issues:
- Subject pops or jumps at the cut. Your two anchor frames are too different. Share more, the same color, the same camera height, the same light direction, or add a clearer motion instruction to bridge them.
- Faces melt during a morph. Morphs stress identity. Shorten the morph, lower the complexity, or accept that a morph is stylized rather than photoreal. For people, reference images help hold the face.
- Flicker or texture crawl mid-transition. Generate more versions and pick the cleanest, this is normal variance. Heavy motion blur transitions (whip pan, push-through) hide flicker better than slow dissolves.
- The transition is too slow and feels like a dissolve. Add speed words, "fast," "snappy," "hard whip," and start the second shot mid-motion.
QA checklist before export:
- Scrub the boundary frame by frame, no popping or teleporting subjects.
- Motion direction is continuous across the cut.
- Lighting and color are consistent unless the cut is meant to change them.
- Identity (face, product, logo) survives the transition.
- The clip is in the correct aspect ratio for the target platform.
If a prompt keeps failing, the Seedance prompt troubleshooting guide covers how to rewrite motion instructions the model can follow.
Seedance vs Editor-Based Transitions: When to Use Which
You will sometimes still reach for an editor, and that is fine. Use the right tool for the job.
Use generated transitions in Seedance when you want the transition to look like real camera motion or a physical transformation, a morph, a push-through, a match cut on motion. These cannot be faked convincingly with a dissolve, and generating them gives you a continuous, organic result.
Use editor transitions (CapCut, Premiere, or a tool like Pollo's transition presets) when you have two finished clips that simply need a quick stylistic join, a glitch, a flash, a clean cut on the beat. These are fast and predictable, but they sit on top of the footage rather than connecting it.
The strongest workflow combines both: generate the hard transitions in Seedance where continuity matters, then assemble everything in an editor and add light cuts on the music. For a fuller comparison of Seedance against editor-first tools, see Seedance vs CapCut AI.
Export Settings That Keep Transitions Smooth
The transition can render perfectly and still look broken after export if you get the output settings wrong. A few practical rules:
- Match the aspect ratio to the platform before you generate, not after. Seedance composes the shot for the ratio you choose, so a transition planned in 16:9 and then cropped to 9:16 can lose the very motion that sold the cut. Generate vertical for TikTok and Reels, widescreen for YouTube, square for feed posts.
- Keep resolution consistent across chained clips. If you generate one clip at 1080p and the next at a lower resolution, the quality shift at the boundary reads as a flaw even when the motion is clean.
- Avoid re-compressing transitions repeatedly. Every export pass adds artifacts, and motion-heavy transition frames are where compression shows first. Export once at a high bitrate, then hand the finished file to your editor.
- Preview on the target device. A whip pan that looks fine on a desktop monitor can feel too fast or too blurry on a phone. Check the real screen your audience will use before you publish.
Get these right and the transition you generated is the transition your viewer actually sees, no surprises after upload.
FAQ
Can Seedance make transitions between two videos? Not by importing two finished videos and joining them, that is an editor's job. Instead, Seedance generates the transition as new frames using the end frame of one moment and the start frame of the next. The result is a single continuous clip rather than two clips with an effect between them.
What is the easiest transition to get right in Seedance? Whip pans and push-through-object transitions are the most forgiving because heavy motion blur hides small imperfections. Slow morphs are the hardest because they expose any identity drift.
How long should an AI transition be? Keep the transition itself short, often under a second of screen time. The surrounding shots can be longer, but the actual move between them should be quick and decisive, especially for short-form platforms.
Do I need separate images for every transition? No. With multi-shot generation you can describe multiple shots and their transitions in one text prompt. You only need explicit anchor images when a transition must resolve to an exact composition, like a specific product frame.
Why does my subject change appearance after a transition? The model is regenerating the subject on the far side of the cut. Reuse the same reference image across clips to hold identity, and read the Seedance character consistency guide for techniques to keep a face or product stable across a sequence.
Conclusion
Great AI video transitions are not an effect you add at the end, they are a generation you plan from the start. In Seedance, that means thinking in pairs of frames: where a shot ends and where the next begins, and describing the motion that carries the viewer across. Use first-and-last-frame control for precise two-clip transitions, multi-shot generation for whole sequences, and reference images to keep your subject consistent. Then generate a few versions, QA the boundary, and export in the right aspect ratio.
Start simple, a single whip pan or push-through, and build up to chained montages once you trust the workflow. The copy-ready prompts above are a fast on-ramp, and the linked Seedance guides go deeper on each feature. Open Seedance, pick two moments you want to connect, and try your first generated transition, try Seedance free and see how much more directed your videos look when the cuts disappear.
Ready to try it yourself?
Put the steps from this guide into practice with Seedance and turn prompts or images into polished videos in minutes.
Free credits on signup. Plans from $20/month.
Related Articles
More posts in the same locale you may want to read next.
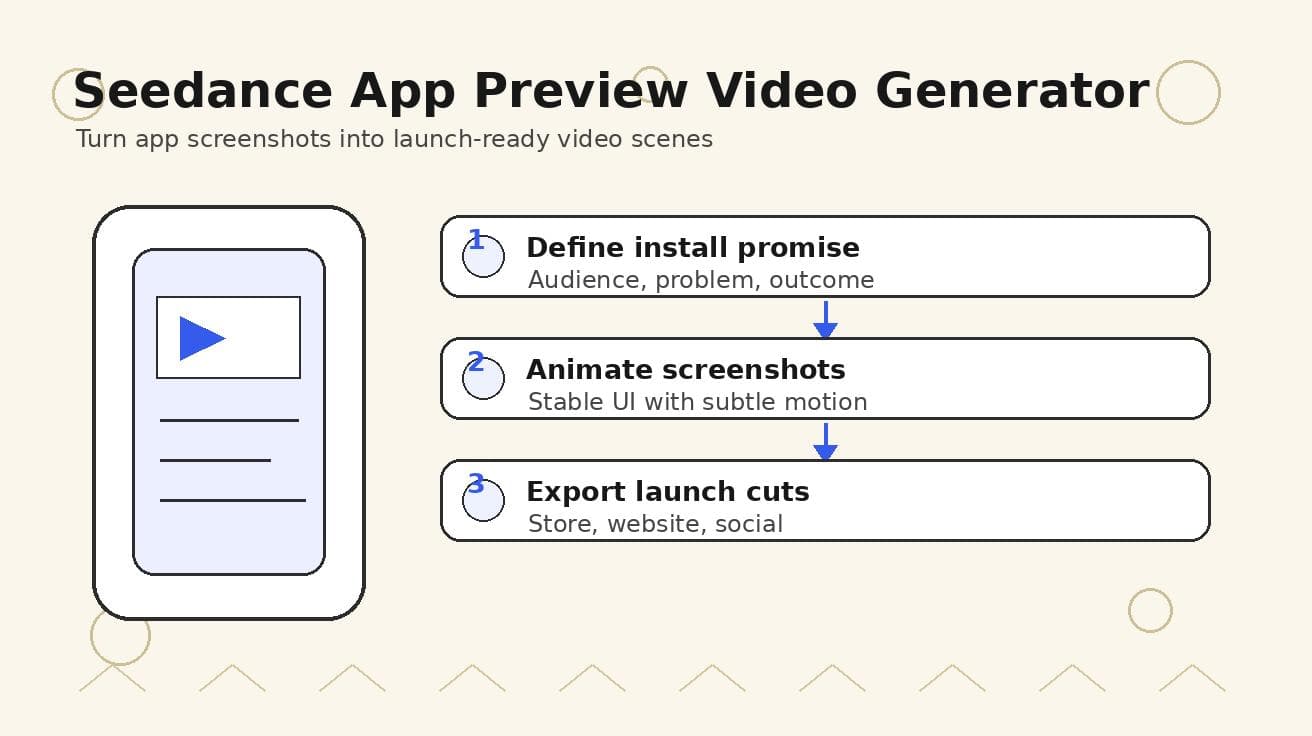
Seedance App Preview Video Generator 2026: Create App Store and Product Launch Clips
Use Seedance to turn app screenshots, feature copy, and launch goals into App Store previews, Google Play promo videos, and product launch clips.
Read article
Is Seedance Available in My Country? Seedance 2.0 Region & Access Guide (2026)
Is Seedance available in your country? A 2026 guide to Seedance 2.0 regional availability, supported regions, what to do if it's blocked, and legitimate VPN/access options.
Read article
Photo to Animation: A Guide to Using Seedance in 2026
Transform your static images into stunning videos. Our guide to photo to animation with Seedance covers setup, cinematic styles, and pro tips for UK creators.
Read article