You've probably seen the shot already. A camera starts on a hand, a rooftop, a car park, a football pitch, or a coastline, then pulls back until the whole planet sits in frame. It looks expensive, but the main challenge isn't making it look big. It's making it feel intentional.
A convincing Zoom Out Earth sequence needs two things working together. First, the story has to justify the scale jump. Second, the craft has to hide the joins between ground imagery, aerial plates, atmosphere, and orbital views. If either side is weak, the shot turns into a gimmick fast.
I've found there are really two practical routes. One uses AI generation to rough in the move quickly and test ideas. The other uses a manual VFX pipeline in After Effects, Blender, and tools like Google Earth Studio when you need proper control over scale, seams, and motion. The strongest results usually borrow from both.
Ready to try it yourself?
Free credits on signup. Plans from $20/month.
Plan Your Planetary Pullback
Often, the starting point is the effect. Start with the reason.
The key decision is whether Zoom Out Earth is acting as a visual trick or as a storytelling device. That matters more than the software choice. UK audiences already spend plenty of time with short-form video, and Ofcom reporting cited in this Earth Zoom discussion says TikTok reached 69% of online adults aged 16 to 24 in 2024. That gives the effect distribution potential, but not automatic usefulness.

If the pullback reveals new meaning, it works. If it only says “look what I can render”, viewers clock it instantly.
Use a simple three-act structure
I keep this effect organised in three beats.
-
Ground detail
Start with something specific. A product in someone's hand, a flood barrier on a high street, a school roof with solar panels, a lorry leaving a depot. -
Atmospheric ascent
This is the bridge. You move from local geography into regional context. Roads become networks. Buildings become patterns. Coastline and cloud shape start doing the storytelling. -
Orbital reveal
Only pull all the way to Earth when the idea benefits from that scale. Global supply, climate framing, migration, weather systems, international reach, or “small place, big context” all make sense here.
Storyboards that actually work
A few examples are reliable because the scale change adds information:
- Product story
Start on packaging in a customer's kitchen. Pull back to the town, then the country, then Earth to frame global distribution or sourcing. - Education film
Start on a river, landfill site, or coastal erosion point. Pull back until the audience sees how one local issue sits inside a planetary system. - Tourism or place branding
Start on a landmark, but stop before deep space if the message is local pride. Full-Earth reveals can dilute the destination instead of strengthening it.
Practical rule: if the final Earth reveal doesn't change the meaning of the first shot, cut it.
Build the sequence before touching software
Before generating anything, write one sentence for each beat. That gives you a working storyboard and stops the camera move from drifting.
For fast previsualisation, I like a shot list with:
- Opening subject
- Midpoint geography
- Final frame
- Transition cues such as cloud cover, haze, day-to-night treatment, or label-free map style
- Cut points where you can swap from real plates to generated imagery
If you're mapping this out with AI scenes, a structured prompt board helps. A storyboard workflow like the one outlined in this Seedance planning guide is useful because it forces you to define the visual handoff between one altitude level and the next.
Gather Your High-Resolution Earth Assets
This shot lives or dies on source material. If your ground plate is crisp and your regional plate is soft, the audience won't know why the transition feels wrong, but they'll feel it.
There are two broad directions. One is real-world imagery with geospatial grounding. The other is a stylised Earth built for mood, branding, or a more graphic treatment. Neither is automatically better. The right one depends on whether accuracy matters more than atmosphere.
Build an altitude stack
For realistic work, don't rely on one giant image. Gather plates at multiple scales so each stage of the zoom has enough detail.
A practical stack usually looks like this:
- Street or venue plate for the opening frame
- Neighbourhood or city plate for the first lift
- Regional plate that introduces coastlines, rivers, or terrain
- Continental or wide-area plate for the atmosphere transition
- Full Earth plate or 3D globe render for the orbital reveal
The reason is simple. Earth-observation imagery is part of a wider technical stack. The UK sits inside a global Earth-observation ecosystem where about 900 satellites have been launched for Earth observation out of roughly 6,500 satellites orbiting Earth, and mapping zoom levels are commonly defined on an integer scale from 0 to 23+, as outlined in this Earth-observation overview. In practical terms, your shot is crossing multiple image regimes, not just scaling one picture up.
Keep scale believable
A Zoom Out Earth shot feels fake when the proportions are wrong, even if the imagery itself looks polished. Real planetary dimensions help you judge how fast the camera should open up and how much curvature should appear.
NASA lists Earth's equatorial diameter at 12,756 kilometres and its average distance from the Sun at over 150 million kilometres, which is a useful grounding reference when you're deciding how “big” the planet should feel in frame in geospatial work and screen design, as noted on NASA's Earth facts page.
If your globe starts curving too early, the shot feels like a fisheye trick. If it curves too late, the orbital reveal feels flat.
Choose between real and stylised assets
Real imagery gives you credibility, especially for education, place-based campaigns, and public work. The downside is inconsistency. Different plates can have different lighting, season, cloud cover, and colour response.
Stylised assets are easier to art direct. You can push atmosphere, night lights, cloud shape, and colour palette without fighting mismatched source photography. The trade-off is that viewers may read the whole move as synthetic.
For moodboarding and look development, even a looping visual reference can help. If you need a quick benchmark for orbit colour, glow, and cloud treatment, have a look at experience this gifPaper Earth wallpaper. I use references like that to judge whether a stylised planet still reads as Earth rather than a generic sci-fi sphere.
When your source plates aren't large enough, upscale selectively. Don't enlarge every asset by default. Ground plates and seam regions matter most. If you need to prep selected frames before compositing, a workflow like upscale video to 4 K is more useful than brute-forcing the whole sequence.
Create the Zoom Effect with Seedance AI
If you need speed, AI is the fastest way to prototype a Zoom Out Earth concept before committing to a heavier composite. I use it for concept approval, rhythm testing, and finding where the emotional beat should land.
The biggest mistake is asking for the entire pullback in one vague prompt. That usually gives you inconsistent geography, unstable perspective, and a planet reveal that feels detached from the opening shot. The cleaner approach is a multi-shot sequence where each shot owns one altitude band.

Structure the AI sequence in separate camera stages
I break the move into four generated shots, then blend or cut between them:
- Shot 1 stays close to the subject
- Shot 2 lifts into aerial perspective
- Shot 3 crosses atmosphere and cloud layer
- Shot 4 resolves into orbital Earth
That method lines up well with short-form outputs. One Earth zoom generator described in the provided material uses 5- or 10-second outputs and passes through ground level, aerial view, atmosphere, orbit, and full Earth reveal, while the professional compositing source emphasises matching layers carefully to avoid discontinuity in those transitions, as shown in this motion workflow reference.
Prompt like a compositor, not like a poet
Use prompts that tell the model what must persist from shot to shot. Keep these elements stable:
- Location identity
street type, coastline, terrain, architecture, weather - Camera direction
top-down, vertical pullback, straight ascent, slight tilt - Lighting
overcast, golden hour, midday, dusk - Style target
photoreal, cinematic, clean map-like, stylised documentary - Transition anchors
clouds, haze, atmosphere glow, city lights, ocean colour
Prompt sequence example
Shot 1: close overhead cinematic view of a person standing outside a terraced house on a residential street in the UK, realistic pavement detail, parked cars, soft overcast daylight, camera begins rising verticallyShot 2: aerial pullback above the same street and neighbourhood, rooftops and roads remain geographically coherent, realistic British urban layout, smooth upward motion, natural cloud shadows
Shot 3: high-altitude ascent above regional landscape and coastline, atmosphere becoming visible, cloud layer spreading below camera, realistic land and sea colour, continuous upward pullback
Shot 4: orbital view revealing full Earth from space, the previous UK region now part of the visible globe, cinematic but natural atmosphere glow, realistic oceans and cloud systems, smooth continuation of the same pullback
If you're working from a still, use an image-to-video workflow rather than rebuilding the first frame from text. A guide like how to use Seedance image to video conversion complete guide 2026 is useful because the opening frame of this effect usually carries the strongest location specificity.
Example Seedance Multi-Shot Prompts for Earth Zoom Out
| Shot Number | Example Prompt | Purpose |
|---|---|---|
| 1 | Overhead close shot of a cyclist paused at a city junction in London, realistic road markings, soft cloudy daylight, camera starts pulling straight up | Lock the local subject and visual tone |
| 2 | Wider aerial pullback over surrounding blocks and streets, maintain realistic urban density and road continuity, smooth vertical ascent | Expand to recognisable city context |
| 3 | Very high-altitude ascent through cloud layer above southern Britain, coastline becoming visible, natural atmosphere haze | Bridge from map scale to planetary scale |
| 4 | Orbital reveal of Earth from space with the UK region integrated into the visible globe, cinematic realism, continuous pullback | Deliver the final Earth reveal |
Use variations on purpose
Different projects need different prompt bias. Here's how I'd adjust:
- Brand film uses cleaner skies, more polished colour, and stronger subject isolation.
- Educational explainer benefits from restrained grade, realistic coastlines, and less dramatic atmosphere.
- Music visual can push glow, cloud drama, and a more stylised orbital finish.
If you compare tools before committing, lists such as AI video tool recommendations for YouTube creators are useful for seeing where different generators fit. For this specific move, the important feature isn't hype. It's whether the tool can keep scene identity stable across multiple altitude jumps.
A moving example is easier to judge than a prompt alone, so here's a visual reference for the kind of pacing you're aiming for:
<iframe width="100%" style="aspect-ratio: 16 / 9;" src="https://www.youtube.com/embed/zXTcwitkPF0" frameborder="0" allow="autoplay; encrypted-media" allowfullscreen></iframe>
Compositing the Shot with After Effects and Blender
Manual compositing takes longer, but it gives you control where AI still tends to wobble. If the shot needs geographic discipline, clean typography, client revisions, or exact timing against music and voiceover, I'd choose this route every time.
The core idea is simple. You aren't scaling one image into space. You're handing off between several environments while making the camera feel like it never broke continuity.

The practical two-stage composite
The strongest source workflow in the provided material uses a two-stage method. You establish a 3D camera, parent the ground layer to a control layer, keyframe the camera at the start and end, then add wider plates one by one. Each new plate gets matched for position, scale, and rotation, with opacity lowered temporarily so you can align overlap before restoring it. Seams then get hidden with masks and feathering.
That sounds basic, but it's the difference between a pro-looking pullback and a stack of obvious swaps.
A practical order inside After Effects looks like this:
- Import the closest plate and create a 3D camera.
- Set null controls for camera and plate alignment.
- Animate the first lift from local detail to a clean handoff point.
- Add the next wider plate underneath or above depending on the transition.
- Reduce opacity on the incoming plate to line up roads, coastlines, or terrain.
- Match rotation and scale before animating the swap.
- Mask and feather the seam so the transition doesn't pop.
- Repeat outward until the final Earth render or globe pass.
Where Blender fits
Blender becomes useful when you need real curvature, atmosphere glow, cloud shells, night lights, or a lit globe that responds properly to camera movement. I tend to keep the opening and mid-altitude work in After Effects, then hand over to Blender for the orbital section.
That split solves a common problem. Flat plates work well until the viewer expects spherical form. If you keep faking it with 2D scaling too long, the reveal collapses right when it should feel biggest.
Camera motion that doesn't feel wrong
The most important technical control in long pullbacks is Logarithmic Altitude. Google Earth Studio documents that this mode moves the camera faster at high altitudes and slower near the surface, which creates perceptually linear motion over huge altitude changes. It also notes that Quick Start projects enable it automatically when needed, while custom projects require manual activation in the advanced animation settings, as explained in Google Earth Studio's logarithmic altitude documentation.
Without that behaviour, the move often feels compressed near the ground and oddly rushed in space.
A linear camera curve can be mathematically tidy and visually awful.
Even if you aren't animating inside Earth Studio, copy that logic. Ease the surface movement more gently, then let the pullback open up as the distance increases.
Trade-offs between the manual route and AI
| Approach | Works well for | Usually struggles with |
|---|---|---|
| AI generation | Fast concepting, mood tests, short-form social edits | Exact geography, seam control, repeatable revisions |
| After Effects composite | Plate alignment, masking, title-safe delivery, client changes | Curvature realism if pushed too far without 3D help |
| Blender globe render | Atmosphere, cloud shells, planetary lighting, final reveal | Slower setup and more rendering overhead |
Polish and Troubleshoot Your Final Shot
Most failed Zoom Out Earth shots don't fail because the concept is bad. They fail because one detail breaks the illusion for half a second. A seam flashes. The cloud layer slides. The Earth reveal has a different colour temperature from the ground plate. The camera moves like a drone for one second and like a satellite the next.
For UK location work, there's another issue. Accuracy matters. A visually strong pullback can imply a level of place precision that the underlying data or generated imagery doesn't support. That's especially risky for education, public information, and local business content, as discussed in this note on realism and geographic accuracy.

Fix the problems viewers notice first
Start with the transitions. If the audience catches the handoff, they stop believing the scale.
Seam fix: overlap the outgoing and incoming altitude plates longer than you think you need, soften the mask edge, and hide the swap behind cloud, haze, shadow, or motion blur.
Then check motion.
If the pullback feels fast and slow at the wrong moments, your timing curve is probably linear when it should be progressive.
The third issue is flatness. You can have a technically clean shot that still feels dead because there's no depth cue.
- Add atmospheric haze between altitude bands so the distance change reads naturally.
- Distribute cloud layers in Z-space instead of leaving them on one flat plane.
- Match blur to velocity so the camera speed feels physically coherent.
- Grade all plates together at the end, not individually in isolation.
Protect location credibility
If your opening frame is a real UK street, venue, coastline, or school, be careful when the shot moves into synthetic territory.
Use this checklist:
- Label internal approvals clearly when generated frames replace mapped imagery.
- Avoid invented landmarks in projects where the place itself is the message.
- Don't over-sharpen the opening plate if the later views are softer. That mismatch makes the sequence feel manipulated.
- Stop early when needed. Sometimes a regional pullback is more honest than a full-planet reveal.
Final polish pass
Before export, I check five things in order:
- Colour continuity across all altitude stages
- Cloud behaviour so layers don't drift against the camera path
- Curvature timing so Earth doesn't become a sphere too soon
- Atmosphere edge so the orbital reveal has separation from black space
- Narrative payoff so the final frame says something
If one of those is weak, I'd rather shorten the shot than keep polishing a version that isn't structurally working. This effect is strongest when it's slightly restrained.
If you want to build a Zoom Out Earth sequence without assembling the whole move by hand first, Seedance is one practical way to test multi-shot pullbacks, lock the story beat, and decide which parts should stay AI-generated and which parts need a traditional composite.
Ready to try it yourself?
Put the steps from this guide into practice with Seedance and turn prompts or images into polished videos in minutes.
Free credits on signup. Plans from $20/month.
Related Articles
More posts in the same locale you may want to read next.
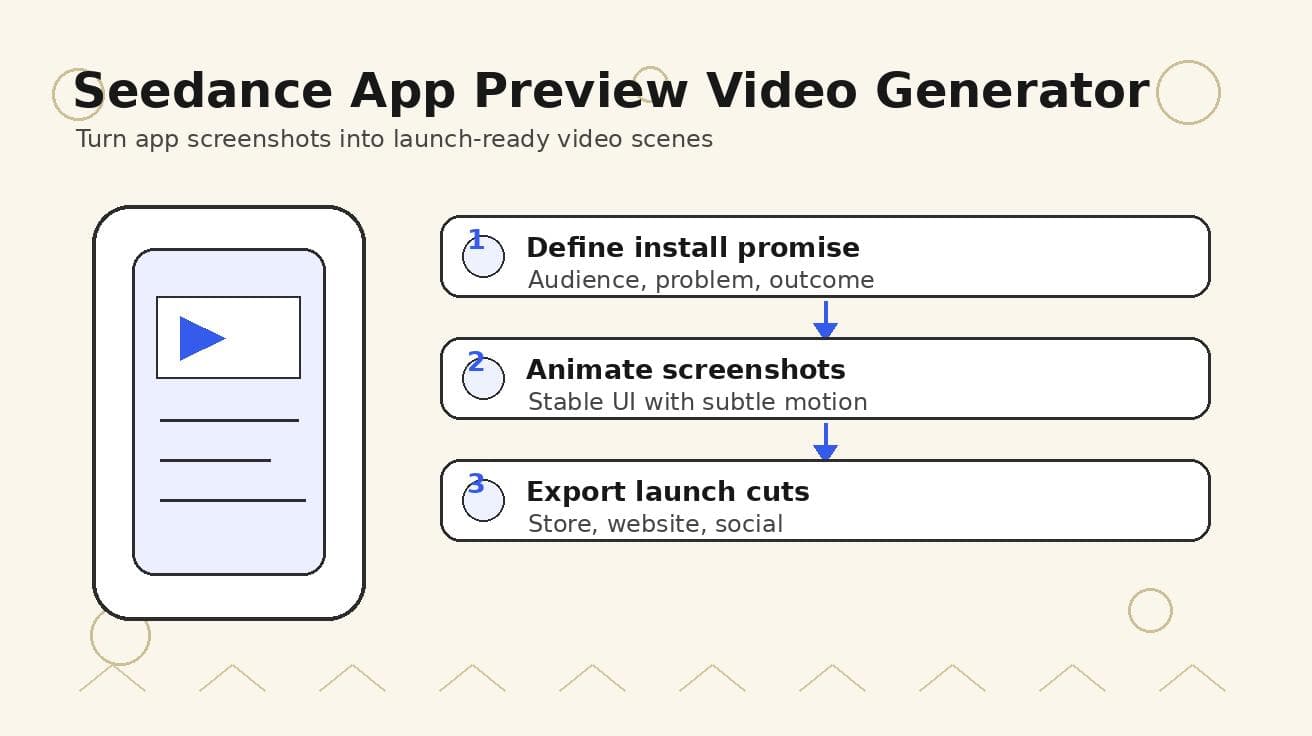
Seedance App Preview Video Generator 2026: Create App Store and Product Launch Clips
Use Seedance to turn app screenshots, feature copy, and launch goals into App Store previews, Google Play promo videos, and product launch clips.
Read article
Seedance 2.0 vs Veo 3: Which AI Video Generator Wins in 2026?
Compare Seedance 2.0 and Google Veo 3 by video quality, native audio, prompt control, references, speed, free access, and current pricing.
Read article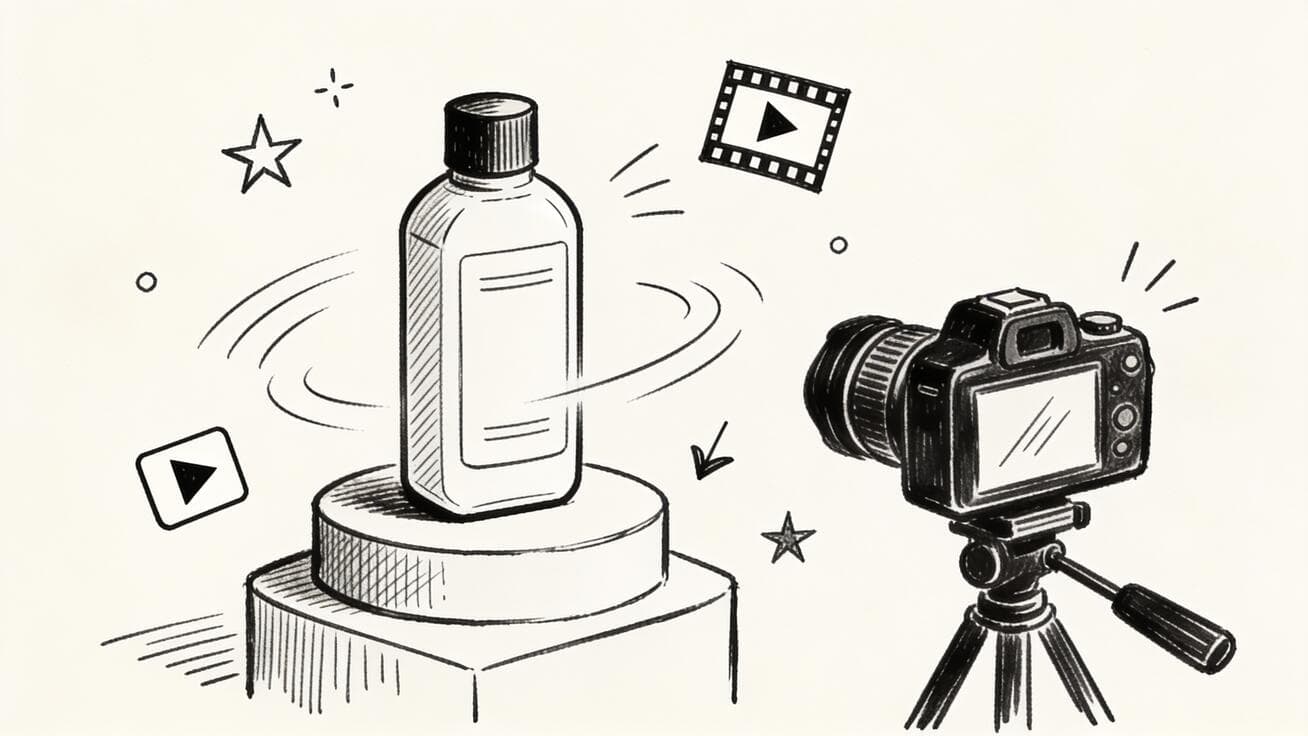
How to Make Product Demo Videos with Seedance AI (2026 Guide)
Learn how to create professional product demo videos using Seedance AI. Step-by-step workflow, prompt templates, model selection tips, and export guide for landing pages, ads, and social media.
Read article