Seedance Storyboard Workflow: Plan AI Videos Scene by Scene

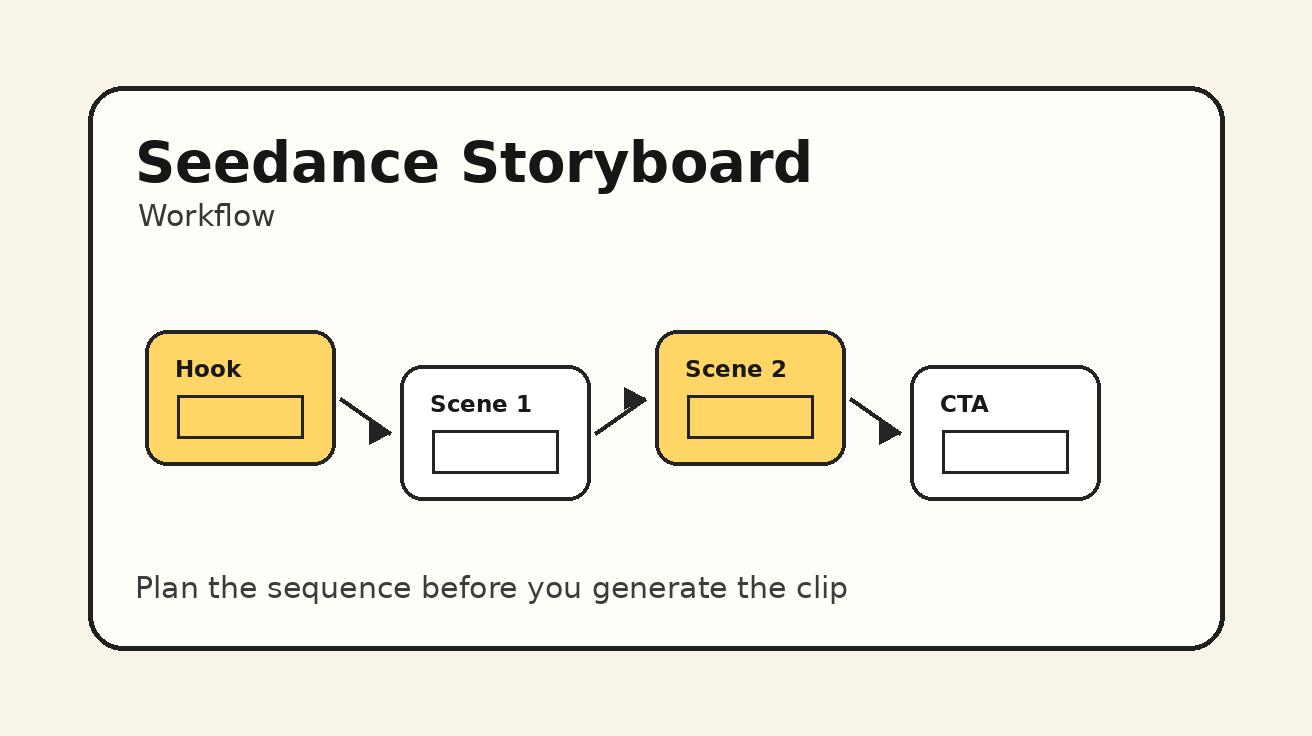
A good Seedance video does not begin with a random prompt. It begins with a plan. When creators skip the planning stage, they often generate beautiful but disconnected clips: one shot has the right character, the next changes the outfit, the third loses the product, and the final clip has no clear purpose. A storyboard workflow fixes that problem before you spend generation time. It turns a video idea into a sequence of scenes, shot goals, camera directions, visual constraints, and editing notes.
This guide explains a practical Seedance storyboard workflow for creators, marketers, educators, and product teams. You can use it for short social videos, product ads, tutorial clips, cinematic scenes, real estate walkthroughs, travel reels, and brand storytelling. The workflow is designed for AI video production, not traditional film crews. That means every step connects directly to prompt writing, image references, consistency checks, and final editing.
Start generating for free - no credit card required
Free credits on signup. Plans from $20/month.
If you are starting from text, open Seedance Text to Video and use the storyboard to turn one concept into multiple focused prompts. If you already have product photos, character images, or scene references, use Seedance Image to Video to anchor each shot. For model capabilities and generation context, keep the Seedance 2.0 page nearby while you test each scene.
Why storyboard AI videos before prompting?
AI video tools make it easy to create a clip quickly, but speed can hide weak structure. A single prompt can produce a striking five-second video, yet a campaign usually needs more than one striking moment. You need a beginning, a middle, and a payoff. You need visual continuity. You need the product or message to survive every scene. You need a hook that works on mobile and a final frame that tells the viewer what to do next.
A storyboard gives Seedance clearer instructions because each prompt has a job. Instead of asking one long prompt to do everything, you break the video into manageable shots. Shot one grabs attention. Shot two shows the problem. Shot three reveals the product or transformation. Shot four closes with a memorable final image. Each prompt becomes simpler, which often makes the output more stable.
Storyboarding also makes quality control easier. When a scene fails, you know what to fix. Was the camera movement unclear? Was the subject too complex? Did the product change shape? Did the scene lack a transition? Without a storyboard, every failed generation feels like a mystery. With a storyboard, each scene has acceptance criteria.
The biggest benefit is repeatability. Once you create a Seedance storyboard template that works, you can reuse it across campaigns. A product launch, a TikTok hook, a YouTube intro, a fashion lookbook, and a real estate ad can all follow similar planning logic while using different subjects and visuals.
The five-layer Seedance storyboard system
A useful Seedance storyboard has five layers: goal, sequence, shot, prompt, and check. Each layer prevents a common failure.
Goal layer: Define what the video needs to accomplish. Is it a product demo, brand story, tutorial, comparison, teaser, or social hook? The goal tells you what must be visible and what can be ignored.
Sequence layer: Decide how many scenes you need. Most short AI videos work well with three to six shots. A one-shot video can work for a product hero clip, but multi-shot videos need structure.
Shot layer: For each scene, write the framing, camera movement, subject action, lighting, and transition idea. This is where the storyboard becomes practical.
Prompt layer: Convert each shot into a Seedance prompt. Keep each prompt focused on one scene. Add constraints for consistency, such as stable product shape, consistent character face, no readable text, realistic hands, and smooth camera motion.
Check layer: Define what must be true before you accept the output. For example: product is recognizable, outfit does not change, camera move is smooth, scene matches the previous clip, and final frame can connect to the next shot.

Step 1: Define the video objective
Before writing any Seedance prompt, write one sentence that explains the purpose of the video. This sounds basic, but it prevents most prompt drift.
Examples:
- “Create a 20-second product ad that makes a smart lamp feel premium and calming.”
- “Create a short travel reel that makes a mountain cabin look peaceful and bookable.”
- “Create a tutorial-style video that shows how an app turns a photo into an animated scene.”
- “Create a cinematic brand teaser that makes Seedance feel powerful for creators.”
The objective should include the audience and the desired feeling. A video for buyers should be clear and benefit-driven. A video for fans can be more atmospheric. A tutorial should prioritize readability. A cinematic teaser can prioritize mood.
Do not begin with “make it viral.” Viral is not a production direction. Instead, define the hook: surprising transformation, visual contrast, fast before-and-after, emotional reveal, or useful step-by-step demonstration. Seedance can help create the clip, but the strategy has to come from the storyboard.
Step 2: Choose a simple scene structure
For most Seedance projects, use one of these four structures.
Hook → problem → transformation → result
This is strong for ads and social content. The first shot shows something visually interesting. The second shot introduces the problem. The third shot shows the transformation. The fourth shot shows the result.
Example for a product video:
- Close-up of a messy desk at night.
- The smart lamp turns on and warms the scene.
- Camera moves across the desk as the space becomes organized.
- Final hero shot of the lamp in a calm workspace.
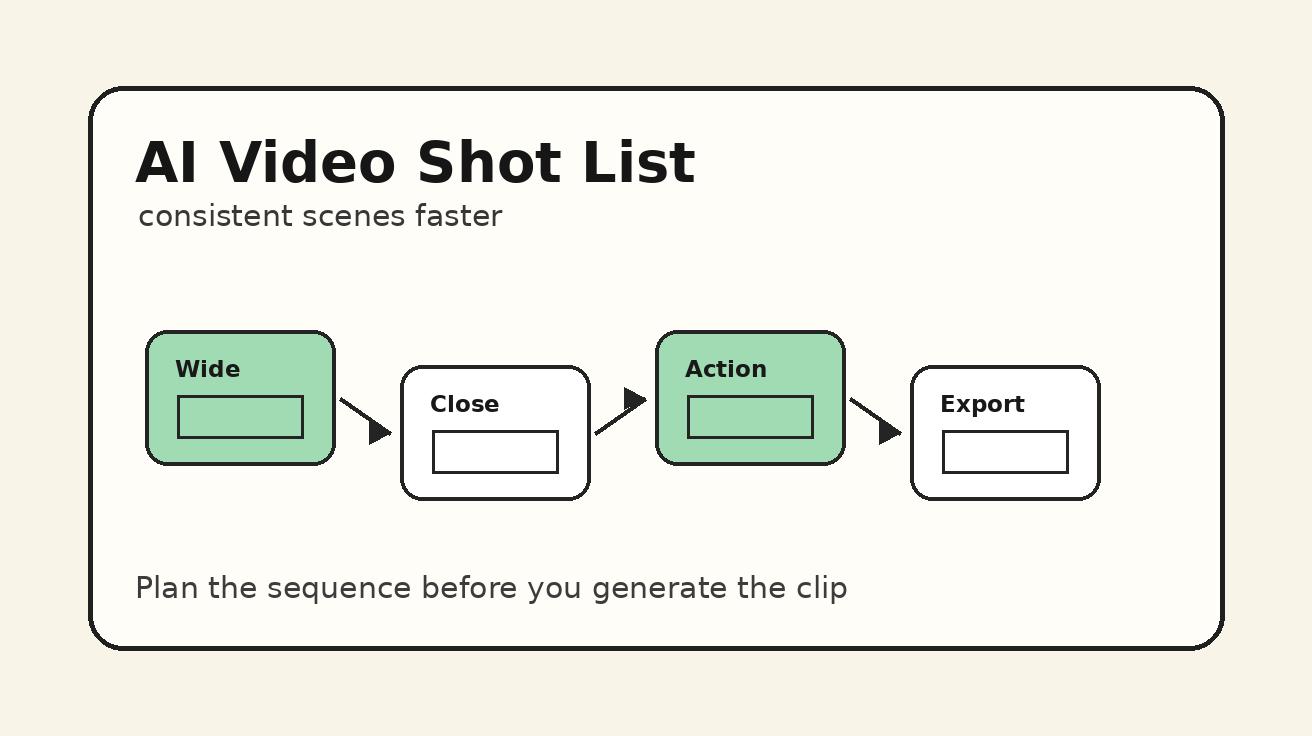
Establishing shot → action shot → detail shot → final hero
This is strong for travel, real estate, food, fashion, and lifestyle. It gives the viewer context, then action, then texture, then payoff.
Example for a cafe video:
- Exterior of the cafe in morning light.
- Barista prepares coffee behind the counter.
- Macro shot of espresso pouring into a cup.
- Final table shot with coffee, pastry, and window light.
Before → process → after
This is strong for tutorials and transformation content. It is simple, clear, and easy to edit.
Example for image-to-video:
- Static product photo on a clean background.
- Seedance-style animated camera movement brings the product to life.
- Final dynamic product clip ready for a social ad.
Character enters → discovers → reacts → resolves
This is strong for story scenes. It gives character-based videos a miniature narrative.
Example for a fantasy clip:
- Character enters a misty forest path.
- Camera reveals a glowing object under a tree.
- Character kneels and reaches toward it.
- Light expands and the scene fades to a wide magical view.
Pick one structure before writing prompts. If you need more scenes, expand the structure, but keep the core logic visible.
Step 3: Build a shot list before writing prompts
A shot list is the bridge between your storyboard and Seedance prompts. It should be short and specific. Each row needs a purpose, visual description, camera direction, and continuity note.
A simple Seedance shot list looks like this:
| Shot | Purpose | Visual | Camera | Continuity note |
|---|---|---|---|---|
| 1 | Hook | Product on dark desk | Slow push-in | Product shape must stay consistent |
| 2 | Problem | User looks tired in low light | Locked-off medium shot | Same desk color and mood |
| 3 | Transformation | Lamp turns on, room warms | Side tracking shot | Same product position |
| 4 | Result | Clean desk hero frame | Slow orbit | No readable text, no logo distortion |
The continuity note is especially important for AI video. Traditional film crews preserve continuity with props, wardrobe, lighting, and camera logs. In AI video, the prompt must carry that responsibility. If the same product appears in multiple scenes, describe it the same way each time. If the same character appears, keep the outfit, age, hair, and color palette stable. If a background matters, repeat its defining elements.
Do not write every shot as a completely new world unless the video is supposed to be surreal. Consistency comes from repeated anchors.
Step 4: Turn each storyboard card into a Seedance prompt
Once the shot list is clear, convert each shot into a prompt. Use this prompt pattern:
Create a [duration/style] video of [subject] in [setting]. This is shot [number] of a [type of video]. Camera: [framing + movement]. Action: [what changes]. Lighting and style: [mood]. Continuity: [what must match previous/next scenes]. Constraints: [what to avoid].
Example for shot one:
Create a short cinematic product video of a matte white smart lamp on a dark wooden desk at night. This is shot 1 of a four-shot product ad. Camera: slow dolly push-in from a medium desk shot to a close-up of the lamp base. Action: the room is dim and quiet, with small reflections on the desk. Lighting and style: premium, calm, soft shadows. Continuity: keep the lamp design simple, cylindrical, matte white, with a warm circular light. Constraints: no readable text, no brand logo, stable product shape.
Example for shot two:
Create shot 2 of the same product ad. A tired designer sits at the same dark wooden desk beside the matte white smart lamp before it turns on. Camera: locked-off medium shot from the side, slight shallow depth of field. Action: the designer rubs their eyes and looks at the cluttered desk. Lighting: low blue night light, calm but slightly uncomfortable mood. Continuity: same desk, same lamp shape, same night setting. Constraints: realistic hands, no text on screens, no face distortion.
This prompt is not just descriptive. It tells Seedance how the clip fits into a larger sequence.
Step 5: Use reference images when consistency matters
If your video uses a specific product, character, room, or brand style, image-to-video is often more reliable than pure text-to-video. A reference image gives Seedance a visual anchor. The storyboard still matters, but the prompt can focus more on movement and action.
For product videos, create or upload a clean product image first. Then write a prompt that describes camera motion, lighting, and small environmental changes. For character videos, use a clear reference portrait or full-body image. For real estate, use a room image and ask for subtle camera movement rather than a full redesign.
A good image-to-video storyboard card should include:
- Reference image name or description.
- Shot objective.
- Camera motion.
- Allowed changes.
- Protected details.
- Transition to next scene.
Example:
Use the reference image of the cream sofa and wooden coffee table as the visual anchor. Create a slow left-to-right slider movement across the room. Allow sunlight and curtain movement. Protect the sofa shape, table position, wall color, and overall interior layout. No new furniture, no text, no people.
This is more controllable than asking Seedance to invent the room again.
Step 6: Plan transitions before editing
AI video creators often think about transitions after generation, but transitions should be part of the storyboard. A good transition makes separate Seedance clips feel like one video.
Use these transition pairs:
- Motion match: End one shot with a rightward pan and start the next shot with a rightward pan.
- Shape match: End on a circular product detail and start on a circular light or lens.
- Color match: End with warm orange light and start the next shot in a warm scene.
- Action match: End with a hand reaching and start with the object being touched.
- Scale match: End on a close-up and start with a wider reveal of the same subject.
Write the transition in the storyboard, not just in the editing timeline. For example: “End shot 2 with the lamp turning on; start shot 3 with the same warm light filling the desk.” This makes prompt writing more consistent.
Step 7: Review outputs with acceptance criteria
After generating each Seedance shot, do not accept it just because it looks nice. Compare it against the storyboard. Ask these questions:
- Does the shot perform its assigned role?
- Is the subject recognizable and consistent?
- Is the camera movement close to the plan?
- Does the final frame connect to the next shot?
- Are there artifacts that would distract viewers?
- Is the clip useful in an edit, or only pretty as a standalone render?
If a clip fails one requirement, revise that part of the prompt. If it fails many requirements, simplify the shot. For example, change a fast orbit to a slow partial orbit, or change a complex walking action to a locked-off shot with subtle hand movement.
The best AI video workflow is not “generate until lucky.” It is “plan, generate, compare, revise.”
Seedance storyboard template you can copy
Use this template for your next project:
Project goal: What should the video make the viewer think, feel, or do?
Audience: Who is this video for?
Format: TikTok ad, YouTube intro, product demo, tutorial, landing page hero, real estate tour, music video, or brand teaser.
Visual anchors: Product, character, location, color palette, lighting style, reference image, or brand mood.
Scene structure: Hook → problem → transformation → result, or another structure.
Shot 1: Purpose, visual, camera, action, continuity note, constraints.
Shot 2: Purpose, visual, camera, action, continuity note, constraints.
Shot 3: Purpose, visual, camera, action, continuity note, constraints.
Shot 4: Purpose, visual, camera, action, continuity note, constraints.
Editing notes: Transition type, pacing, music mood, text overlay plan, final CTA.
Acceptance criteria: What must be true before the shot is approved?
This template works because it forces you to define intent before generation. It also gives you a way to improve future prompts based on real output quality.
Example workflow: social product ad
Let’s build a simple 15-second product ad for a fictional portable projector.
Goal: Make the projector feel like an easy way to turn any room into a movie night.
Audience: Young renters, students, and creators.
Structure: Problem → setup → transformation → result.
Shot 1 prompt: Create a short realistic video of a small apartment living room at night, plain white wall, sofa, and coffee table. This is shot 1 of a portable projector ad. Camera: locked-off wide shot. Action: the room feels ordinary and slightly dark. Lighting: soft blue night light from a window. Continuity: keep the wall clean and empty for the projection. Constraints: no text, no people, stable room geometry.
Shot 2 prompt: Create shot 2 of the same ad. A compact portable projector is placed on the coffee table facing the white wall. Camera: slow dolly push-in from table level to the projector lens. Action: a hand gently adjusts the projector angle. Lighting: low room light with a small lens glow. Continuity: same sofa, same coffee table, same white wall. Constraints: realistic hand, stable product shape, no brand text.
Shot 3 prompt: Create shot 3 of the same ad. The projector turns on and fills the white wall with abstract colorful cinematic light, not readable text. Camera: slow pull-back from the projector to reveal the wall glowing. Lighting: warm movie-night mood. Continuity: same room layout and same projector position. Constraints: no logos, no readable words, smooth light change.
Shot 4 prompt: Create shot 4 of the same ad. A cozy movie-night setup with blankets, popcorn, and warm light in the same apartment living room. Camera: slow side pan across the sofa and glowing wall. Action: popcorn bowl on the table, soft projection light moving on the wall. Continuity: same room, same projector on the table. Constraints: stable geometry, no text artifacts.
This four-shot plan is much easier to control than one prompt that says “make a viral projector ad.” It gives Seedance a sequence, and it gives the editor usable clips.
Example workflow: educational explainer
For education, the storyboard should prioritize clarity. Avoid too many cinematic effects. The viewer needs to understand the concept.
Goal: Explain how rain forms in a simple visual lesson.
Structure: Establish concept → show process → show result → recap visual.
Shot one can show a simple animated landscape with water evaporating from a lake. Shot two can show clouds forming. Shot three can show raindrops falling on plants. Shot four can show the full cycle from lake to cloud to rain using clean visual arrows or abstract motion. Because AI video can struggle with readable text, keep labels out of the generated video and add them later in editing.
Prompt constraints matter here: “simple educational animation style, no readable text, clean shapes, stable scene, smooth motion.” The storyboard should also define which parts are added in post-production, such as captions, arrows, and narration.
Example workflow: cinematic character scene
Character scenes need consistency more than anything else. Use fewer scenes, repeat the same character description, and avoid complex face changes.
Goal: Create a mysterious fantasy scene of a traveler discovering a glowing door.
Structure: Enter → discover → approach → reveal.
The character should be described the same way in every prompt: “young traveler in a dark green cloak, short black hair, leather satchel.” The location should also repeat: “misty pine forest, blue moonlight, ancient stone path.” Each shot should change only one or two things. Shot one shows the traveler walking on the path. Shot two reveals the glowing door between trees. Shot three shows the traveler approaching. Shot four shows the door opening with warm golden light.
This is where storyboarding protects the video. Without repeated anchors, the character may become a different person in each scene.
Common storyboard mistakes in AI video
The first mistake is writing too many scenes for the available length. A 10-second video cannot comfortably carry eight different story beats. Use fewer shots and make each one clear.
The second mistake is changing visual style between prompts. If shot one says “documentary realism” and shot two says “anime cinematic fantasy,” the final edit will feel broken. Choose one style unless the contrast is intentional.
The third mistake is expecting AI-generated text to carry the message. Add important text overlays in editing instead. In Seedance prompts, use “no readable text” when the scene includes screens, signs, labels, books, or packaging.
The fourth mistake is ignoring final frame design. The last frame often becomes the thumbnail, CTA moment, or transition into a website hero. Plan it. Ask for a stable final product frame, a clear character pose, or a wide environment reveal.
The fifth mistake is treating failed clips as total failures. Sometimes the subject is right but the camera is wrong. Sometimes the camera is right but the lighting is wrong. The storyboard helps you isolate the broken variable.
How teams can use Seedance storyboards
For solo creators, a storyboard is a personal checklist. For teams, it becomes a shared language. A marketer can define the goal and CTA. A designer can define the visual style. A prompt writer can create scene prompts. An editor can assemble the clips. A reviewer can approve shots based on acceptance criteria instead of vague taste.
This matters for brands because AI video production can become chaotic without structure. Teams generate dozens of clips, but nobody knows which ones match the original goal. A storyboard turns creative review into a practical process: approve, revise, regenerate, or cut.
A good team workflow looks like this:
- Agree on the video objective and audience.
- Choose the scene structure.
- Approve the shot list before generation.
- Generate each shot in Seedance.
- Review against acceptance criteria.
- Edit, add text overlays, add music, and export.
- Save winning prompts for future campaigns.
Over time, the team builds a library of storyboard patterns that consistently perform.
FAQ
Do I need a storyboard for every Seedance video?
No. A single product hero shot or background loop may only need one clear prompt. But any multi-scene video, ad, tutorial, or story clip benefits from a storyboard because it improves consistency and editing flow.
How many scenes should a short Seedance video have?
For a 10 to 20 second video, three to six scenes is usually enough. More scenes can work, but each one needs a clear job. If the viewer cannot understand the sequence without explanation, simplify it.
Should I generate one long video or separate shots?
Separate shots are often easier to control. Generate each scene with a focused prompt, then edit the clips together. This gives you more flexibility and makes it easier to replace one weak shot without rebuilding the entire video.
How do I keep a product consistent across Seedance scenes?
Repeat the same product description in every prompt, use image-to-video when possible, and add constraints such as “keep product shape consistent,” “no brand text,” and “same color and material.” Avoid fast camera movement around detailed products.
Can I use storyboards for social media videos?
Yes. Social videos benefit from storyboards because the first two seconds matter. Plan the hook, the visual payoff, and the final CTA before generation. You can still keep the style fast and casual.
Final takeaway
Seedance becomes more powerful when you stop thinking in isolated prompts and start thinking in planned scenes. A storyboard gives every clip a purpose, protects continuity, and makes editing easier. Define the goal, choose a simple sequence, write a shot list, turn each shot into a focused Seedance prompt, and review outputs against clear acceptance criteria. That workflow turns AI video creation from trial and error into a repeatable production system.
Start generating for free - no credit card required
Create videos with free signup credits, then scale with affordable plans whenever you need more generations.
Free credits on signup. Plans from $20/month.
Related Articles
More posts in the same locale you may want to read next.
Seedance App Preview Video Generator 2026: Create App Store and Product Launch Clips
Use Seedance to turn app screenshots, feature copy, and launch goals into App Store previews, Google Play promo videos, and product launch clips.
Read article
Seedance 2.0 vs Veo 3: Which AI Video Generator Wins in 2026?
Seedance 2.0 vs Veo 3: a side-by-side comparison of video quality, audio, pricing, and free access to help you choose the right AI video generator in 2026.
Read article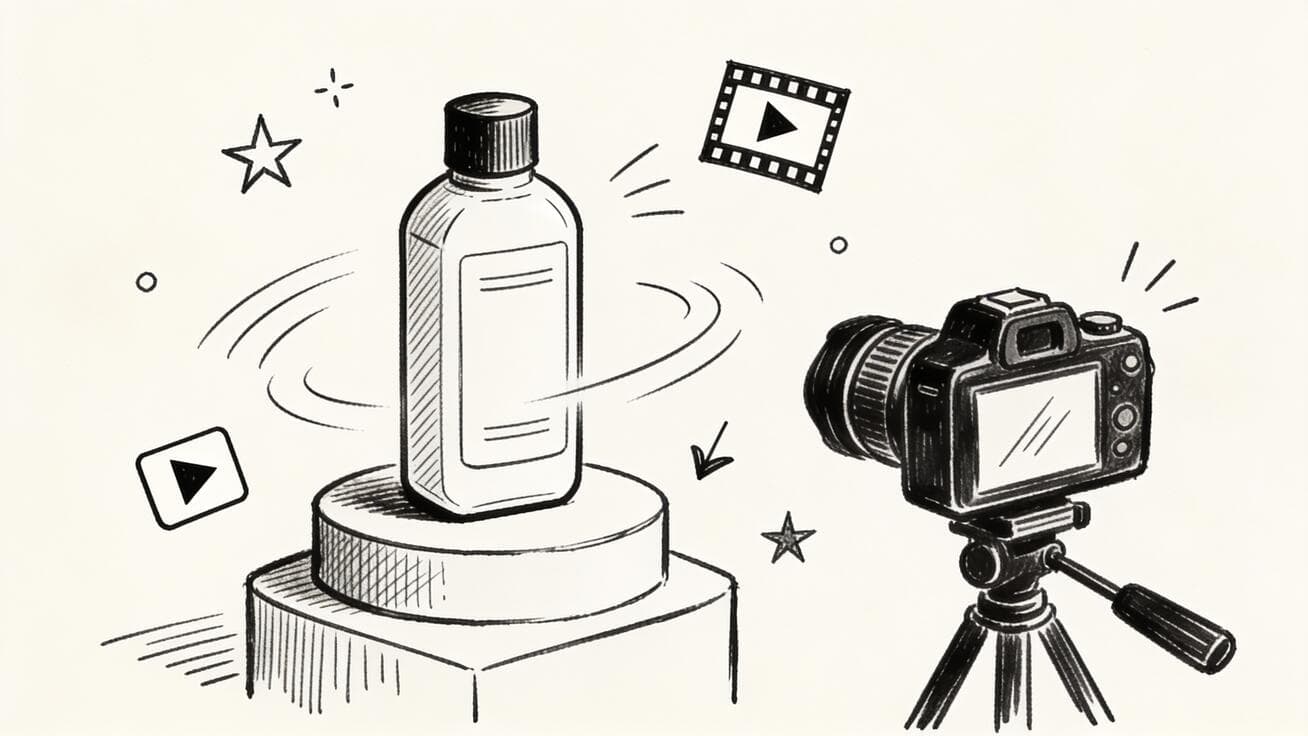
How to Make Product Demo Videos with Seedance AI (2026 Guide)
Learn how to create professional product demo videos using Seedance AI. Step-by-step workflow, prompt templates, model selection tips, and export guide for landing pages, ads, and social media.
Read article