You've got a photo that's almost there. The product shot is clean, the travel image has the right light, or the portrait catches the expression perfectly, but the file looks just a touch soft when you zoom in. That's usually the moment people assume they need expensive software.
Most of the time, they don't.
Sharpness is less about buying the priciest app and more about understanding what sharpening does to pixels, edges, and noise. Once you know how to control those trade-offs, a solid image sharpener free workflow can rescue a surprising number of photos. If you also work with motion content, many of the same quality habits apply when polishing clips and stills for screen use, which is why this guide on improving video quality is a useful companion.
Ready to try it yourself?
Free credits on signup. Plans from $20/month.
The trick is simple. Don't treat sharpening like a magic button. Treat it like craft.
From Almost Perfect to Picture Perfect
A soft image usually isn't ruined. It's often just missing edge contrast.
That matters because sharpening doesn't really “restore” a photo in the way people imagine. In many workflows, it increases the contrast around boundaries, so hair strands, text, product edges, foliage, and facial features read more clearly. Done well, the image looks cleaner and more intentional. Done badly, it looks crunchy, noisy, and fake.
The good news is that you can get strong results without paying for a subscription. Free desktop tools and free online sharpeners cover most everyday needs if you choose the right method for the job. A product image for a website banner, a portrait for a speaker bio, or a travel photo for a blog post all need slightly different treatment. That's why a one-size-fits-all setting usually disappoints.
Sharpening works best when you solve the actual problem in front of you. Mild softness, noise, compression, and missed focus don't all respond the same way.
A useful approach is to split sharpening into two questions:
- How much control do you need? If the image matters to your portfolio, website, campaign, or printed material, use a desktop editor.
- How fast do you need it done? If you're preparing a social post, blog image, or quick mock-up, an online tool may be enough.
That's where this guide focuses. Not on dumping a tool list in your lap, but on helping you understand why one method works, when another fails, and how to sharpen with intent instead of guesswork.
Understanding Image Sharpening Fundamentals
Sharpening is easiest to understand if you think about a projector that's slightly out of focus. You don't change the subject on the screen. You make its edges look more defined. Digital sharpening does something similar by increasing contrast where light and dark pixels meet.

That's why sharpening can make a photo feel clearer even when no new real-world detail has been captured. You're guiding the eye. Edges become easier to read, so the whole image feels more precise.
According to UK sharpening benchmarks published by EZ Enhancer, deep learning models achieve 85–90% clarity restoration on soft-focus images, while traditional fixed-calculation tools show 60–65% success. The same benchmarks warn that over-sharpening creates “halo” artifacts and amplifies noise. That's the core trade-off in every sharpening workflow.
The three controls that matter most
Most sharpeners, whether in GIMP or elsewhere, revolve around three familiar ideas.
| Control | What it changes | Practical way to think about it |
|---|---|---|
| Radius | How wide the sharpening effect spreads around an edge | A thin pencil line versus a thicker marker |
| Amount | How strong the contrast boost becomes | A gentle nudge versus an aggressive push |
| Threshold | How much difference between pixels is needed before sharpening kicks in | A filter that helps stop flat areas and noise from being sharpened |
If Radius is too wide, edges start to glow. If Amount is too high, texture gets brittle. If Threshold is too low, skin pores, grain, and compression noise can become more obvious than the subject itself.
Why free tools still work
The phrase image sharpener free often makes people expect weak results. That's not really the right lens. A free tool can be excellent if it gives you enough control and if you know what to protect.
Use a portrait as a simple example. You usually want more clarity in the eyes, lashes, hairline, and maybe clothing texture. You usually don't want to sharpen every patch of skin equally. Another scene works differently. Rocks, trees, rooftops, and distant structure can often take broader sharpening than a face.
Practical rule: Sharpen for the subject, not for the slider.
Once you think that way, the tool becomes less important than the decisions you make with it.
The Desktop Method Precision Sharpening with GIMP
GIMP is the free editor I'd trust first when a file matters. It gives you more control than a browser tool, and that control is what saves good photos from turning brittle.

For sharpening, the classic starting point is Unsharp Mask. The name sounds backwards, but it's the standard tool for increasing edge contrast with precision. GIMP also fits nicely into broader desktop photo workflows. If you edit on Apple hardware and want a wider view of what pairs well with your setup, Simply Tech Today's Mac photo app guide gives useful context on where lightweight apps and full editors sit.
Start with the file, not the filter
A stronger workflow begins before you touch the sharpening controls. A proven open-source sharpening method demonstrated with tools like GIMP and ChaiNNer recommends pre-processing to an uncompressed TIFF format, setting radius between 8–12 and sharpening amount between 2–4 for the AI stage, and checking the image at 100% resolution so you're judging actual pixel behaviour, not a scaled preview.
Even if you're using GIMP's more traditional controls rather than an AI model, those habits still hold up:
- Convert first when quality matters: TIFF keeps you from stacking compression damage on top of softness.
- View at 100%: Anything else can mislead you.
- Sharpen after your main tonal edits: Exposure and colour changes can alter how edges read.
A practical GIMP workflow
Use this sequence when sharpening a mildly soft image in GIMP:
- Duplicate the layer so you can compare before and after cleanly.
- Zoom to 100% and choose an area with meaningful detail. Eyes, hair, product labels, fabric weave, brick texture, or tree lines all work.
- Open Filters > Enhance > Unsharp Mask.
- Increase Amount slowly. Watch whether detail becomes clearer or just harsher.
- Adjust Radius to match the subject. Small-detail images want restraint. Broader scenes can handle a wider effect.
- Use Threshold carefully if noise or skin texture is becoming distracting.
- Toggle the preview on and off. If the effect jumps out immediately, it's probably too strong.
Don't judge sharpening on the whole image first. Judge it on the most delicate area that still matters.
Portrait versus landscape
The same slider values rarely suit both.
For a portrait, keep your attention on the eyes, lashes, brows, hair strands, and the edge of the lips or clothing collar. Be conservative on skin. If pores and minor blemishes become the sharpest thing in the frame, you've gone too far.
For outdoor scenes, you can usually push a bit further because foliage, rock, architecture, and horizon detail benefit from stronger edge separation. But sky noise and haloing around tree lines will give the game away fast.
A simple comparison helps:
| Subject | Where to sharpen most | Where to hold back |
|---|---|---|
| Portrait | Eyes, hair, glasses, clothing detail | Skin, shadows, background blur |
| Landscape | Buildings, rocks, foliage, distant texture | Open sky, mist, smooth water, noisy shadows |
If you want to see the tool in action before trying it yourself, this walkthrough helps:
<iframe width="100%" style="aspect-ratio: 16 / 9;" src="https://www.youtube.com/embed/2k7PJ5z4bcE" frameborder="0" allow="autoplay; encrypted-media" allowfullscreen></iframe>
When GIMP is the right call
Choose GIMP when:
- The image is important: Website hero shots, portfolio pieces, client visuals, product photos.
- You need selective judgement: Eyes sharp, skin natural. Foreground crisp, sky calm.
- You want repeatable results: Desktop editing is easier to revisit and refine.
That's where a free desktop image sharpener earns its place. Not because it's free, but because it lets you make deliberate choices.
Quick and Easy Online Image Sharpeners
Online sharpeners are for speed. You upload a file, move one slider or choose an enhancement option, download the result, and move on. That simplicity is their biggest strength.

They're handy when you're working on social posts, blog thumbnails, newsletter graphics, or presentation images on a machine that doesn't have GIMP installed. They're also convenient when you're combining stills with motion assets and need a quick prep step before compositing, much like the visual planning involved in adding pictures to video.
What the online workflow does well
A browser-based image sharpener free tool usually works best for mild softness and small deadlines.
A common workflow looks like this:
- Upload the file: Usually a JPG or PNG pulled straight from your phone or export folder.
- Apply auto sharpening: One click or a simple intensity slider.
- Check the preview: Focus on text edges, hair, product outlines, and noisy shadows.
- Export for screen use: Best for websites, slides, social content, and mock-ups.
That convenience matters. If your target is web display, you don't always need deep control. You need something fast that makes the image read better on screen.
The trade-offs you should expect
Browser tools save time, but they also flatten decision-making. You often can't mask an area, separate skin from eyes, or control radius in a nuanced way. That's where they tend to break down.
Here's the practical comparison:
| Workflow | Best for | Main limitation |
|---|---|---|
| Desktop | Portfolio images, product photos, print prep, selective control | Slower, more hands-on |
| Online | Social posts, blogs, quick drafts, device flexibility | Less control, more guesswork |
There are also practical concerns beyond image quality.
- Privacy: Uploading sensitive client or internal brand images to a cloud service may not suit every workflow.
- Compression: Some tools export in a way that introduces a slightly processed look.
- File limits: Large or high-resolution files may be restricted or slowed down.
If the image only needs to look good on a phone screen, an online tool may be all you need. If someone will inspect it closely, use desktop software.
A good rule for choosing quickly
Use an online sharpener when the image is disposable, fast-moving, or strictly digital. Use a desktop method when the image carries brand weight, sales weight, or print expectations.
That simple distinction saves time and prevents a lot of bad edits.
Pro Tips to Avoid Common Sharpening Mistakes
Most sharpening mistakes come from pushing too hard, too early, or too broadly.

The strongest results usually look understated. You notice them when you compare before and after, not because the final image screams “sharpened”.
The habits that keep images natural
A UK study on free sharpening tools found that 78% of photographers using free tools achieved pro-quality results, with optimal radius settings between 8 and 12 for large images and intensity between 40–45%. The same study reports that 62% abandoned commercial software, saving £150–£200 annually.
Those numbers matter less as a promise than as a reminder that restraint and method beat price.
Sharpen last. If you crop, resize, or heavily adjust tone after sharpening, you'll often need to do the work again.
View at 100% before making your final call. Anything else can hide halos or exaggerate crispness.
What to watch for
The fastest way to spot a bad sharpening pass is to scan the transitions.
- Bright outlines around edges: That's the classic halo problem.
- Crunchy skin or grainy shadows: You've sharpened noise, not detail.
- Textured areas looking brittle: The amount is probably too high.
- Everything equally sharp: The image has lost hierarchy.
A better habit is to target the parts that benefit.
A short checklist before export
- Separate layer first: Keep sharpening editable if your software allows it.
- Prioritise the focal point: Eyes, product edges, fabric texture, architecture.
- Leave smooth areas alone: Skin, sky, out-of-focus backgrounds, soft gradients.
- Match the output: Web images can tolerate a different finish from prints.
For print, subtle sharpening often feels stronger than expected once the image is physically reproduced. For web, a touch more crispness can help compressed images hold together on smaller screens.
A sharp image isn't the one with the strongest settings. It's the one where the viewer notices the subject before the processing.
Putting It All Into Practice
The best free sharpening setup depends on the job in front of you. GIMP is the better choice when quality, selectivity, and consistency matter. Online sharpeners are the better choice when speed wins and the image only needs to perform well on screen.
That's the main lesson. Technique beats price.
Pick one slightly soft photo from your own library and test both approaches. Try a careful desktop pass on the version you care about most. Try a quick browser fix on a copy meant for social or blog use. If you want to push the exercise further, take the finished still and explore how static visuals can become more dynamic with this guide on animating a still image.
You'll learn more from one side-by-side comparison than from ten random presets.
If you're turning polished stills into motion content, Seedance is worth a look. It helps creators transform visual ideas into cinematic AI-generated video, which makes it a strong next step once your images are sharp, clean, and ready to build into something bigger.
Ready to try it yourself?
Put the steps from this guide into practice with Seedance and turn prompts or images into polished videos in minutes.
Free credits on signup. Plans from $20/month.
Related Articles
More posts in the same locale you may want to read next.
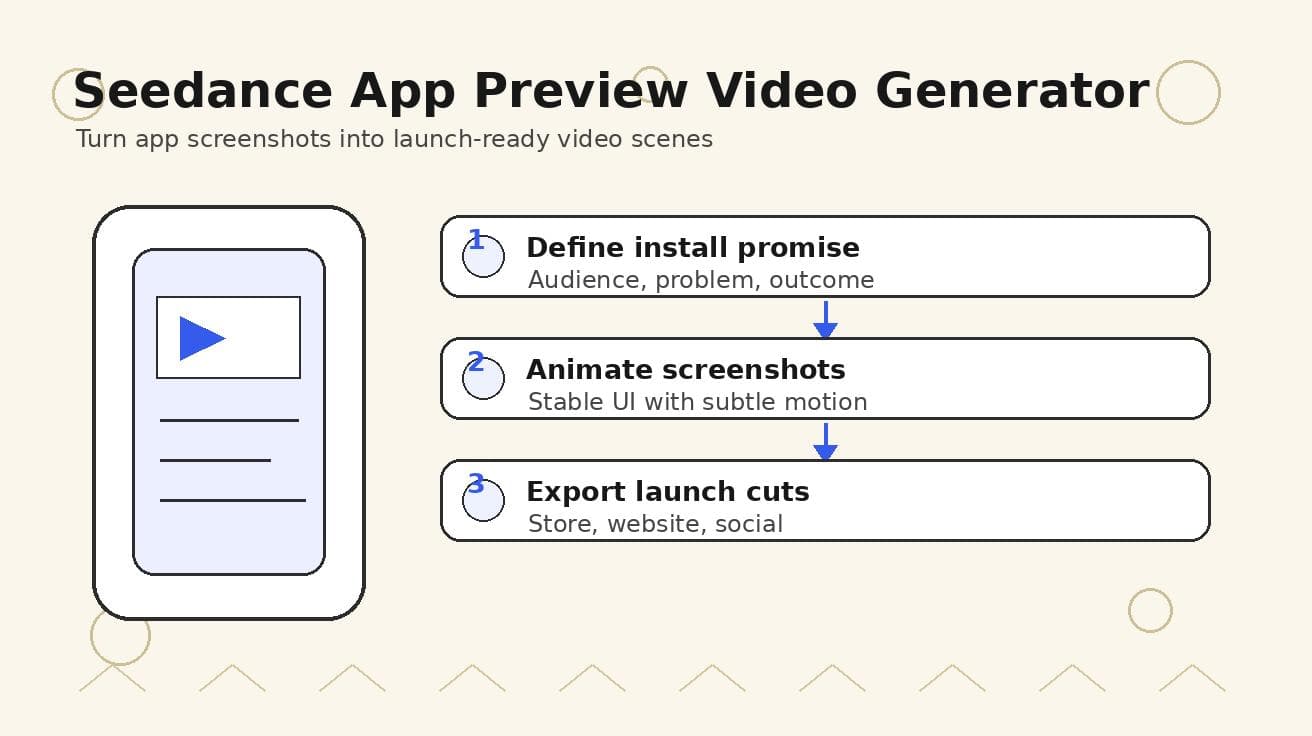
Seedance App Preview Video Generator 2026: Create App Store and Product Launch Clips
Use Seedance to turn app screenshots, feature copy, and launch goals into App Store previews, Google Play promo videos, and product launch clips.
Read article
Edit Eye Color Online: Pro Guide for Stunning Results 2026
Learn to expertly edit eye color online. Our 2026 guide offers actionable tips, tool comparisons, and advanced techniques for stunning results.
Read article
Seedance Aspect Ratio Guide: 9:16, 16:9 and 1:1 Video for Every Platform (2026)
Learn how to choose and set the right aspect ratio in Seedance: 9:16 vertical for TikTok and Reels, 16:9 for YouTube, 1:1 and 4:5 for the feed, and 21:9 for cinematic shots, with copy-ready prompts for each frame.
Read article