You've probably got the raw material already. A folder full of holiday shots, product photos, classroom images, wedding stills, or behind-the-scenes snapshots. They look good on their own, but when you send them as a gallery, they land flat. People swipe through two or three, then move on.
A video changes that. Music gives the sequence a pulse, movement gives stills some life, and a simple structure turns a random collection of images into something people finish watching. That's the difference between posting pictures and presenting a story.
Most tutorials on how to make videos from pictures with music stop at button-clicking. Select photos. Add track. Export. That part is easy. The gap is knowing which images to leave out, how to pace them, when to use motion, and how to avoid music choices that can create legal trouble in the UK. If you also want to add movement to a single still before building the full sequence, this guide to animating a still image is a useful companion.
Ready to try it yourself?
Free credits on signup. Plans from $20/month.
From Static Photos to a Moving Story
Good photo videos don't start in the editor. They start with a decision about what the viewer should feel by the end.
If you're making a family montage, the goal might be warmth and progression. If you're building a product reel, you probably want clarity and momentum. If it's an event recap, you need energy without chaos. The same editing tools can serve all three, but the sequence has to be built differently.
Start with a narrow story
Don't dump every decent photo into the timeline. Pick a lane.
A practical way to do it is to sort your images into three buckets:
- Opening images: establish place, people, or purpose
- Middle images: show action, variety, and detail
- Closing images: deliver a sense of resolution
For a travel video, that could mean opening with a wide scenic view, moving into street details and food shots, then ending with one calm image at dusk. For a school project, it might be classroom setup, students working, then finished outcomes.
Practical rule: If an image doesn't add new information, mood, or contrast, cut it.
Think in beats, not files
A strong sequence has rhythm. Some photos deserve more screen time because they carry emotional weight or explain the setting. Others should flash by quickly to keep the piece moving.
That's where creators often get stuck. They treat every image equally, so the video feels mechanical. Instead, identify two or three hero images that deserve emphasis. Give them a slower reveal, cleaner framing, or a gentle zoom. Use the surrounding shots as support.
If you approach the sequence like a short film rather than a storage folder, the edit gets easier. You're no longer asking, “Which app should I use first?” You're asking, “What am I trying to say with these pictures?”
Choosing Your Creative Toolkit
The tool matters, but not in the way beginners assume. There isn't one perfect editor for everyone. There's the right tool for the job you need to finish today.

The wider market is moving in your favour. The UK's Music & Video Record Retailing industry is projected to reach £843.3 million in 2026, with a 3.9% CAGR from 2020 to 2025, which helps explain why there are now more consumer and professional options for building videos from pictures with music (IBISWorld UK industry data).
Three routes that actually make sense
| Tool type | Best for | Trade-off |
|---|---|---|
| AI-powered tools | Fast drafts, concept videos, social content | Less granular control |
| Web or mobile apps | Simple reels, classroom work, quick promos | Can feel template-heavy |
| Desktop editors | Detailed timeline work, longer projects, precise pacing | Slower learning curve |
One route isn't more “serious” than the others. It depends on how much control you need over timing, motion, audio, and export.
When to choose each one
If you need a fast marketing asset or a short music-led visual from existing images, an AI tool can save time. Seedance is one option in that category. It can work from uploaded images and audio to generate video with synchronised motion, which is useful when speed matters and you want movement without hand-animating every frame.
If you want drag-and-drop simplicity, Canva and similar web tools are easier to hand off to a colleague, student, or client. They're well suited to straightforward social posts where you care more about speed than deep editing.
Desktop editors are still the better choice when pacing really matters. If I'm shaping a longer sequence with careful photo duration changes, manual soundtrack cuts, and multiple visual layers, a timeline-based editor gives fewer unpleasant surprises. That's also why event teams still rely on a repeatable editorial workflow rather than pure automation. This breakdown of a proven process for event video is useful because it mirrors the same discipline that works for photo-based edits: plan the narrative first, then build the visuals around it.
A quick decision filter
- Short on time: use AI or a template-led app
- Need social-ready output fast: use Canva or a mobile editor
- Need precise control over every beat: use a desktop suite such as Pinnacle Studio
The wrong tool usually reveals itself in the timeline. If you're fighting basic timing adjustments, switch tools early instead of forcing the edit.
Crafting a Narrative With Your Pictures
A slideshow becomes a story when each image earns its place.

The easiest mistake is arranging photos in the order they were taken. That works for documentation. It rarely works for viewing. A stronger sequence uses contrast, escalation, and release. In practice, that means moving between wide shots and close details, quiet moments and busy ones, faces and setting.
Build a beginning, middle, and end
You don't need a complex plot. You just need direction.
For example, if you're making a video from a fundraiser:
- open with arrival shots and venue context
- move into interaction, speakers, details, and atmosphere
- finish with a moment that feels complete, such as applause, a group photo, or an empty room after the event
For a product launch:
- Start with the problem or setting.
- Show the product in use from multiple angles.
- End with the strongest branded image or final use case.
That simple structure stops the video from feeling like a shuffled gallery.
Use movement where it helps
Static images benefit from small motion. A slow push-in on a portrait adds presence. A sideways pan across a scene gives the eye somewhere to travel. A gentle zoom on a detail shot creates emphasis without shouting for attention.
According to a 2024 Digital Creativity Survey by the UK's National Film and Television School, adding pan-and-zoom transitions to static images can increase viewer engagement by as much as 34% compared with simple static slides (Pinnacle Systems summary).
Don't animate every image the same way. If every photo zooms in at the same speed, viewers feel the pattern before they feel the story.
This kind of pacing is easier to spot when you watch an example rather than read about it. The clip below is worth studying for flow, framing, and how motion can make still-based storytelling feel more alive.
<iframe width="100%" style="aspect-ratio: 16 / 9;" src="https://www.youtube.com/embed/8liW9ZKyxLM" frameborder="0" allow="autoplay; encrypted-media" allowfullscreen></iframe>
A practical sequencing method
When I'm arranging a set of photos, I usually work in passes:
- First pass: remove duplicates and weak images
- Second pass: mark the emotional anchors or key explanatory frames
- Third pass: add support images between those anchors
- Final pass: adjust duration so the sequence breathes
That last step matters most. If the ending arrives too quickly, the video feels cut off. If the middle lingers too long, even strong photos start to drag.
Finding and Integrating the Perfect Soundtrack Legally
Music does more than fill silence. It controls pacing, changes how viewers read the images, and often determines whether the final piece feels polished or amateur. It's also where a lot of creators run into trouble.

In the UK, the legal and ethical expectations around music use are tightening, especially where AI is involved. A 2024 UK Music report found that 83% of UK adults believe AI-generated content using music must be clearly labelled, and 77% feel that using music without crediting the original creator amounts to theft (UK Music report on AI and music).
The safe route
If you want the least friction, use music that comes from a properly licensed library inside your editor or from a royalty-free catalogue whose terms you've read.
Search by:
- Mood: upbeat, reflective, cinematic, calm
- Tempo: slower tracks for memory pieces, faster tracks for promos
- Instrumentation: piano for intimacy, percussion for movement, ambient textures for background support
This works well because you can edit confidently. You're not building a whole video around a song that may get muted or flagged later.
If you're using AI-assisted workflows that combine image motion with sound, this guide on generating video with audio is useful for understanding how audio-led creation fits into the editing process.
The risky route
A lot of people want to use a song from their own playlist. That's understandable. It's also where good intentions collide with platform rules and licensing restrictions.
Owning a track for listening doesn't automatically give you the right to sync it to video. That's the critical distinction. For personal projects kept offline, your risk is different from a public upload for promotion, teaching, or client work. Once the video is shared on major platforms, the practical question isn't whether the song fits emotionally. It's whether you have the right to use it in that context.
If you didn't license the music for sync use, build your edit as if the track could disappear at upload.
Make the soundtrack serve the edit
The best soundtrack choice isn't always the song you like most. It's the track that supports image pacing.
A few practical habits help:
- Trim the intro: long musical intros often waste the first few seconds
- Use fades: hard audio starts and stops make a polished edit feel abrupt
- Cut on phrase changes: switch photo groups when the music changes energy
- Leave space for key images: don't crowd emotional shots with over-busy sections of the track
If the music is strong and the image order is clean, half the editorial work is already done.
Polishing Your Video with Transitions and Effects
Most weak edits don't fail because the photos are bad. They fail because the creator keeps adding effects after the video was already finished.

Flashy transitions promise instant production value. In practice, they usually do the opposite. They pull attention away from the photos and make the viewer notice the software instead of the story.
What usually works
A professional-looking photo video often uses fewer effects than a beginner expects.
The most dependable choices are:
- Cut: good for pace, energy, and clarity
- Dissolve: useful for memory pieces or gentle time shifts
- Pan and zoom: adds life to stills without overwhelming them
- Subtle fade to black: useful at the end or between distinct sections
Use one primary transition style across most of the project. That consistency makes the video feel intentional.
What usually hurts
A UK study found that 47% of beginners reported their own projects felt distracting because of excessive scrolling effects, and limiting animation to 1 to 2 key transitions per slide can improve viewer focus (UK study reference via tutorial source).
That lines up with what you see in real edits. The biggest problems are rarely technical. They're judgement problems.
Common ones include:
- Stacking effects: zoom plus spin plus text motion on the same image
- Changing transition style every few slides: it breaks cohesion
- Using motion without focal intent: the frame moves, but nothing important is being emphasised
A transition should answer one question: why does the next image need a different kind of entrance?
If you want a stronger feel for restrained motion choices, this walkthrough on video transitions is a helpful reference.
A simple polish checklist
Before exporting, scrub through the timeline and ask:
- Does any effect call attention to itself?
- Are similar images entering in roughly the same style?
- Does motion guide the eye toward the subject?
- Could one less effect make the sequence feel cleaner?
That final question usually improves the edit.
Exporting and Sharing Your Final Video
Export is where good work gets ruined by rushed settings. The fix is to keep it simple.
For most creators, MP4 is the safest format because it plays well almost everywhere. 1080p is the practical default because it looks clean on YouTube, Instagram, Facebook, presentation screens, and most modern phones without creating unnecessarily heavy files. If your editor offers H.264 inside an MP4 export preset, that's usually the sensible choice for wide compatibility.
A pre-flight checklist that avoids headaches
Before you hit export, check these points:
- Watch the full timeline once more: look for mistimed cuts, repeated images, or black gaps
- Listen on speakers and headphones: music that feels balanced on one setup can feel harsh on another
- Check text safety if you added captions or titles: mobile crops can hide edge-aligned text
- Export a short test first if the project matters: it's faster than discovering an audio issue after a full render
For platform-specific sharing, I keep it straightforward:
- YouTube: 1080p horizontal, clear thumbnail frame, slower pacing is fine
- Instagram Reels or Stories: vertical framing, tighter cuts, stronger opening image
- Facebook and LinkedIn: whichever orientation suits the audience, but keep the first few seconds visually obvious
Ownership matters if AI helped create it
If you used AI in the workflow, don't ignore the legal side once the file is finished. In the UK, AI-generated works may be protected under the Copyright, Designs and Patents Act 1988, which gives copyright to the “person by whom the arrangements necessary for the creation of the work are undertaken” (UK-focused explanation of the CDPA position).
That matters for businesses, educators, and creators who need clarity around who controls the finished asset. It also means you should keep a record of the tool used, the licence terms, and the inputs you supplied.
A good export isn't just technically clean. It's ready to publish, properly framed for the platform, and backed by music and usage rights you can stand behind.
If you want a faster way to turn images and audio into a polished video, Seedance is worth exploring. It's useful when you want to move from static photos to motion-led storytelling without building every shot manually, especially for short marketing pieces, concept videos, and social content where pace matters.
Ready to try it yourself?
Put the steps from this guide into practice with Seedance and turn prompts or images into polished videos in minutes.
Free credits on signup. Plans from $20/month.
Related Articles
More posts in the same locale you may want to read next.
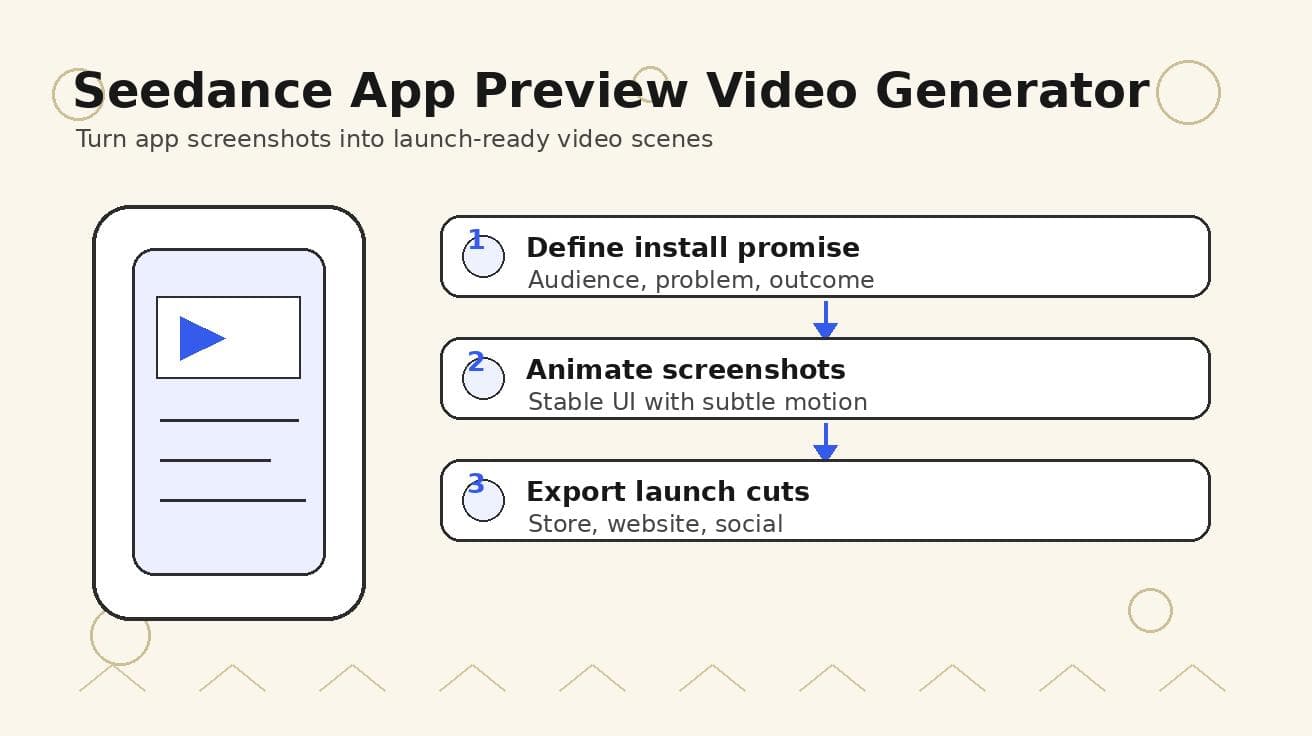
Seedance App Preview Video Generator 2026: Create App Store and Product Launch Clips
Use Seedance to turn app screenshots, feature copy, and launch goals into App Store previews, Google Play promo videos, and product launch clips.
Read article
Master Guide to Add Beard to Photo: 2026 Edition
Want to add beard to photo for a new look? Get realistic results with AI & manual editing tools in our practical 2026 guide.
Read article
How to Vid: Generate 1080p AI Video with Seedance
Learn how to vid like a pro. This guide shows you how to use Seedance to generate stunning 1080p AI videos from text, with multi-shot storytelling tips.
Read article