
You've probably got a still image open right now that feels like it should do more. A product shot with great lighting but no energy. A portrait with mood but no movement. A travel photo with depth that disappears the moment it lands in a feed.
That's where photo to animation becomes useful. Not as a gimmick, and not as a one-click “make it wiggle” trick, but as a way to turn a single frame into a short visual story people watch. The difference between amateur output and professional output usually isn't the software. It's whether the creator treats the image like a scene.
Beyond Static Images Your Intro to Photo Animation
A flat image can carry a lot of information, but it rarely controls attention for long. Motion changes that. A slow camera drift can reveal hierarchy. A slight environmental movement can create mood. A text overlay can turn a nice picture into an explained idea.
Ready to try it yourself?
Free credits on signup. Plans from $20/month.

The commercial backdrop matters too. The global animation software market reached £119 billion in 2025 and is projected to grow to £166 billion by 2035, which tells you animated content isn't a niche side format anymore. It's a serious production category with long-term demand, as noted in this animation software market report.
What most tutorials get wrong
Most guides stop at “add motion to a photo”. That's too shallow to be useful.
A stronger approach starts with a question: what should the viewer feel, understand, or notice first? Once you answer that, movement becomes directional. You don't animate everything equally. You animate the parts that support the message.
For example:
- A skincare product photo: Let the bottle stay stable, add a slow push-in, and animate only steam, glow, or reflected highlights if they fit the concept.
- A portrait: Keep face movement restrained and use background drift, light movement, or layered depth instead of aggressive facial changes.
- An outdoor scene: Move clouds, water, or foreground foliage. Don't force the mountain itself to “perform”.
A good photo animation doesn't prove the tool works. It proves the image had a story hidden inside it.
Where Seedance fits
When creators use Seedance well, they usually aren't chasing motion for its own sake. They're using it to create a sequence from a single still, often with camera movement, scene continuity, and style control that feels closer to motion design than novelty animation.
That makes it useful for marketers, educators, filmmakers, and small teams who need polished moving visuals without building every shot by hand. The practical shift is this: stop thinking about a photo as finished artwork. Start treating it as source material for a cinematic beat.
Preparing Your Photo for Cinematic Movement
The render starts long before the upload. If the source image is weak, the animation will only expose the weakness faster.

The foundation is simple. Separating the image into layered elements through 2.5D cut-out layer separation is a proven method for believable motion, and it remains the core habit worth learning early, as shown in this photo animation methodology lesson.
What to look for before you animate
Use this checklist before you commit to any photo:
- Clear subject: The main subject should read instantly. If the eye doesn't know where to land in the still, motion won't fix it.
- Depth in the composition: Foreground, midground, and background give you room for parallax and camera travel.
- Clean edges: Hair, product outlines, shoulders, glassware, and foliage need readable edges if you plan to separate layers.
- Stable capture: Motion blur, heavy compression, and focus misses tend to create muddy movement.
- Lighting that defines form: Side light, rim light, or clear shadow direction helps the image survive subtle camera motion.
Prep work that actually pays off
A junior designer often wants to upload first and refine later. Reverse that instinct.
Do a few minutes of prep in your editor first:
- Increase clarity where the eye should go. The subject needs enough texture to hold up under movement.
- Reduce distractions. Remove tiny background details that may shimmer or pull attention.
- Separate obvious planes mentally. Ask what belongs in front, what sits in the middle, and what should stay distant.
- Check for awkward cut lines. If a sleeve melts into the background, expect trouble later.
- Decide what must remain still. A stable anchor makes motion look intentional.
If you're working with products, this product photo to video workflow is a useful reference because it shows how much cleaner the result gets when the source image already has hierarchy and separation.
Practical rule: If you can't describe the image in layers, you're not ready to animate it.
A quick example
Take a coffee bag shot on a table near a window. The bag is the hero. The mug sits midground. Steam and the window light are support. Don't animate the packaging itself too much. Keep the bag stable, give the camera a slight lateral drift, let the steam carry most of the motion, and allow a mild brightness shift in the window. That's enough to create atmosphere without making the product look synthetic.
Creating Your First Animation in Seedance
Your first goal isn't complexity. It's control. You want one short render that looks intentional, exports cleanly, and teaches you how the image responds.

A practical starting point is a social advert style shot. Use a single product photo, decide on one motion idea, and keep the brief narrow. For example: “slow cinematic push-in, gentle background motion, product remains sharp and stable, premium lighting, clean commercial feel.”
The first-pass workflow
Here's the sequence I'd give a junior designer on day one:
- Upload one prepared image only. Don't test five variables at once.
- Set the frame with intent. Choose the aspect ratio based on where the clip will live. Vertical for social placements, horizontal for web headers or presentation use.
- Write motion notes, not poetry. Be specific about camera move, subject stability, and environment behaviour.
- Keep duration short. Short clips are easier to judge and easier to rework.
- Generate the first render fast. Don't chase perfection before you've seen what the tool does with the image.
Seedance Image to Video is relevant as a workflow reference. It's built around turning a source image into moving footage, so the useful habit is learning how small prompt changes affect camera motion and subject treatment.
What to put in the prompt
Weak prompt:
- “Animate this photo and make it cinematic.”
Better prompt:
- “Slow forward camera movement, shallow parallax between foreground and background, soft light flicker in background, subject remains still and realistic, clean premium commercial motion.”
The second version gives the system priorities. That matters more than adjective stacking.
The settings that matter most
Professional photo animation workflows in the UK often standardise on 24 FPS and use the 2.5D cut-out method to create pseudo-3D space. Commercial-grade quality depends on getting those technical basics right, as discussed in this UK photo animation workflow breakdown.
That doesn't mean you need to over-engineer the first render. It means you should understand why motion can feel “cheap” when timing or depth is wrong.
Use this quick decision table:
| Setting | Good first choice | Why it works |
|---|---|---|
| Frame rate | 24 FPS | Feels natural for cinematic motion |
| Camera move | Slow push or gentle pan | Easier to control than aggressive movement |
| Subject motion | Minimal | Keeps realism intact |
| Background motion | Subtle | Adds depth without distraction |
| Resolution | 1080p | Suitable for polished delivery |
After the first output, watch for three things: edge warping, texture drift, and facial or product distortion. If any of those show up, don't just regenerate randomly. Diagnose the source of the problem.
How to troubleshoot like a practitioner
If the motion feels wrong, the fix usually falls into one of these buckets:
- Too much movement everywhere: Simplify. Pick one moving priority.
- The subject bends or pulses: Tell the model the subject should remain stable.
- The shot feels flat: Strengthen foreground and background separation.
- The output feels synthetic: Reduce intensity and remove unnecessary effects.
- The camera move feels aimless: Add a destination. Push toward the label, face, or key object.
Later in the workflow, it helps to study a live example rather than rely only on text descriptions:
<iframe width="100%" style="aspect-ratio: 16 / 9;" src="https://www.youtube.com/embed/dR0Dq68oM_I" frameborder="0" allow="autoplay; encrypted-media" allowfullscreen></iframe>
A simple first project
Use a bottled drink on a neutral table. Ask for a slow push-in, mild condensation shimmer, and soft background light motion. Keep the bottle shape unchanged. Export the clip, then compare it against the original still.
If the bottle remains trustworthy and the environment carries the atmosphere, you've made a workable first photo to animation piece. That's the benchmark. Not maximum movement. Controlled movement.
Mastering Animation Styles and Motion Controls
Once the basic render works, style and motion control become the true craft. Many creators at this stage either sharpen their taste or lose it.

A style choice isn't decoration. It changes how motion reads. Photoreal motion asks for restraint. A stylised look can tolerate stronger transitions, heavier texture movement, and more dramatic light behaviour.
Choosing the right style for the image
Think in pairs: image type and emotional intent.
| Image type | Style direction | Usually works well | Usually fails |
|---|---|---|---|
| Product photo | Clean commercial realism | Controlled zoom, highlight movement | Overactive object deformation |
| Portrait | Cinematic naturalism | Background drift, depth shift | Excessive facial motion |
| Architecture | Structured parallax | Measured pan, shadow movement | Elastic line distortion |
| Fantasy artwork | Stylised motion | Atmosphere, particles, richer camera sweep | Hyperreal skin or texture treatment |
The mistake is forcing the same visual language onto every image. A portrait doesn't want the same motion logic as a beverage advert.
Motion controls that actually matter
Most motion controls boil down to four decisions:
- Speed: Faster isn't more impressive. It's usually less believable.
- Direction: Movement should support composition. Follow leading lines when possible.
- Intensity: Treat this as seasoning, not the meal.
- Looping behaviour: If the clip needs to repeat, design for a clean reset.
If the viewer notices the effect before the subject, the control setting is too strong.
A few practical examples help:
- A perfume bottle with reflective glass can handle a slow arc or subtle push-in.
- A heritage portrait benefits from micro parallax and almost no facial intervention.
- A rainy street image can support repeating environmental motion, but only if the rain direction and density feel consistent with the still.
Where current tools still fall short
One of the big gaps in photo animation is control over repeating elements like rain, balloons, crowds, or similar background patterns. Research highlighted by Princeton's animation tool update points to a more granular approach where users manually select repeating objects and define movement with motion lines. That matters because generic AI movement often treats the whole image as one surface.
For a UK small business making short-form content, that trade-off is real. Template motion is fast, but it often makes backgrounds feel generic. More precise control creates stronger custom work, especially when the background needs to feel alive without overpowering the subject.
A useful test for refinement
Render two versions of the same image:
- one with more dramatic motion
- one with half the intensity
In review, the quieter version often wins. It keeps the illusion intact and gives the audience time to absorb the frame. That's the standard to aim for. Motion that supports the image, rather than motion that tries to replace it.
Advanced Tips for Professional Photo Animations
Polished work usually comes from small decisions stacked carefully. You don't need more effects. You need cleaner intent.
Build the shot around one narrative idea
A strong professional render has a point of view. Is the image supposed to feel nostalgic, luxurious, tense, human, documentary, or playful? Once that's clear, every animation choice gets easier.
A useful trend among UK creators is the 3D drone view treatment on a static image, paired with text that explains what the viewer is seeing. That turns a still into a cinematic narrative rather than a decorative loop, as shown in this example of narrative photo movement.
That matters because many template-based tools animate surfaces, but they don't help you explain meaning. You have to direct that yourself.
Use narrative layering, not just motion
Try this with a single archival image, product close-up, or location photo:
- Start wide: Let the viewer read the full frame.
- Move with purpose: Drift toward the one area that matters most.
- Add text at the right moment: Not immediately. Wait until the eye has settled.
- Reveal supporting detail: Use movement to make the explanation feel discovered.
For example, with a café interior photo, begin on the whole room, then drift towards a worn tabletop and overlay text about the age of the building, the family ownership, or the design decision behind the space. The movement becomes part of the storytelling rhythm.
Editing note: Text should land when the camera settles, not while the frame is still searching.
Loops, sound, and export judgement
Smoothly flowing loops are harder than they look. The trick isn't to add more motion. It's to choose motion that can return to its starting state without a visible snap. Water reflections, ambient light drift, slow fog, and controlled camera moves are easier to loop than gestures or dramatic perspective shifts.
Keep these finishing habits in your workflow:
- Check the last frame against the first: Even a subtle mismatch can break the loop.
- Mute the clip on first review: If it doesn't read visually in silence, fix the motion before adding audio.
- Use sound sparingly: A soft room tone, air movement, or a restrained hit can complete the illusion.
- Export for placement: A website banner, paid social post, and presentation slide each want a different balance of clarity and file weight.
Fix the flaws that cheapen the result
When a render feels amateur, the issue is often one of these:
- Motion with no anchor: Something in the frame needs to feel stable.
- Flicker in detailed areas: Simplify the region or reduce effect intensity.
- Camera drift without destination: Give the move a focal endpoint.
- Every layer moving equally: That kills depth immediately.
One practical review method is to step away for ten minutes, then watch the clip once at normal size and once at reduced size. If the idea still reads small, the animation is doing its job. If only the effect reads, revise it.
Navigating the Legal Landscape of AI Animation in the UK
This part is not optional. If you create AI-driven photo animations in the UK, legal and ethical judgement has to sit inside the workflow, not outside it.
The non-negotiable rule on consent
In the UK, creating AI-generated intimate images without consent is now a criminal offence, which means any photo-to-animation workflow used for that purpose is unlawful. That position is outlined in this legal summary of the UK's deepfake law changes.
If a client, collaborator, or colleague asks for anything close to that line, the answer is no. Not “maybe if it isn't published”. Not “only as a test”. No.
Copyright, style, and training rights
UK creators also need to pay attention to how AI systems use protected work. The government's updated framework says right holders can reserve their rights to stop their content being used in AI training, and developers need to respect those reservations, as explained in the UK copyright and AI consultation.
There's also movement toward a UK right to personality mechanism that would let artists license their styles for compensation or reserve those rights instead, according to this report on AI and artist style protections.
For day-to-day practice, keep a short checklist:
- Get permission for identifiable people: Especially if the image is personal, sensitive, or client-supplied.
- Know where the source image came from: Don't animate images with unclear usage rights.
- Avoid “copy this artist exactly” prompts: Style imitation is becoming a more serious professional risk.
- Review platform terms for copyright handling: Seedance copyright guidance is worth reading before commercial use.
Treat transparency as part of craft
If you're building public-facing work, say when motion is AI-generated. That protects trust and avoids confusion.
For creators thinking about ethical AI experiments in public, community-backed projects can be useful points of reference. One example is support the Ai Baby Dance, which is relevant because it shows how AI-native creative concepts can be framed openly rather than disguised as untouched media.
Professional standards aren't separate from creativity. They shape whether the work is safe to publish, safe to sell, and safe to stand behind.
Start Animating Your Visual Stories
A still image doesn't have to stay a still image. With a strong source photo, careful motion choices, and a clear narrative idea, photo to animation becomes a practical creative tool rather than a novelty. The work improves fast once you stop asking, “How do I make this move?” and start asking, “What should this shot communicate?”
Open one image. Keep the first brief simple. Build one clean shot with intention, then refine from there.
If you want a straightforward place to test these ideas, Seedance offers an image-to-video workflow for turning still photos into short animated sequences. Start with one well-prepared image, keep the motion brief focused, and judge the result like a director, not just a prompt writer.
Ready to try it yourself?
Put the steps from this guide into practice with Seedance and turn prompts or images into polished videos in minutes.
Free credits on signup. Plans from $20/month.
Related Articles
More posts in the same locale you may want to read next.
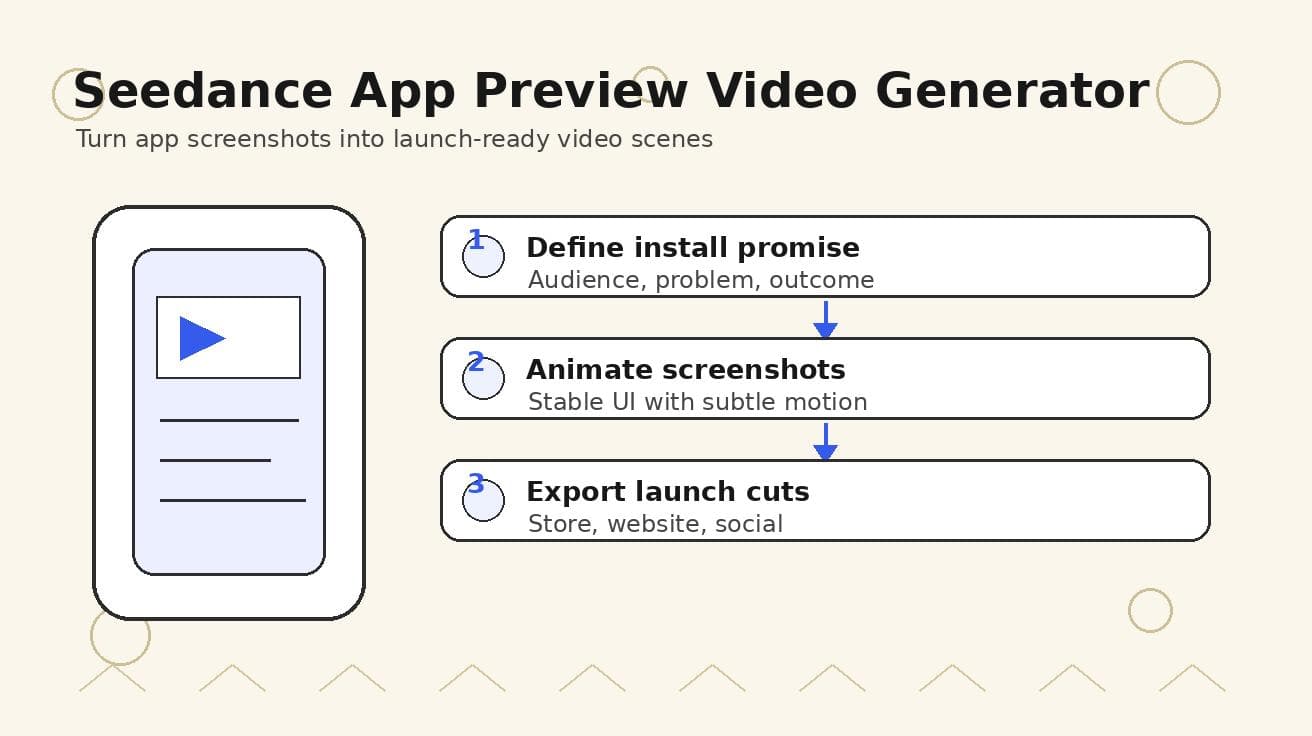
Seedance App Preview Video Generator 2026: Create App Store and Product Launch Clips
Use Seedance to turn app screenshots, feature copy, and launch goals into App Store previews, Google Play promo videos, and product launch clips.
Read article
Seedream vs Seedance: What's the Difference? (2026 Guide)
Seedream vs Seedance explained: Seedream is ByteDance's text-to-image model, Seedance is its AI video generator. Learn the difference and how to use them together.
Read article
How to Download & Save Your Seedance 2.0 Videos (2026 Guide)
Learn how to download and save your generated Seedance 2.0 videos: export clean MP4 files, pick 1080p resolution, handle watermarks, and save to phone, PC, or cloud.
Read article