44% of British men with facial hair now wear full beards, up from 29% five years earlier, according to YouGov. That shift changes how people edit portraits. Adding a beard to a photo isn't just a novelty filter any more. It's become a practical way to test a new look, build campaign mock-ups, design character portraits, or rough out grooming ideas before anyone picks up a trimmer.
The problem is that most beard edits still look fake. The common failures are easy to spot: a beard pasted on top of skin with no root pattern, no shadow under the chin, and no regard for face shape. Good results come from understanding growth direction, density, edge softness, and lighting. The tool matters, but the principles matter more.
The workflow offers two distinct approaches. AI can give you speed and fast variation. Manual editing gives you control over every hairline, shadow and blend. Both can work. Both can also go badly wrong if you treat facial hair as a sticker instead of part of the face.
Ready to try it yourself?
Free credits on signup. Plans from $20/month.
Why Everyone Is Adding Beards to Photos
Beard edits are now part of everyday image work. I see them used for dating profile tests, barber consultations, character design, ad mock-ups, and simple curiosity about whether a face can carry more weight at the jaw.
As noted earlier, fuller facial hair has become more culturally normal in the UK. That changes what people want from a portrait. They are not only asking, “Can I grow this?” They are asking, “Would this shape suit my face, my age, and the way I want to be read?”
That second question matters more than the app.
A beard changes structure before it changes style. It can sharpen a weak chin, shorten a long face, add visual mass to the lower half of the head, or make someone look older and more severe if the density and outline are wrong. That is why people add beards to photos before making any grooming decision in real life. A good preview saves time, avoids bad trims, and gives a clearer brief for a barber, retoucher, or creative team.
For some readers, the goal is corrective rather than experimental. Patchy growth, weak connectors, and thin moustache density often need a style plan before they need an editing tool. Resources on solutions for thinning beards can help with that side of the decision, because realism starts with choosing a beard pattern that would plausibly grow on that face.
The bigger reason for the trend is simple. People expect edits to function as realistic previews now, not novelty filters. If the beard ignores pore texture, hair direction, skin shine, and the way shadow sits under the chin, viewers spot the fake instantly.
There is also a line that gets ignored too often. A beard edit can be harmless styling, but it can also alter perceived age, identity, religion, or cultural presentation. In the UK, that moves the conversation beyond taste and into consent, misrepresentation, and how an edited face may be used. That ethical pressure is part of why beard generation is no longer just a funny filter category. It is image craft with consequences.
Choosing Your Method AI Magic vs Manual Craftsmanship
If the goal is speed, AI wins. If the goal is a portfolio-grade composite, manual editing still has the edge. A perfect cinematic result isn't always necessary. The user needs the right method for the job.

When AI makes more sense
AI tools are best when you need quick variations. That includes dating profile tests, concept art, social posts, thumbnail ideation, or early-stage grooming mock-ups. You upload a portrait, describe the beard, and generate several versions fast.
A practical guide on how to add facial hair to your photos can help if you want to see the range of consumer-friendly workflows now available. The useful part isn't the app list. It's seeing how quickly different styles can be trialled.
AI advantages
- Speed: You can move from clean-shaven to multiple beard options in minutes.
- Low skill barrier: You don't need to know masking, compositing, or colour grading to get started.
- Variation: AI is good at producing several interpretations of the same request.
AI drawbacks
- Less control: It may misread cheek lines, moustache density, or neck transitions.
- Inconsistency: One version may look grounded, the next may look airbrushed.
- Style drift: The system can change more than the beard if your prompt is loose.
When manual editing is worth it
Manual work suits campaign imagery, retouching practice, editorial composites, and any portrait where you need the beard to sit naturally under close inspection. Software like Photoshop, Affinity Photo, or GIMP lets you shape every transition yourself.
Here's the core trade-off:
| Method | Best for | Main strength | Main weakness |
|---|---|---|---|
| AI | Fast concepting, casual edits, social content | Rapid results and multiple options | Can misread anatomy and lighting |
| Manual | High-end realism, polished portraits, precise style control | Full control over shape, colour, density | Slower and more skill-intensive |
Decision rule: If you only need to ask “Would I suit a beard?”, use AI first. If you need people to believe the photo was shot that way, edit manually.
Using AI to Add a Beard in Minutes
AI beard generation works best when you stop thinking like a casual app user and start thinking like a director. The model needs clean input, unambiguous style instructions, and room for iteration.

Start with a photo the model can read
Photo choice affects realism more than prompt flair. UK benchmarks from OpenArt show that high-resolution inputs at 1080p+ reach hair texture realism scores of 8.7/10, while low-resolution inputs drop to 4.2/10. The same source says realistic beard alignment reaches 92% with front-facing photos where the chin is visible, but drops below 45% if the jaw is obscured.
That matches what digital artists see in practice. If the jawline is hidden by a hand, hoodie, mic, or hard shadow, the AI starts inventing structure. Invented structure nearly always looks wrong around the chin corners and sideburn connection.
Use this checklist before you generate:
- Choose a clear angle: Front-facing or slight three-quarter portraits work best.
- Keep the chin visible: Don't crop too tightly under the mouth.
- Use even light: Window light or soft frontal light is easier for the model to interpret.
- Avoid compression: Social screenshots and tiny profile exports tend to smear hair texture.
If you want to run a controlled image-to-image workflow instead of relying on a novelty filter, a dedicated image-to-image generator gives you more room to guide the result.
Write prompts like a retoucher, not a browser user
“Add beard” is too vague. The model needs specifics about style, length, density, colour, edge shape, and grooming level.
A stronger prompt looks like this:
neatly trimmed short boxed beard, natural cheek line, connected moustache, medium density, dark brown with slight warmth, realistic skin transition, subtle beard shadow under jaw
A different example for an older subject:
full beard with controlled cheek line, salt-and-pepper texture, soft density variation, realistic moustache blending, natural chin fullness
Notice what these prompts do. They describe the beard as a physical object in a lit photograph, not as a costume.
After the first pass, refine one variable at a time:
- Shorten or lengthen the beard.
- Increase or reduce cheek density.
- Adjust colour warmth or grey.
- Correct the neckline and moustache join.
This kind of walkthrough is easier to follow in motion:
<iframe width="100%" style="aspect-ratio: 16 / 9;" src="https://www.youtube.com/embed/xlpe4nCAF70" frameborder="0" allow="autoplay; encrypted-media" allowfullscreen></iframe>
Fix the failures the AI usually creates
The most common AI mistakes are consistent:
- Too much density everywhere: Real beards vary across cheeks, chin and philtrum.
- Bad edge behaviour: Hard sticker-like outlines give the edit away instantly.
- Flat colour: Hair needs tonal variation, not a single brown or black mass.
- Missing skin shadow: Facial hair changes how light falls on the lower face.
Practical rule: If the beard looks perfect at thumbnail size but wrong when zoomed in, the issue is usually edge softness or density variation, not the overall style.
Generate several versions. Keep the one with the best anatomical fit, then do light manual clean-up if needed. AI is fastest when you treat it as a first draft, not the final finish.
The Manual Method for Ultimate Photo Realism
Manual beard editing takes longer, but it solves the biggest weakness of AI. You decide where the facial hair starts, where it thins out, how it sits over bone structure, and how it reacts to light. That control is what makes the result believable.

Build the beard in layers
The cleanest workflow in Photoshop, GIMP, or Affinity Photo is non-destructive. Don't paint everything onto one merged layer. Separate the job into components.
A strong layer stack usually includes:
- Base shadow layer: Low-opacity darkening under the beard area to suggest root depth.
- Mid-density hair mass: The broad shape of the beard.
- Edge and flyaway layer: Fine strands at the perimeter.
- Colour correction layer: Adjusts the beard to match the portrait's grade.
- Texture or grain layer: Restores camera feel after compositing.
Match source material before you blend
If you're compositing from donor beard material, perspective and lighting have to match first. A well-lit donor beard from the left won't sit naturally on a portrait lit from the right. The mismatch is obvious even before colour correction.
Look at four things before you paste anything:
- Head angle
- Light direction
- Lens feel and sharpness
- Hair type and curl pattern
The best donor beard isn't the most impressive one. It's the one that already behaves like it belongs on the target face.
Make the beard part of the skin, not an overlay
Facial hair application often causes many edits to collapse. Facial hair should taper into the skin. It shouldn't end in a crisp line unless the subject has an intentionally sharp barbershop edge, and even then the transition isn't perfectly hard in a photograph.
Use masks to soften cheek borders, reduce density in naturally sparse zones, and keep the moustache from overpowering the upper lip. Then grade the beard into the scene. Pull it warmer or cooler depending on the original portrait. Add a touch of local shadow under the lower lip and jaw to seat it into the face.
Manual work also lets you correct asymmetry. One cheek can sit slightly lower, one side can have softer density, and the moustache can break differently near the centre. Those imperfections make the result stronger, not weaker.
Pro Tips for a Beard That Looks Natural
Most fake beard edits fail for one reason. They chase beard size instead of beard suitability. Bigger isn't more believable. Better matched is more believable.
Match the style to the face
According to Beardbrand, 40% of men prefer short or stubble beards, yet many AI tools default to larger styles that don't suit the user's face shape. That's a real source of disappointment because facial hair changes proportions. A large beard can widen a round face, hide a narrow chin too aggressively, or make the mouth area look crowded.

A few practical examples:
- Longer face: Keep more width at the cheeks, avoid too much length at the chin.
- Rounder face: Use tighter sides and a cleaner lower outline.
- Patchy growth pattern: Keep weak zones shorter and let stronger zones carry the shape.
- Prominent moustache area: Reduce beard bulk so the upper lip doesn't dominate.
Texture sells the illusion
Natural beards have mixed strand thickness, irregular spacing, and slight tonal shifts. Add those and the edit improves quickly. Skip them and even a good silhouette looks synthetic.
Use these finishing moves:
- Break the edges: Add a few soft stray hairs instead of a uniform outline.
- Vary density: Cheeks, chin and under-jaw rarely carry identical fullness.
- Keep some skin visible: Stubble and short beards usually reveal pores and skin tone underneath.
- Restore image sharpness carefully: If your composite softens the portrait, a tool for free image sharpening can help recover detail before export.
If you're editing a beard meant to feel soft, groomed, or touchable rather than rugged, reading an ArtNaturals guide to soft beards can help you understand texture cues you should mimic visually.
Small flaws make beard edits look real. Slight unevenness at the cheek, a softer patch near the jaw hinge, and subtle colour variation all help more than a perfectly filled shape.
Don't forget the camera signature
A beard added to a phone portrait should still look like it belongs to that phone portrait. Match grain, contrast and local sharpness. If the original image is slightly soft, don't make the beard hyper-detailed. If the portrait has visible sensor noise, reintroduce a touch of that texture after compositing.
That camera matching step often matters more than another round of prompt tweaking.
The Legal and Ethical Lines You Must Not Cross
The technical side of adding a beard is straightforward. The ethical side isn't. If you're editing your own portrait, mocking up a character, or working with a client who gave clear permission, you're on familiar ground. Once consent disappears, the stakes change fast.
In the UK, creating or requesting the creation of AI-generated intimate images without consent is now a criminal offence, and the law targets the creation of the image itself, not only distribution, as outlined by VinciWorks. That matters because image-editing tools can slide from harmless facial-hair experimentation into non-consensual manipulation very easily.
Consent is the first rule
If the subject didn't agree to the edit, don't make it. That applies even when the change seems minor. A beard can alter age perception, identity cues, and how a person is read socially. For commercial teams, educators, and marketers, documented permission should be standard practice.
Safety-aware workflows matter too. If you're evaluating how platforms handle real-face prompts and misuse boundaries, it's worth reading about safety filters for real faces in image prompts.
Deception changes the meaning of the edit
There's also a broader warning in current UK reporting. A report in the Washington Times says nearly one-third of children in the United Kingdom have bypassed online age verification systems by drawing facial hair on themselves, including a reported case involving a 12-year-old. That example isn't about artistry. It's about using facial modification to defeat identity checks.
If your beard edit helps tell a story, test a look, or build a character, that's creative work. If it helps mislead platforms or exploit someone's likeness, you've crossed the line.
The skill itself is neutral. The use of it isn't.
From Fun Edit to Creative Tool
Adding a beard to a photo has become a useful creative skill because it sits between grooming visualisation, portrait retouching, and character design. AI is the fast route. It's ideal for testing styles, generating options, and getting to a rough answer quickly. Manual editing is the precision route. It takes longer, but it gives you control over anatomy, texture, colour and finish.
The strongest results come from the same core habits, whichever route you choose. Start with a readable image. Choose a style that suits the face. Build in believable density variation. Respect lighting. Leave room for imperfection.
Used well, a beard edit can help creators pitch concepts, marketers adapt imagery, and individuals explore a look before making it real. Used carelessly, it can drift into impersonation or non-consensual manipulation. That's why technique and judgement belong together.
If you're turning still-image concepts into motion content, Seedance is worth a look. It lets creators move from detailed visual prompts to polished 1080p video, which makes it useful for campaign concepts, storyboards, and stylised content where a strong character look needs to carry across multiple scenes.
Ready to try it yourself?
Put the steps from this guide into practice with Seedance and turn prompts or images into polished videos in minutes.
Free credits on signup. Plans from $20/month.
Related Articles
More posts in the same locale you may want to read next.
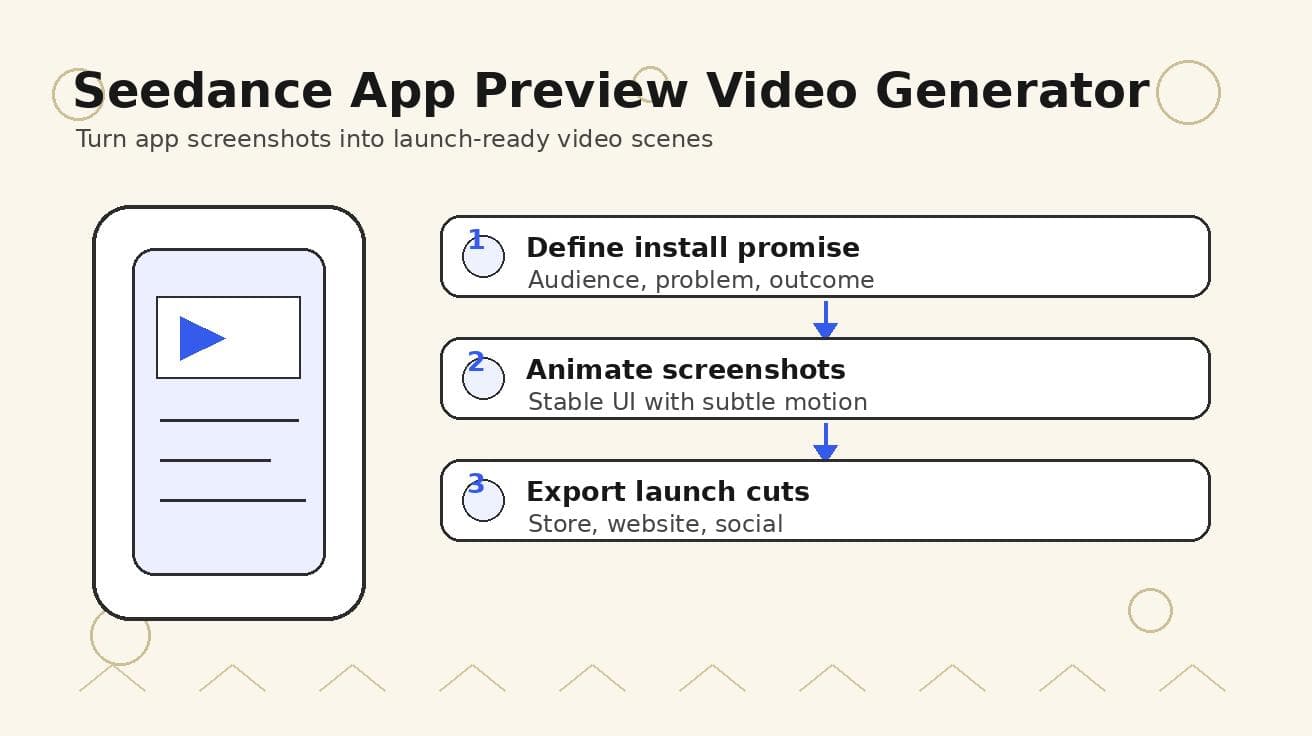
Seedance App Preview Video Generator 2026: Create App Store and Product Launch Clips
Use Seedance to turn app screenshots, feature copy, and launch goals into App Store previews, Google Play promo videos, and product launch clips.
Read article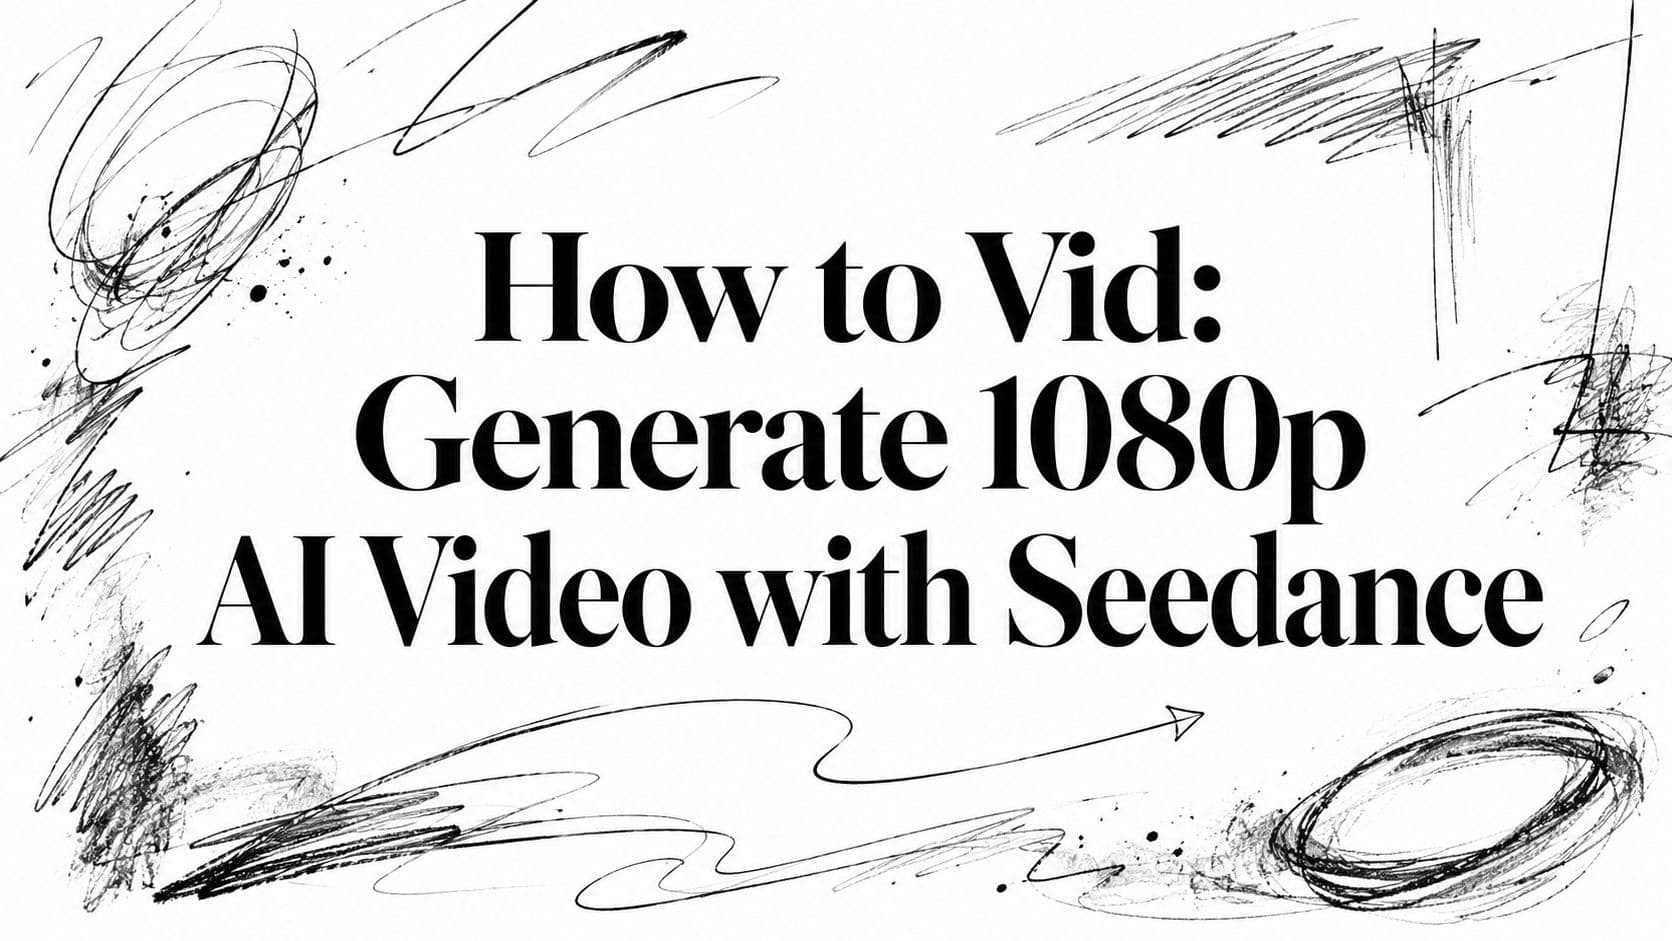
How to Vid: Generate 1080p AI Video with Seedance
Learn how to vid like a pro. This guide shows you how to use Seedance to generate stunning 1080p AI videos from text, with multi-shot storytelling tips.
Read article
How to Create AI Avatar Videos with Seedance in 2026 (Step-by-Step Guide)
Learn how to create AI avatar videos with Seedance: step-by-step workflow, best prompt formulas, model selection, and tips for content creators in 2026.
Read article