
You've got the shot. The framing works, the lighting looks expensive, the pacing is right, and then one detail keeps pulling your eye off the screen. The character's eye colour is wrong for the mood, wrong for the brand, or wrong for continuity with the rest of the campaign.
That's where a lot of creators lose time. They either throw a one-click filter on top and hope nobody notices, or they over-edit the iris until it looks flat and synthetic. If you edit eye colour online for social clips, product promos, talking-head videos, or stylised AI visuals, the difference between “good enough” and “convincing” comes down to method, not luck.
Why Mastering Eye Colour Is a Creator Superpower
A small eye-colour change can shift the entire read of a face. Warm hazel can feel approachable in a beauty ad. Icy blue can push a portrait towards fashion, sci-fi, or luxury. A saturated green iris can make a fantasy character feel intentional instead of generic.
Ready to try it yourself?
Free credits on signup. Plans from $20/month.
That matters more than most tutorials admit. On TikTok and YouTube, viewers won't stop to analyse why a face feels off. They'll just feel the mismatch. In client work, that mismatch turns into revision rounds.
A common scenario goes like this. You've built a polished visual, but the lead character's eyes don't match the palette of the edit. Maybe the brand relies on cool greys and blues. Maybe your skincare visual needs a cleaner, brighter feel. Maybe a cinematic sequence needs the eyes to read clearly in a close-up. If you work in broader production stacks, it also helps to keep a shortlist of dependable tools for content creators so you're not solving every problem from scratch.
For beauty and personal-care visuals, colour work around the eyes also has to stay subtle. Harsh changes break believability fast. That's why style references such as this beauty and skincare video guide are useful. They remind you that eye colour isn't an isolated tweak. It sits inside a full look that includes skin tone, highlight placement, and colour harmony.
Eye colour editing works best when it supports the story already in the frame.
In practical terms, this skill isn't vanity retouching. It's visual direction. You're using colour to control tone, continuity, and character design.
Choosing Your Online Eye Colour Editing Tool
The tool choice should follow the job. Quick content needs speed. Campaign visuals need control. Stylised work needs room for manual correction after the AI does the first pass.

One-click AI tools for speed
If you need a fast social post, web-based AI eye editors are the easiest entry point. The underlying tech has become a precise, one-click process using AI that mimics natural-coloured contacts, and modern filters offer a safe, non-invasive alternative to surgical iris implants, which the American Academy of Ophthalmology warned against in 2014 because of significant health risks, as outlined in Evoto's AI eye colour changer overview.
These tools are best when:
- You need a draft fast: Thumbnails, storyboards, pitch decks, and social tests.
- The face is large in frame but static: Portraits are easier than motion shots.
- You're exploring options: Blue, green, grey, fantasy tones.
They're weaker when the source image has heavy shadow, strong reflections, or dark irises with low visible texture.
Browser-based editors for control
When realism matters, browser editors such as Photopea are usually the better choice. You get layers, masking, blending modes, and selective correction without installing desktop software.
Use them when:
- A client will inspect the result closely: Product, fashion, beauty, or commercial headshots.
- Lighting needs correction: You'll need to balance the iris against skin tone and catchlights.
- You want repeatable results: Especially across multiple frames.
If you work with Adobe-heavy teams, it's also useful to view Adobe sponsorship data to get a sense of the extent to which Adobe remains embedded in creator ecosystems. That won't choose your eye-editing method for you, but it does explain why many collaborative workflows still expect Photoshop-style logic.
Mobile apps and integrated generators
Mobile AI apps are fine for on-the-go edits. They're convenient, but they often hide too much of the process. That means they're quick for concepting and weaker for refinement.
Integrated image workflows are useful when you want to rework a portrait or style pass inside a broader visual pipeline. For example, an image-to-image workflow is often the practical route when the eye colour change is part of a larger aesthetic shift rather than a standalone retouch.
| Tool type | Best for | Main weakness |
|---|---|---|
| One-click AI web tools | Fast mockups and social edits | Can look generic under difficult lighting |
| Browser editors | Realistic, polished work | Slower, depends on masking skill |
| Mobile AI apps | Convenience and quick testing | Limited fine control |
| Integrated image workflows | Whole-scene restyling | Can alter more than the iris if prompts are loose |
Practical rule: If the eyes are a focal point, don't settle for auto mode alone.
A Practical Guide to Natural-Looking Eye Colour Edits
A creator cuts a close-up for TikTok, approves the eye colour on a laptop, then watches it fall apart on a phone screen. The usual problem is not the hue. It is edge control, texture loss, or brightness that no longer matches the face.
The cleanest free workflow for most creators is still Photopea in the browser. It gives enough control for believable results without locking the job inside preset-driven AI. For a fast social post, that is often enough. For a Seedance-generated portrait or promo frame that needs to hold up under closer scrutiny, the same workflow still works if you treat the iris like a retouching job, not a filter.

Precise iris selection
Start with the mask. A weak selection ruins everything after it.
Zoom in far enough to see the true iris edge, the lid overlap, and the darker limbal ring. Earlier, CapCut's eye-colour editing resource noted that working at high magnification cuts mask errors sharply, and that matches real edit-room experience. The bad results usually come from colour spilling into the sclera, missing the top arc under the eyelid, or creating a clean circle where the eye is partly covered.
Use this sequence:
- Zoom to roughly 400%: At this size, the iris boundary is readable.
- Choose the Lasso Tool: Manual control beats broad auto-selection on detailed eyes.
- Trace slightly inside the outer edge: That keeps colour off lashes and wet lid margins.
- Feather very lightly if needed: Enough to soften the cut, not enough to blur the iris shape.
The iris is rarely fully visible in a real frame. Build the mask around what the camera sees.
Apply a base colour layer
Once the selection is clean, add a Hue/Saturation adjustment and tick Colorize. Move in small increments. Editors often overshoot because the change looks subtle at first, then garish once both eyes are visible in context.
The order matters. Selection first, colour second.
A practical starting point:
- Natural blue: Moderate saturation, slight lift in lightness, no neon cyan.
- Green: Start subdued. Then check whether the surrounding skin and grade can carry it.
- Grey: Lower saturation and protect contrast in the iris texture.
- Fantasy shades: Keep the effect on its own layer so you can reduce opacity later.
A solid brush fill wipes out detail fast. Use it only if the brief calls for a stylised look.
Add depth and realism
The iris still needs to behave like part of the original eye. Flat recolouring is the fastest way to get a fake result, especially in beauty content, branded shorts, and close-up AI portraits.
Blending mode choice does most of the heavy lifting:
- Colour mode: Best for realistic edits because it shifts hue while preserving texture.
- Overlay: Better for stronger editorial colour where the eyes need more presence.
- Soft Light: Good for a second, lighter pass after the main correction.
Then refine the parts viewers notice without knowing they are noticing them:
- Keep the pupil neutral and deep: Any colour contamination here looks wrong immediately.
- Preserve catchlights: They carry the sense of moisture and depth.
- Darken the outer rim slightly: A controlled limbal ring helps the iris read clearly.
- Break up the tone: Real irises have uneven radial detail, not one uniform wash.
Here's a useful walkthrough if you want to compare your hand work against another editor's process:
<iframe width="100%" style="aspect-ratio: 16 / 9;" src="https://www.youtube.com/embed/UI592_VzuXA" frameborder="0" allow="autoplay; encrypted-media" allowfullscreen></iframe>
Check the result properly
Judge the edit at two sizes. First at close zoom for edge cleanup. Then at normal viewing size, where colour balance and facial harmony matter more than pixel-perfect masking.
A good habit is to verify images with side-by-side comparison so you can spot over-saturation, uneven eyes, or brightness shifts that only show up in the before-and-after view.
Use this final checklist:
- Match both eyes: Tiny hue differences stand out fast.
- Check skin harmony: Blue or green edits can push nearby skin into an unnatural cast.
- Inspect lash edges: Halos around the upper lid are a common giveaway.
- Test on mobile: If it holds up on a small screen, it is usually safe for social delivery.
Advanced Techniques for Cinematic Realism
A realistic eye-colour edit doesn't stop at hue. In cinematic work, the iris has to belong to the light, the grade, and the emotional tone of the shot.
Work from the scene lighting
Many creators rely on AI for the first pass and then wonder why the result still looks fake. A big reason is lighting consistency. A 2025 UK YouGov survey found that 34% of content creators use AI eye colour editors, but only 12% trust the results for professional marketing because of inconsistent natural lighting simulation and poor skin tone matching, as noted in Pixelbin's discussion of AI eye-colour tools.
That's why manual finishing matters.
If the key light comes from camera left, the iris should show slightly stronger brightness and visible detail on that side. If the scene is low-key, the eye colour should read through shadow, not glow through it.
Build realism with micro-adjustments

Here are the corrections that usually separate a polished result from an obvious filter:
- Highlight shaping: Add or reduce tiny specular highlights to match the source lighting.
- Reflection discipline: Don't invent a reflection pattern that contradicts the environment.
- Pupil behaviour: In brighter scenes, a slightly smaller pupil reads more naturally.
- Frame-to-frame consistency: In video, lock your look before you grade the sequence.
For a polished promo, I'd often treat the eye edit as part of finishing, not as a standalone effect. That means making the change first, then checking how the colour behaves after the full grade is applied.
Match skin tone and genre
Blue eyes can look elegant in cool commercial work and completely wrong in a warm lifestyle ad. Amber or hazel can carry warmth beautifully but may get muddy under heavy teal shadows. Purple or red can work for stylised sci-fi, but only if the rest of the palette supports that decision.
The more stylised the iris, the more disciplined the surrounding grade needs to be.
If you're editing a sequence, save a reference still after you nail one frame. Match every later shot against that still. Without a visual anchor, eye colour drifts fast across a timeline.
The Professional's Guide to Editing Ethics and Safety
Digital eye-colour editing is harmless. Physical attempts to change eye colour are not in the same category, and creators should be clear about that distinction with clients and audiences.
The medical risk is serious. Cleveland Clinic notes that iris implants carry high risks of glaucoma, infection, and blindness, and they are not FDA-approved, which is why treating digital filters as the safer alternative is the responsible position for any creator discussing this topic in public-facing content. That context is covered in Cleveland Clinic's eye-colour guidance.
What responsible creators should do
A practical standard looks like this:
- Keep edits reversible: Use non-destructive layers and editable masks.
- Avoid implying medical results: A digital colour change is not a health intervention.
- Correct client misunderstandings early: If someone compares your edit to surgery or cosmetic drops, separate those ideas immediately.
- Use safety-aware platforms: Strong AI safety filters for real faces and image prompts matter whenever facial editing enters sensitive territory.
There's also an ethical line around consent. If you're editing a real person's face for anything intimate, deceptive, or humiliating, you're no longer in normal creative retouching. You're in risk territory.
Digital eye edits are a craft choice. They should never be used to mislead viewers about health, identity, or consent.
That standard protects your client, your subject, and your own reputation.
Frequently Asked Questions for UK Creators
Can AI eye-colour editing replace coloured contacts for professional work
Sometimes, but not reliably in every context. AI edits are useful for demos, moodboards, concept frames, thumbnails, and many polished stills. They become less dependable when natural lighting simulation and skin-tone interaction need to hold up under close commercial scrutiny.
If the job demands consistent realism across a campaign, manual correction is usually the difference-maker. For one-off visuals, digital often suffices. For repeated live appearance, physical contacts still solve a different problem.
Does local audience context matter in the UK
Yes. In the UK, blue is the most common eye colour, with approximately 48% of the population having blue eyes, while globally over 50% of people have brown eyes, according to this overview of eye colour prevalence in the UK. That matters for visual expectation.
For UK-facing work, blue and blue-grey edits may feel familiar faster. Brown-eye edits can still be powerful, especially when you want warmth, contrast, or a global feel, but the baseline audience read isn't the same.
What legal issue matters most if I'm using AI tools in the UK
Copyright and training data. The UK Copyright Office confirms that firms cannot train AI on copyrighted works without a licence, and creators can use a rights reservation system to stop their unique eye-colour palettes being used in AI training, as explained in the UK government consultation on copyright and artificial intelligence.
That creates a straightforward checklist:
- Check licensing status: If a tool relies on trained visual styles, find out what rights sit behind that training.
- Be careful with artist-specific looks: A distinctive palette can carry copyright risk.
- Treat “style references” cautiously: Especially if the eye design clearly echoes a named artist's work.
What about consent and sensitive edits
For UK creators, consent is not optional if the edit moves into intimate-image territory. If you're changing facial features in a way that contributes to explicit or non-consensual material, written consent should come first. For ordinary commercial retouching, keep your approvals documented anyway. It's a better workflow and a safer one.
If you want to create polished visuals and then push them into cinematic AI video workflows, Seedance is worth exploring. It gives creators a practical way to turn visual direction into finished 1080p video, which makes eye-colour decisions more useful when they need to hold up across multiple shots, styles, and narrative beats.
Ready to try it yourself?
Put the steps from this guide into practice with Seedance and turn prompts or images into polished videos in minutes.
Free credits on signup. Plans from $20/month.
Related Articles
More posts in the same locale you may want to read next.
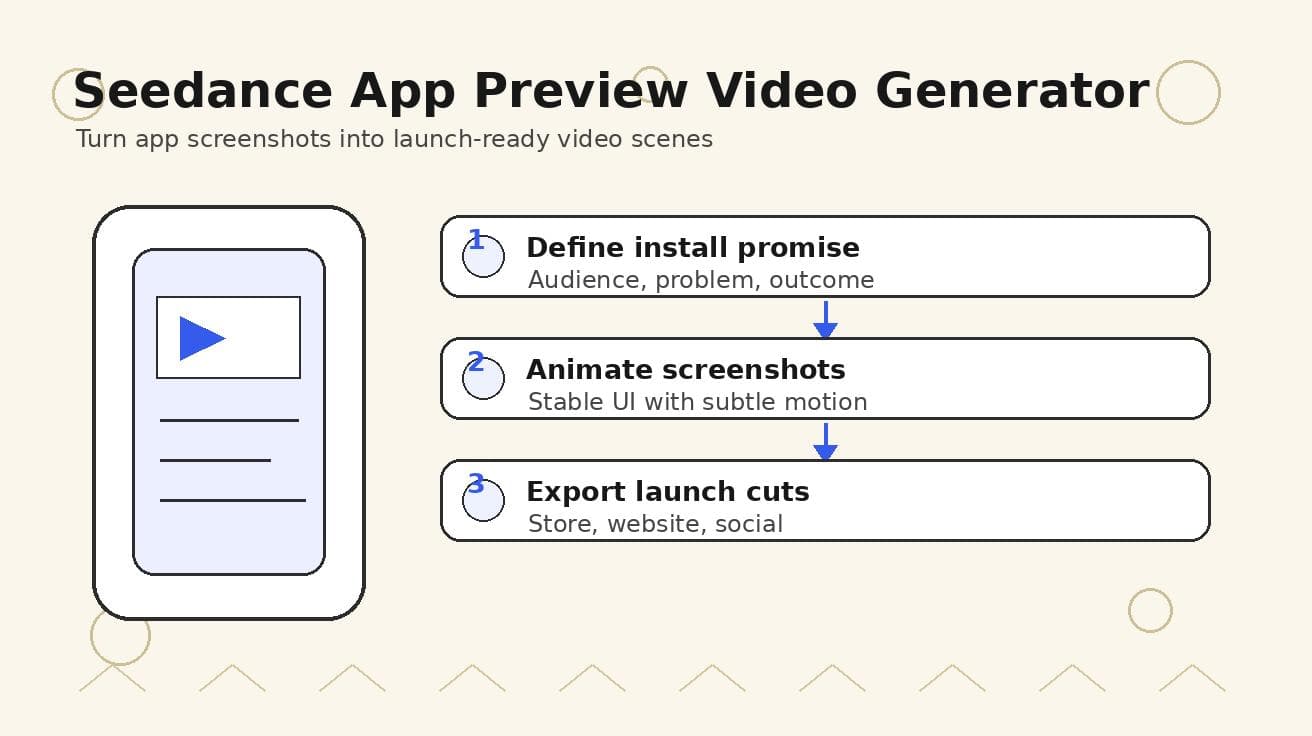
Seedance App Preview Video Generator 2026: Create App Store and Product Launch Clips
Use Seedance to turn app screenshots, feature copy, and launch goals into App Store previews, Google Play promo videos, and product launch clips.
Read article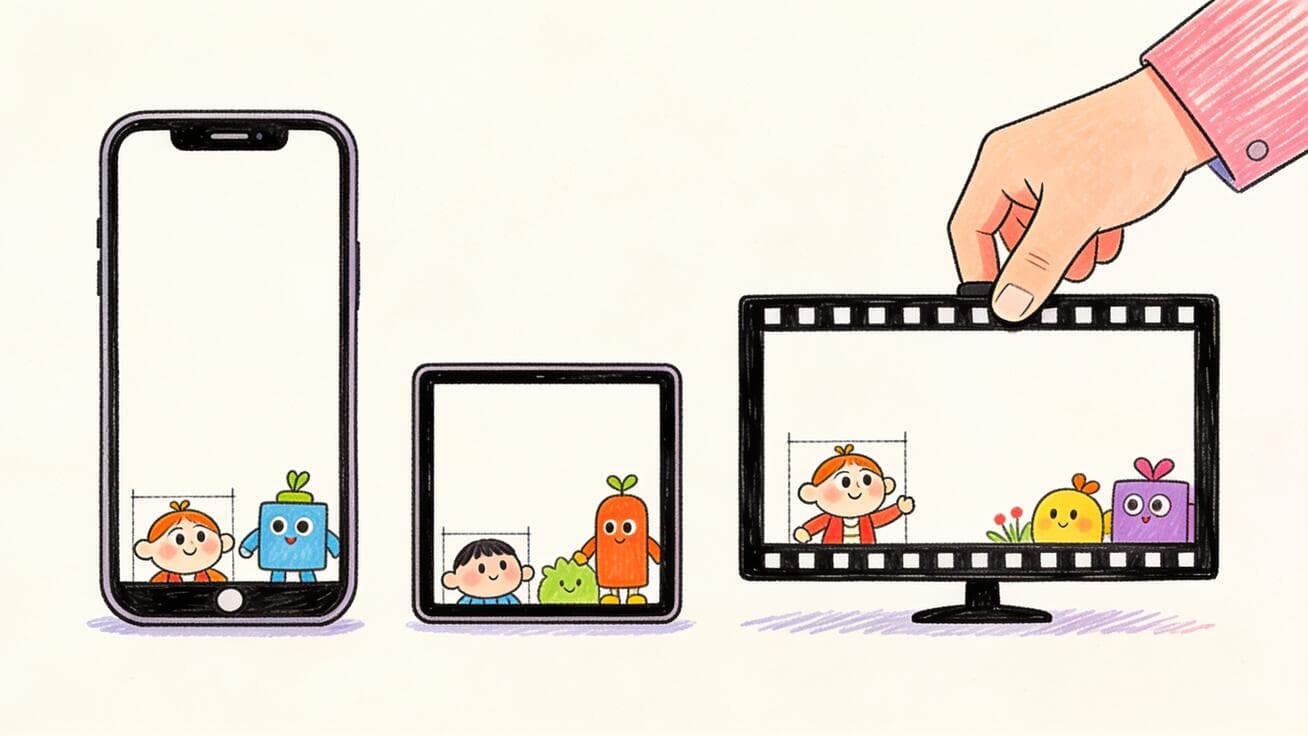
Seedance Aspect Ratio Guide: 9:16, 16:9 and 1:1 Video for Every Platform (2026)
Learn how to choose and set the right aspect ratio in Seedance: 9:16 vertical for TikTok and Reels, 16:9 for YouTube, 1:1 and 4:5 for the feed, and 21:9 for cinematic shots, with copy-ready prompts for each frame.
Read article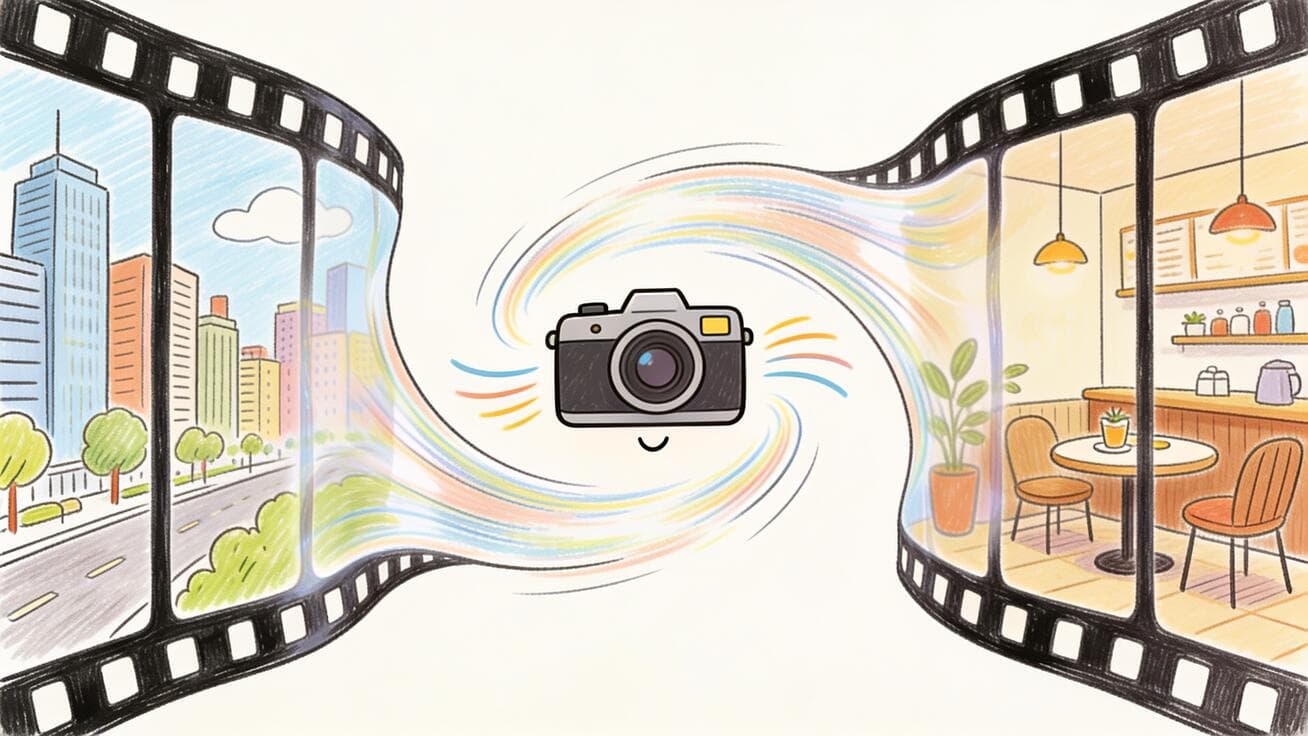
Seedance Video Transitions: How to Create Smooth AI Video Transitions (2026)
Learn how to create smooth AI video transitions in Seedance using first-and-last-frame control, multi-shot generation, and copy-ready transition prompts.
Read article