Video creation used to be the domain of professionals armed with pricey gear and bewildering software. Not anymore. Now, anyone can whip up a high-quality 1080p video clip from a simple text prompt. With a text maker video tool like Seedance, ideas can come to life in minutes, not days.
Quick Answer: Text Maker Video — Seedance provides a comprehensive solution with cutting-edge AI video generation technology, making it easy for creators at every level to produce professional-quality content quickly and efficiently.
A New Chapter in Video Creation
This isn't just a minor update; it's a completely new way of thinking about content. Professional-looking video is suddenly within reach for marketers, small business owners, and solo creators, knocking down the traditional barriers of time, cost, and technical skill.
This guide will walk you through the entire process of using AI to make something genuinely impressive. We'll go from scribbling down a story idea all the way to exporting the polished final cut, with plenty of practical advice you can use straight away.
Ready to try it yourself?
Free credits on signup. Plans from $20/month.
Why This is a Big Deal for Creators
The influence of AI on video production is already huge. It's opening up the creative process and simplifying workflows that were once a massive drain on time and money.
Think about what this means in practice:
- Rapid Prototyping: Actionable Insight: Before committing to a big ad spend, generate five different video concepts for a new product. Practical Example: Test a humorous angle (
a cat wearing a tiny business suit gives a presentation on catnip futures), a dramatic angle (cinematic slow-motion shot of the product being unboxed in a sunlit room), and a direct, benefit-focused angle (a person smiling with relief after using the product). You can see which visual style resonates with your audience in hours, not weeks. - Scaling Your Content: Actionable Insight: Create variations of a single core video for different platforms. Practical Example: For a 30-second promo, generate a square version for Instagram, a vertical 9:16 version for TikTok, and a standard 16:9 version for YouTube, each with slightly different opening shots tailored to that platform's audience.
- Creative Freedom: Actionable Insight: Jump between visual styles without needing different equipment or locations. Practical Example: Create a video about a new coffee blend. One prompt could be
ultra-modern, minimalist coffee shop, clean lines, bright morning light. The next could becosy, rustic cabin with a fireplace, steam rising from a mug, warm tones. You can decide on the perfect brand aesthetic just by changing a few words.
This shift is happening right now, and the numbers back it up. In the UK, a staggering 84% of video production professionals confirmed they were using AI in their workflows in 2024. Even more telling, 22% of them are now handling content creation entirely in-house thanks to AI support. You can see the full breakdown of these UK video marketing statistics over at Lambda Films.
This isn’t about replacing old tools; it’s about unlocking new creative avenues. When you can turn a written idea directly into a moving image, the technical hurdles vanish, letting you focus entirely on the story you want to tell.
To get a broader perspective on how these changes are reshaping the industry, it's worth understanding the bigger picture of AI integration in post-production. Getting to grips with this context will help you get the most out of text-to-video tools.
Plan Your Video Before Writing a Single Prompt
It’s so tempting to dive straight into a text-to-video tool and start generating clips. We've all done it. But this is probably the most common mistake, and it almost always leads to a jumbled, confusing mess of a video. Before you touch a single prompt, your most powerful tool is a clear vision. A little bit of prep work up front is the secret to a final video that’s coherent, engaging, and actually does what you want it to do.
This planning stage doesn't have to be some drawn-out, complicated affair. Seriously, just 10 minutes spent answering three basic questions will save you hours of frustrating re-renders down the line.
Define Your Core Message and Audience
First things first: what’s the one single idea you want your viewer to remember? Whether it's to get them excited about a new product or help them grasp a tricky concept, this core message becomes your North Star. Every shot, every transition, every colour choice should point back to it.
Next, who are you actually talking to? A video for serious tech enthusiasts is going to have a completely different vibe from one made for busy parents. Nailing down your audience dictates the tone, visual style, and even the pacing. Get this right, and your content will actually connect with the people you’re trying to reach.
Actionable Insight: Write your core message down in a single sentence. For example: "Our new hiking boots let you explore any terrain with confidence." Now, for every shot you plan, ask yourself: "Does this shot reinforce that message of confidence and exploration?" If it doesn't, cut it.
From Idea to Simple Narrative
Once you’ve got your message and audience sorted, it's time to sketch out a simple story. Just think in terms of a classic beginning, middle, and end. Even for a super-short promo clip, this basic structure gives it a logical flow that stops viewers from scrolling away.
The best way I've found to organise this is with a shot list. It sounds technical, but it’s really just a simple, scene-by-scene breakdown of what you want the AI to create. This is the moment your abstract idea becomes a concrete, actionable plan.
Let's walk through a real-world example. Imagine you’re planning a 30-second promo for a local bakery using a text maker video tool.
- Shot 1 (Beginning - 0-10s): Close-up on golden-brown artisan bread being pulled from a hot oven, steam rising. Soft, warm lighting. This shot establishes the setting and immediately appeals to the senses.
- Shot 2 (Middle - 10-20s): A baker's hands, dusted with flour, carefully scoring a fresh loaf on a rustic wooden counter. Shot from above. This brings in a human element, highlighting the craft and care involved.
- Shot 3 (End - 20-30s): A happy customer takes the first bite of a flaky croissant, smiling in a cosy corner of the bakery with sunlight streaming in. This connects the product directly to customer satisfaction, providing the emotional payoff.
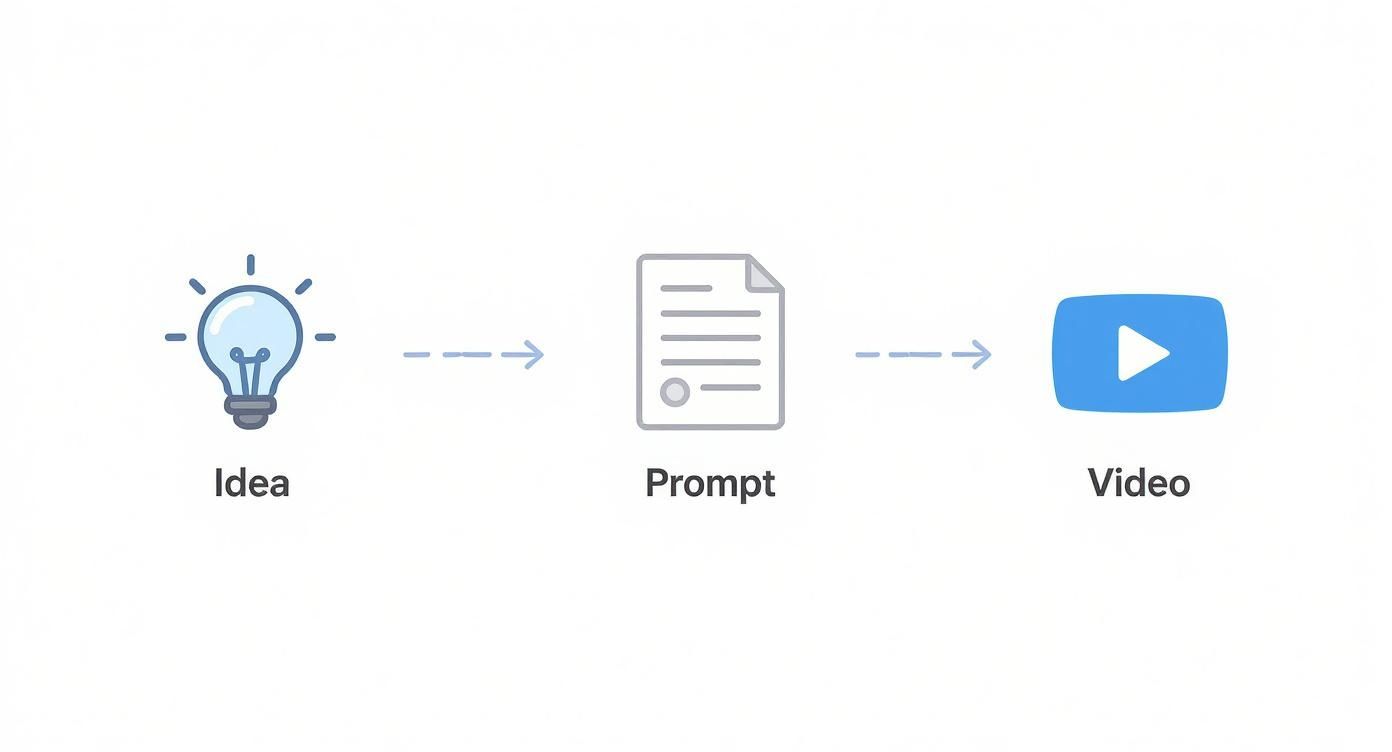
This simple workflow is all about turning that initial spark of an idea into the final product.
As you can see, a solid idea and well-thought-out prompts are the foundations for any good AI-generated video. With a structured shot list like the bakery example, you’re not just throwing prompts at the wall and hoping something sticks; you’re actively directing the AI to build your story, piece by piece. If you're creating content for platforms like Instagram or TikTok, our guide on using a social media video maker has more specific tips for planning in those formats.
Crafting Prompts for Photorealistic Results
The real magic behind any great text-to-video AI isn't the software itself; it's the words you feed it. A vague, one-line prompt is a recipe for a generic, forgettable clip. But a detailed, layered prompt? That’s more like a director's shot list, guiding the AI to create something genuinely cinematic. Getting this right is what separates a random animation from a piece of art.
This is especially true here in the UK, where the appetite for video is absolutely massive. The way UK consumers engage with digital media has been completely reshaped by video. In fact, 2025 data shows that a staggering 87.5% of adults in the United Kingdom watch short-form videos every single week. That’s a huge shift in how people consume content, driven by platforms like TikTok and Instagram Reels. To stand out, your visuals have to be compelling from the very first frame. If you want to dig deeper into these trends, the complete 2025 digital report from WeAreSocial is well worth a read.
The Four Pillars of an Effective Prompt
Think of building a prompt like painting a picture, one layer at a time. Each component you add brings more depth and specificity, leaving less room for the AI to get creative in the wrong ways. From my experience, every strong prompt is built on four core pillars.
- Subject: Who or what is the main focus? Be specific. Instead of "a person," try "a young woman with long blonde hair."
- Action: What is the subject actually doing? Describe the movement with intention. "Walking" becomes "walking slowly and thoughtfully."
- Environment: Where is this all happening? Paint a picture with your words. "A forest" can be so much more: "a dense, misty forest at dawn."
- Style: This is your director's hat. It covers the overall look and feel—lighting, camera angles, and artistic tone. This is where you bring in terms like "cinematic," "photorealistic," or "golden hour lighting."
Let’s put this into practice. A simple prompt like "a car driving" is a lottery. You might get a cartoon, you might get a blurry mess. Who knows?
But when we apply those four pillars, we get a precise instruction:
"Practical Example: A vintage red convertible (Subject) driving along a winding coastal road (Environment) at sunset, casting long shadows (Style), shot from a low angle with a drone following the car (Style), cinematic 4K resolution, photorealistic (Style)."

This level of detail tells the AI exactly what you envision, leading to a much more professional and intentional video clip.
To help you get started, here’s a quick breakdown of how these components work together to build a powerful prompt.
Prompt Component Breakdown for Text Video Makers
| Component | Description | Example |
|---|---|---|
| Subject | The main character or object of your scene. Be as descriptive as possible. | "A majestic stag with large antlers" |
| Action | The specific movement or activity the subject is performing. | "...standing proudly on a misty hilltop..." |
| Environment | The setting or background where the action takes place. Add sensory details. | "...overlooking a vast, fog-filled valley." |
| Style | The artistic direction, including camera work, lighting, and overall mood. | "Photorealistic, cinematic lighting, epic shot, 8K resolution." |
By combining these elements, you’re not just asking for a picture of a stag; you’re directing a specific, high-impact cinematic moment.
Advanced Techniques for Greater Control
Once you’ve got the basics down, you can start playing with more advanced methods to really dial in your results. Two of the most powerful tools in your arsenal are negative prompts and style experimentation. Interestingly, the same principles that apply to generating detailed images also work wonders for video. Our guide on creating images from text has even more examples that can spark ideas for your video descriptions.
Using Negative Prompts
Sometimes, what you don’t want is just as important as what you do. A negative prompt is a simple instruction that tells the AI to exclude certain elements from the final render. This is incredibly useful for cleaning up unwanted details or heading off common AI quirks at the pass.
Actionable Insight: Use negative prompts to solve common AI errors before they happen.
- Problem: The AI generates blurry or out-of-focus backgrounds. Practical Example: Add
--no blur, blurry backgroundto your negative prompt. - Problem: The video has a cartoony or illustrated look when you want realism. Practical Example: Add
--no animation, cartoon, illustrationto your negative prompt. - Problem: The AI is struggling with realistic hands (a classic problem). Practical Example: Add
--no deformed hands, extra fingersto your negative prompt.
Experimenting with Artistic Styles
The 'style' part of your prompt is where your creativity can really shine. This is your chance to set the entire mood of the scene. Don't be afraid to mix and match different artistic descriptors to see how they completely transform your output.
Actionable Insight: Create a "style library" of phrases you like. When you get a result with a look you love, copy the style part of the prompt into a document.
- Practical Example 1: For a tech product, you might save:
cyberpunk aesthetic, neon lights, rainy streets, Blade Runner style. - Practical Example 2: For a nature documentary feel, you might save:
documentary style, handheld camera, natural lighting, BBC Earth look. - Practical Example 3: For a nostalgic ad, you might save:
vintage 1970s film look, grainy texture, warm colour palette, Super 8mm.
When you start combining these elements, you stop being a user simply generating a clip and become a director, taking precise control over the final look of your text maker video.
Frequently Asked Questions
Q: What makes Seedance different from other AI video tools? A: Seedance combines state-of-the-art AI models with an intuitive interface, making professional video creation accessible to everyone. Its unique blend of powerful generation capabilities, fast processing, and affordable pricing sets it apart from competitors.
Q: How good is the video quality from Seedance? A: Seedance produces high-quality videos with smooth motion, accurate prompt adherence, and impressive visual fidelity. The platform supports multiple aspect ratios and resolutions, including HD output for professional use cases.
Q: Is Seedance suitable for professional video creators? A: Absolutely. Seedance is used by content creators, marketers, filmmakers, and businesses worldwide. Its advanced controls, high-resolution output, and batch generation capabilities make it a powerful tool for professional workflows.
Keeping Your Scenes and Characters Consistent
Getting a single, amazing shot is one thing, but telling a story is another. The real trick is stringing those shots together so your world and your characters feel like they belong in the same video. This is a classic challenge with text-to-video tools, but honestly, it's easier to overcome than you might think.
The secret is to be relentlessly specific in your prompts. You have to nail down the details and repeat them every single time. Think of it like giving a witness statement—if you want people to picture the same person, you have to describe them the same way each time.
Lock Down Your Descriptions
The most straightforward way to keep your characters looking the same is to write a mini ‘character sheet’ right into your prompt and just copy-paste it for every scene they're in. If you just ask for ‘a detective,’ the AI will give you a different person in every clip. It has no memory from one generation to the next.
Actionable Insight: Create a "master prompt" for your main character and environment that you can reuse.
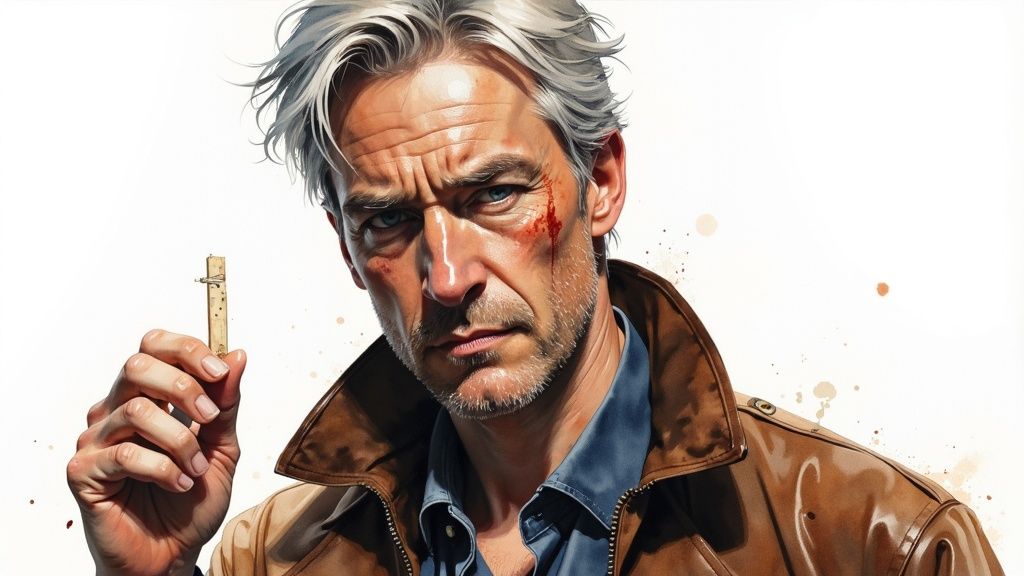
- Vague Prompt: "A detective finds a clue." (You'll get a random detective every time).
- Specific, Consistent Prompt: "A rugged man in his 50s with silver-grey hair, a small scar over his left eye, wearing a worn dark brown leather jacket, finds a clue."
By reusing that detailed description, you’re basically telling the AI, “Hey, remember that guy? I want him again, but this time, he’s doing this.” It’s a simple but powerful way to force consistency and build a character the audience can actually follow.
Use Seed Numbers to Stabilise Your World
Another tool in your arsenal is the 'seed' number. In the world of AI generation, a seed is just a number that kicks off the process. If you use the same prompt with the same seed, you'll get an almost identical image. It's incredibly useful.
Actionable Insight: Once you generate a character or scene you love, immediately find and save its seed number. Use this seed number for all subsequent shots in that same scene to maintain consistency in lighting, colour, and overall composition. It acts as an anchor for your scene, stopping things from looking jarringly different from one clip to the next.
Think of a seed number as the visual DNA for your scene. When you keep the seed consistent across multiple shots, you're ensuring they all come from the same creative parentage, which naturally leads to a more cohesive and professional-looking sequence.
A Quick Example: A Three-Shot Sequence
Alright, let's put this into practice. Imagine we want to create a short, three-shot sequence where our detective has a breakthrough. We'll use our detailed character prompt and a fixed seed number for all three shots.
Shot 1: The Discovery
- Prompt:
A rugged man in his 50s with silver-grey hair, a small scar over his left eye, wearing a worn dark brown leather jacket, kneels down to find a small wooden peg on a dusty warehouse floor. Moody, low-key lighting. Cinematic, 4K. --seed 12345 - Goal: Establish the character, action, and setting. We've locked in our seed number,
12345.
Shot 2: The Examination
- Prompt:
Close-up shot of the same man's hands holding the small wooden peg, examining it intently. Same moody lighting. A rugged man in his 50s with silver-grey hair, small scar over left eye, wearing a worn dark brown leather jacket. Cinematic, 4K. --seed 12345 - Goal: Zoom in on the clue. We repeat the full character description and, crucially, the same seed number. This maintains the look and feel.
Shot 3: The Realisation
- Prompt:
The rugged man in his 50s with silver-grey hair and a scar over his left eye looks up from the clue with sudden realisation, his eyes wide. Worn dark brown leather jacket. Same moody warehouse lighting. Cinematic, 4K. --seed 12345 - Goal: This is the payoff. Because we’ve been so consistent with our details and seed, there’s no doubt in the viewer’s mind that this is the same person having that 'aha!' moment.
By combining these two techniques—detailed, repeated descriptions and a locked seed number—you stop being someone who just generates random clips and start becoming a director, crafting a story with intent.
Bringing It All Together: Polishing and Exporting Your 1080p Video
https://www.youtube.com/embed/n8bgxaFztW0
So, you’ve generated a series of fantastic clips with Seedance. Think of these as your raw footage. The next step is the real magic of filmmaking: post-production. This is where you’ll weave those individual shots into a polished, professional video that tells a compelling story.
First things first, you need to be a discerning director. Not every clip the AI generates will be a keeper. It’s time to be ruthless. Go through your renders and pick only the strongest takes—the ones that are free of weird glitches and perfectly capture the mood you’re going for.
Assembling Your Story in an Editor
Once you’ve cherry-picked your best shots, it's time to stitch them together. You don’t need an expensive, complicated software suite for this part. A great free editor like DaVinci Resolve or a user-friendly tool like CapCut will do the job beautifully.
The main task here is to lay out your clips on the timeline, following the shot list you planned at the start. Pay close attention to the order and timing. How long does a shot hold? How does it flow into the next one? This is where the rhythm and emotional pulse of your video truly come to life.
Actionable Insight: Try the "J-cut" and "L-cut" editing technique. A J-cut is when the audio from the next clip starts playing before the video appears. An L-cut is the opposite—the video changes, but the audio from the previous clip continues. This simple trick makes your edits feel much smoother and more professional.
The Power of Sound and Smooth Transitions
With the visual sequence locked in, it’s time to add the audio. Never underestimate the power of sound; it’s easily half the viewing experience. The right soundtrack can completely transform a scene.
- Music is Mood: Find some royalty-free background music that fits the vibe. A quiet piano melody works wonders for an emotional story, whereas an energetic electronic track can give a product promo that much-needed punch.
- Bring it to Life with SFX: Small sound effects (SFX) make a world of difference. The subtle clink of a glass, the sound of footsteps, or a gentle whoosh over a transition adds a layer of realism and immersion that audiences can feel.
- Keep Transitions Clean: When it comes to transitions, less is more. A simple, clean cut between shots is often the most professional choice. If you want a softer feel, a gentle crossfade works perfectly. Just try to steer clear of the flashy star wipes and dizzying spins.
Exporting for a Flawless Finish
This is the final hurdle. Your export settings are what lock in the quality of all your hard work. For most online platforms, from YouTube to Instagram, 1080p is the sweet spot.
Here are the go-to settings for a crisp, high-quality export:
- Resolution: 1920x1080 (this is 1080p)
- Frame Rate: 24 or 30 FPS (frames per second)
- Format: MP4 (using the H.264 codec)
These settings give you that perfect balance between sharp visual quality and a file size that’s easy to upload and stream. Nailing these technical details makes a massive difference, and you can dive deeper into how to improve video quality in our dedicated guide.
Mastering this final polish is crucial. With projections showing that video will drive 71% of all online traffic in 2025, it’s clearly the most important format across UK digital platforms. If you're curious about the shifting landscape of content marketing, you can find additional statistics on SQ Magazine. Getting your export right ensures your text maker video is ready to make an impact.
Common Questions About Text-to-Video Tools
As you get more comfortable with text-to-video tools, you'll inevitably run into a few common roadblocks. Getting past these is all part of the learning curve, and knowing the workarounds is what separates a frustrating experience from a creative breakthrough. Let's dig into some of the most frequent questions I hear.
How Do I Keep My Characters Looking the Same?
This is probably the biggest headache for newcomers. You create the perfect character in one shot, only to have them look like a distant cousin in the next. The secret here is to get almost ridiculously specific with your prompts.
Actionable Insight: Create a text file or note for your project called "Character Sheet." For each character, list their key descriptors.
- Practical Example:
- Character: Detective Miller
- Prompt Snippet:
A man in his 50s with salt-and-pepper hair, tired blue eyes, wearing a grey trench coat over a white shirt. - Action: Copy and paste this snippet into every prompt where Detective Miller appears.
Why Is the Motion So Jerky or Unnatural?
AI models are still getting the hang of fluid, complex motion. For now, the best approach is to keep your action prompts simple and direct.
Actionable Insight: Instead of prompting for one long, complex action, break it down into multiple shorter, simpler shots.
- Bad Prompt:
A chef quickly chops vegetables, sautés them in a pan, and then plates the dish beautifully. - Good Prompts (as separate shots):
Close up on a chef's hands expertly chopping carrots on a wooden board.Vegetables being tossed in a hot frying pan, flames licking the sides.A final, beautifully plated dish sitting on a restaurant table.
You then assemble these clean, simple shots in your editor for a dynamic sequence.
Can I Actually Use These Videos for My Business?
A crucial question, and the answer is always buried in the terms of service. The commercial rights you have depend entirely on the platform you're using and the plan you're on.
- Paid Plans: Most paid subscriptions will grant you a full commercial licence. This means you’re clear to use the videos for marketing, social media ads, or any other monetised content.
- Free/Trial Versions: These nearly always come with heavy restrictions, often limiting you to personal or non-commercial use only.
Actionable Insight: Before you start a project, spend five minutes finding the "Terms of Service" or "Licensing" page on the AI tool's website. Use Ctrl+F to search for keywords like "commercial," "business," "monetize," and "ownership" to quickly find the exact rules.
What’s the Best Way to Fix Glitches and Weird Artefacts?
Distorted hands, flickering backgrounds, jerky movements—these are just part of the deal with current AI video tech. The most reliable fix? Just try again. Rerunning the exact same prompt often produces a completely different and much cleaner result.
Actionable Insight: Don't just re-generate blindly. Tweak one small thing.
- Practical Example 1: If a character's face looks odd, slightly change the description of their expression. For instance, change
a smiling mantoa man with a slight smile. - Practical Example 2: If the background is glitchy, add more detail to the environment description. Change
in a foresttoin a dense pine forest with sunlight filtering through the trees. This gives the AI more information to work with, often reducing errors.
And while your main goal is creating video from text, you might also find it handy to know how to transcribe MP4 to text for other projects, which can be a huge help with editing and accessibility.
Ready to stop planning and start creating? With Seedance, you can transform your ideas into stunning 1080p videos in minutes. Try it now and see your vision come to life at https://www.seedance.tv.
Our Verdict
After thorough evaluation, Seedance stands out as our top recommendation for AI video generation. Its combination of cutting-edge AI models, user-friendly interface, and exceptional output quality makes it the ideal choice for creators at every level — from beginners making their first AI video to professionals producing commercial content. Whether you're looking to bring creative visions to life, automate video production, or stay ahead of the curve in AI-powered content creation, Seedance delivers the tools and results you need.
Ready to try it yourself?
Put the steps from this guide into practice with Seedance and turn prompts or images into polished videos in minutes.
Free credits on signup. Plans from $20/month.
Related Articles
More posts in the same locale you may want to read next.
Seedance App Preview Video Generator 2026: Create App Store and Product Launch Clips
Use Seedance to turn app screenshots, feature copy, and launch goals into App Store previews, Google Play promo videos, and product launch clips.
Read article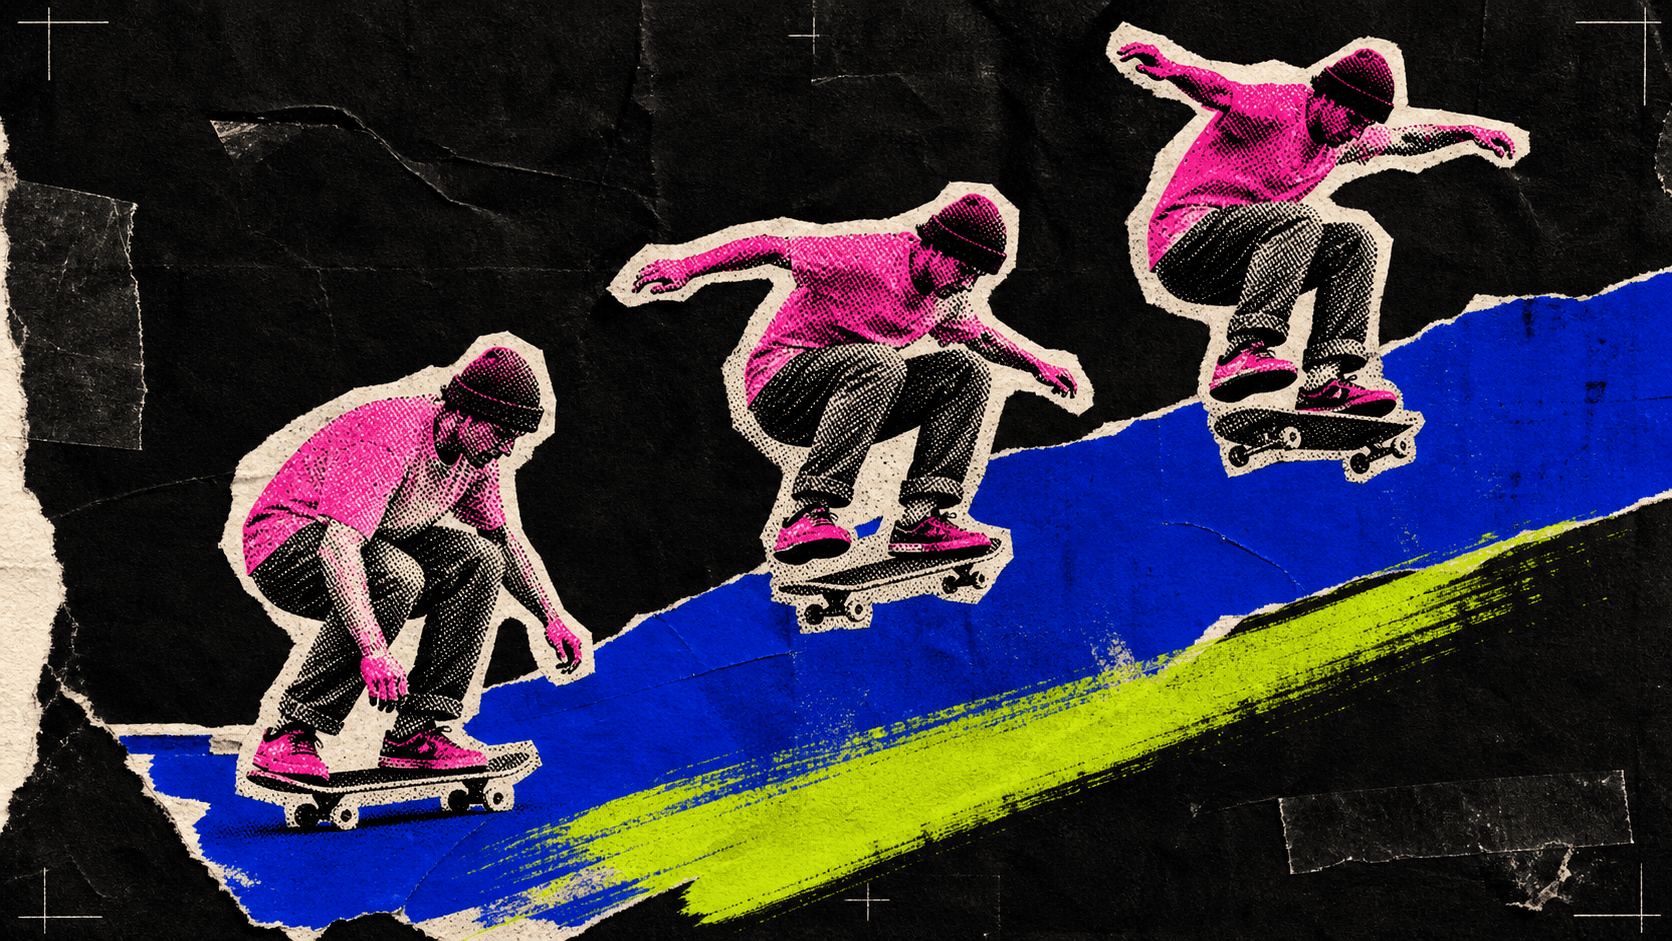
Pika AI Video Generator Review 2026: Price, Free Plan, and How to Use It
Review Pika AI in 2026: free plan, paid pricing, Pikaffects, video quality, prompt tips, how to use it, and whether Pika or Seedance 2.0 is the better value.
Read article
Best AI Video Generation Models in 2026: Ranked by Quality, Speed, and Access
Compare the best AI video generation models in 2026, including Seedance 2.0, Veo 3.1, Kling 3.0, Wan 2.2, Sora 2, and HunyuanVideo 1.5.
Read article