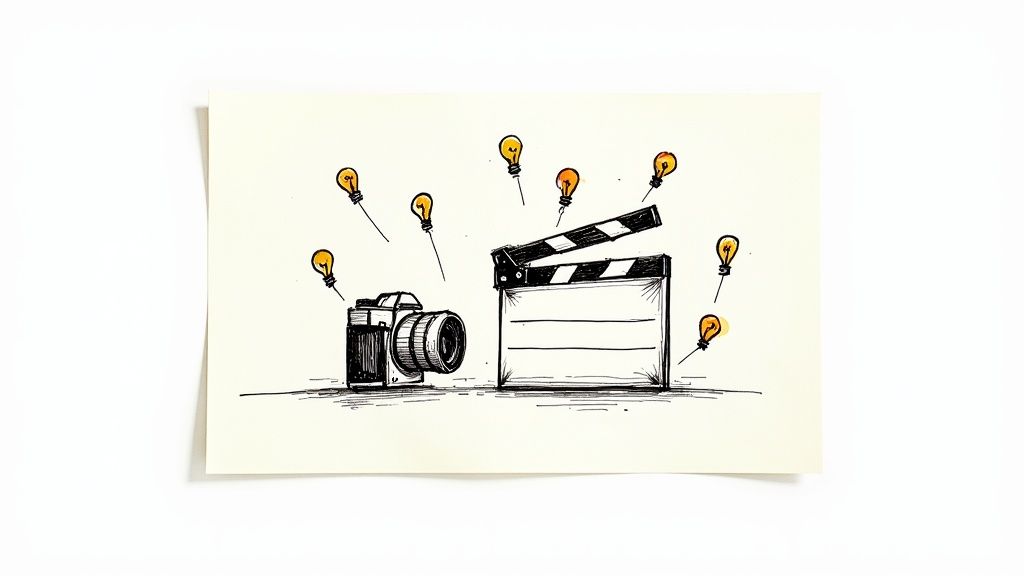
How to Turn Photo Into Video The Right Way
Gone are the days when you needed a complex video suite to make your images move. With AI tools like Seedance, the whole process is surprisingly straightforward. You simply start with a static image, feed the AI a text prompt describing the animation you want, and watch it generate a living, breathing video clip. It’s a fantastic way to turn a single picture into a captivating story in just a few minutes.
Why Turning Photos Into Videos Changes The Game
Turning a static image into a dynamic video isn't just a clever trick; it’s a seriously powerful way to communicate. We’re all swimming in a sea of visual content, and getting something to stand out is a real challenge. Motion is the key. It grabs attention in a way a still picture just can't, breathing life into your ideas and making them far more memorable.
Practical Example: A marketing team could animate a product photo to show its features in action—imagine a static image of a new coffee machine, now transformed into a short video where steam gently rises from a freshly brewed cup. This simple animation makes the product feel more real and appealing. A travel blogger might animate a stunning landscape shot—making the water ripple and the clouds drift—to pull their audience right into the scene with them.
Grabbing Attention in a Crowded Space
The biggest win here is the immediate jump in engagement. Our eyes are naturally drawn to movement, which is often enough to make someone pause their endless scrolling. That brief pause is your golden opportunity to make an impact, and it’s especially vital as video continues to dominate how we interact online.
The trend towards video is impossible to ignore. Here in the UK, the shift is massive, with some projections estimating that a staggering 82% of all internet traffic will be video-based by 2025. On top of that, around 91% of UK businesses now use video as a central part of their marketing. If you want to dive deeper, you can learn more about these video marketing statistics and see how they're shaping content strategy.
Actionable Insight: Animating a photo is about more than just adding movement. It's about crafting a narrative, forging a deeper emotional connection, and making sure your content gets noticed. Your first step is to identify one key element in your photo that can tell a story through motion, like a flickering candle flame or rustling leaves.
By transforming your photos into videos, you unlock so much storytelling potential. You can direct the viewer's gaze, reveal details gradually, or establish a mood that a static image could never quite capture on its own. It’s a practical, efficient method for producing compelling visual content without the need for expensive video shoots or advanced editing skills.
Choosing The Right AI Tool to Animate Your Images
With so many AI tools promising to bring your photos to life, picking the right one can feel like a shot in the dark. My advice? Forget the marketing fluff and focus on what actually matters for creating great content without the headache. A clean, intuitive interface is top of the list—if you’re fighting with the software, your creative spark will fizzle out fast.
A tool like Seedance gets this right by keeping the user experience simple, letting you concentrate on the art of the animation itself. But ease of use is only half the battle. You also need options. A one-trick pony that only offers a single animation style just won't cut it. Look for a platform with a versatile toolkit, one that can deliver a slow, cinematic zoom for a product showcase just as easily as it can create a vibrant, fast-paced clip for your latest social media post.
Evaluate Based On Your Goals
What's the end game? A quick, shareable GIF for social media? Or a polished, professional video for a major marketing campaign? The "best" tool for you is the one that aligns with your specific goals.
When you're comparing options, here are the non-negotiables to look for:
- High-Resolution Output: Actionable Insight: Always check the export options before you start. Make sure your chosen tool can export in at least 1080p. Anything less will look blurry and unprofessional on larger screens, wasting your creative effort.
- Precise Motion Control: The real magic is in the details. You need the ability to control exactly what part of the image moves and how it moves to get a truly refined result. Look for features like motion masks or directional controls.
- Style Diversity: Access to a broad range of presets and styles—from hyper-realistic to abstract—is essential for matching the video's vibe to your brand's unique aesthetic.
This graphic breaks down a simple framework you can use to weigh up different tools.
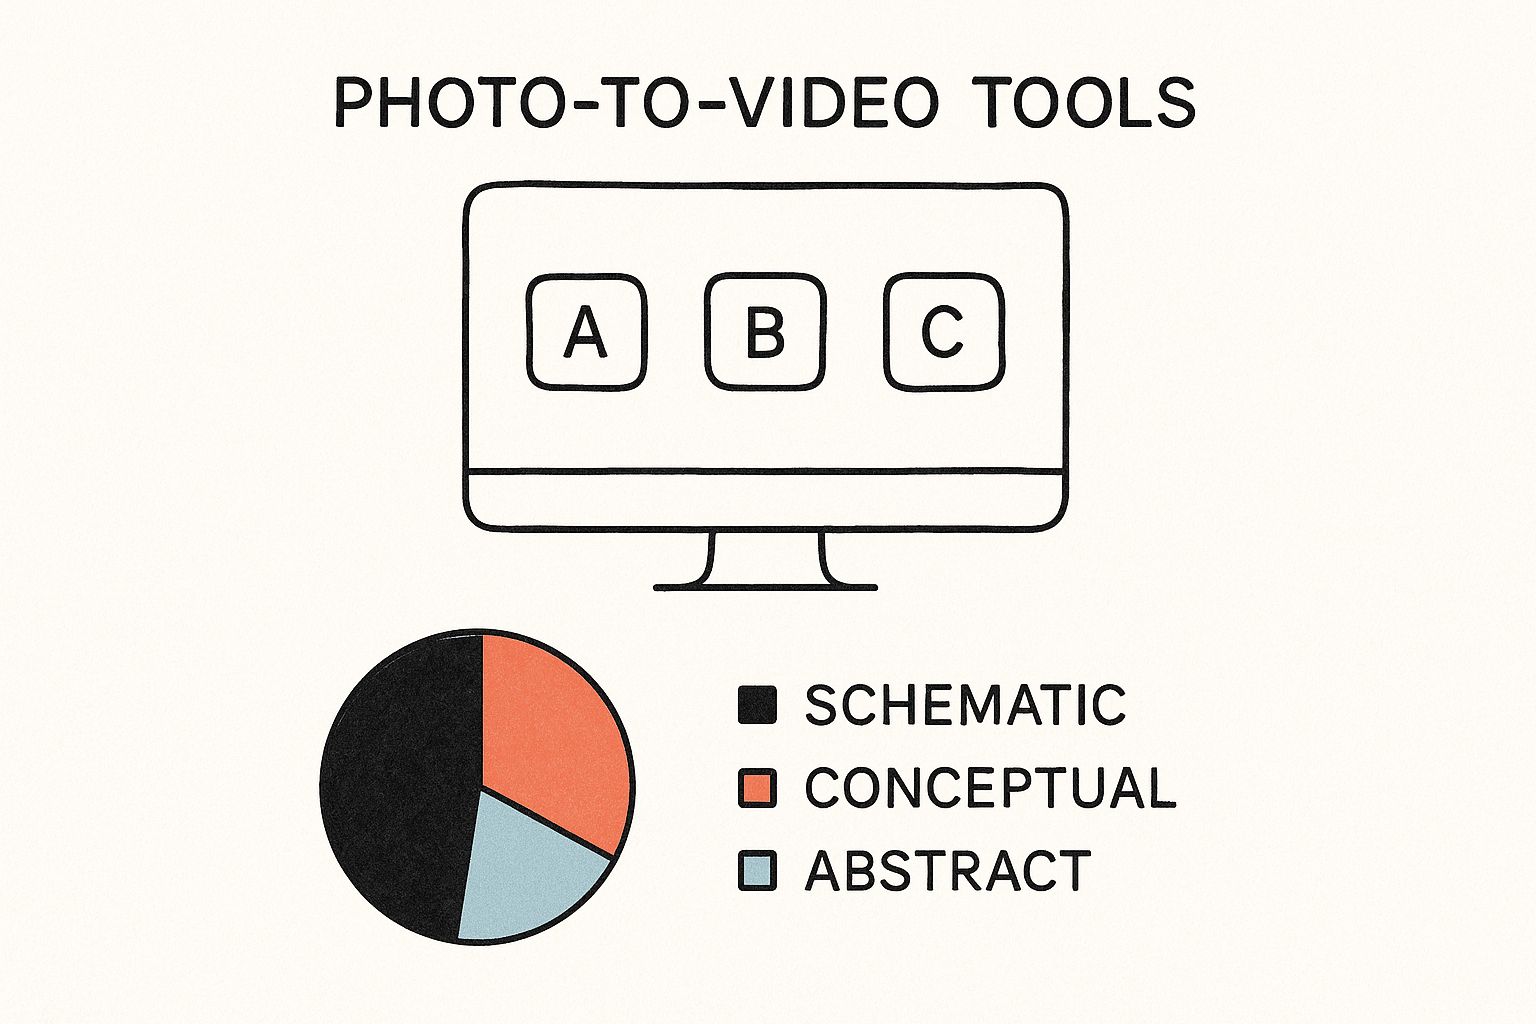
As you can see, the sweet spot is finding a tool that perfectly balances powerful features with a user-friendly design. It’s a trend that’s really taking off, particularly among UK marketers. In fact, a 2024 survey found that 18% of UK brands are already using AI for video marketing, and of those, 29% are using it for AI-assisted editing. You can discover more insights on UK video marketing statistics to see just how prevalent this has become.
To help you compare, here's a quick look at how Seedance stacks up against some other options you might be considering.
AI Video Generator Feature Comparison
This table offers a side-by-side comparison of essential features across popular AI tools, helping you quickly identify the best fit for turning your photos into dynamic videos.
| Feature | Seedance | Alternative A | Alternative B |
|---|---|---|---|
| Ease of Use | Highly intuitive, beginner-friendly | Moderate learning curve | Requires some technical skill |
| Motion Control | Advanced, with detailed parameters | Basic presets only | Customisable but complex |
| Style Variety | Wide range of artistic & realistic styles | Limited to a few cinematic effects | Focuses on realistic motion |
| Resolution | Up to 4K | 1080p max | 1080p, with 4K in beta |
| Ideal For | Social media, ads, creative projects | Quick, simple animations | Professional VFX artists |
Ultimately, the right tool is the one that makes your workflow smoother and your final product better. Choosing wisely at this stage will save you countless hours down the road.
Your First Walkthrough: Photo to Video Animation
Right, let's get our hands dirty and actually turn a photo into a living, breathing video. This guide will walk you through your very first animation with Seedance, step by step. We'll stick to a common and effective starting point: breathing life into a static landscape photo.
First things first, you need to pick the right image. Look for something that already has potential for movement. Practical Example: A photo of a waterfall, a coastline with crashing waves, or a windswept field with clouds are all fantastic choices. These images contain elements that we expect to see in motion.
Actionable Insight: Avoid photos that are completely static, like an indoor portrait against a blank wall. While you can animate those, they're trickier for your first attempt. Start with a photo where the movement feels natural to ensure an easy win.
Once you’ve got your photo, the process in Seedance is refreshingly simple. Just upload your image directly to the platform to get started.
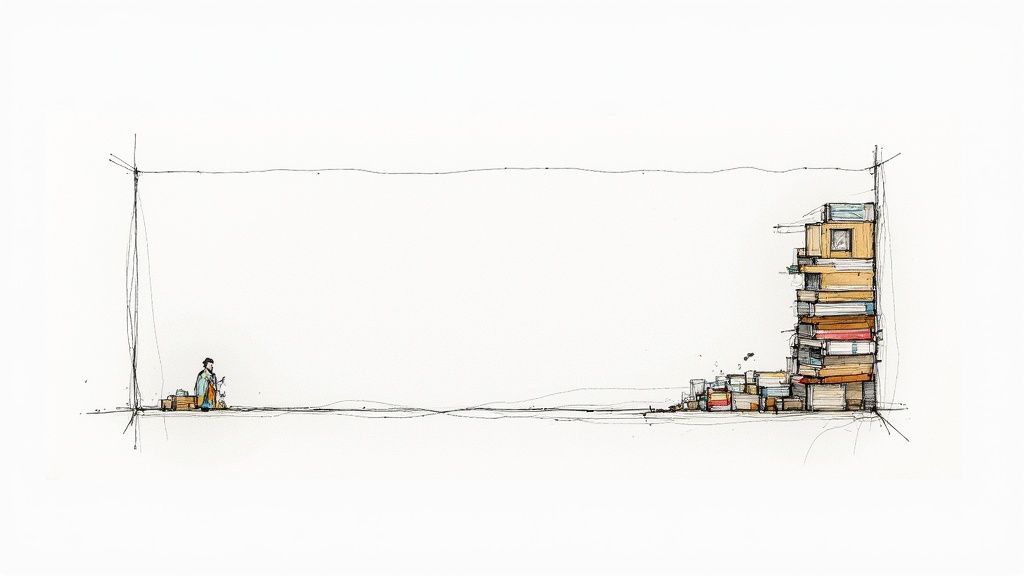
Here’s a look at the main creation screen you’ll see once your image is loaded.
As you can see, the layout is clean and uncluttered. Your image is front and centre, with the prompt box waiting for your creative spark. It’s a design that helps you focus without throwing too many knobs and dials at you at once.
Defining The Motion
With your image ready, it’s time to tell the AI what you want it to do. This is where your words become the director's instructions, and being descriptive is everything. A lazy prompt like "make it move" won't get you very far.
Let’s stick with our landscape photo. A much more effective prompt would be something like this:
Practical Example Prompt: "Make the waterfall cascade down the rocks realistically. The clouds in the sky should drift slowly from left to right, and the leaves on the trees should have a gentle, subtle sway as if moved by a light breeze."
See the difference? This gives the AI clear, specific instructions. You're not just requesting movement; you're defining its character—its speed, its direction, and its intensity. This is the real secret to getting an animation that feels believable instead of just artificial.
If you want to dive deeper into isolating and animating specific parts of an image, you can find more advanced techniques in guides on image-to-image transformations.
Applying Styles And Finalising
After you've nailed your prompt, you can pick a style. For a landscape, something like "Photorealistic" or "Cinematic" usually works best to enhance the natural feel.
Now for the fun part. Hit "Generate" and let the AI do its thing. In just a few moments, you’ll have a short video clip where your static photo is now alive with movement.
Take a look at the result. Is it exactly what you pictured? If not, don't hesitate to go back, tweak your prompt, and regenerate. Getting that first export right is a huge milestone, and from here, you’ll only get better at turning your photos into captivating videos.
Crafting Prompts and Styles for Unique Animations
This is where the real magic happens. When you turn a photo into a video, your words are your paintbrush. A well-written text prompt is what separates a generic, forgettable animation from something that genuinely captures what you had in mind. Giving the AI specific, descriptive direction is the secret to getting the best results.
If you just tell the AI to "make it move," you'll get something, but it probably won't be very inspiring. The power is in the details. Let's say you've got a great photo of a fresh cup of coffee.
A lazy prompt would be: "Animate the coffee."
A much better, more descriptive prompt would be: "Gentle steam rising from the coffee cup in soft, slow wisps, with subtle reflections flickering on the dark surface."
See the difference? The second example gives the AI a clear picture to work with. It defines the mood, the direction of movement, and even the intensity. You're painting a picture with words, which guides the tool to create a specific, believable atmosphere. That's how you turn a simple animation into a tiny visual story.
Combining Prompts With Style Templates
Once you’ve nailed your prompt, the next layer of customisation is the style. Think of styles in Seedance as pre-set aesthetic filters that instantly transform the entire look and feel of your animation. Combining a powerful prompt with the perfect style is how you start to develop a signature look.
It helps to think of it this way:
- Your Prompt: Controls the action—what moves and how it moves.
- The Style: Controls the aesthetic—the overall visual treatment, like the colour grading or texture.
Practical Example: Let’s imagine you’re animating a product shot of a watch. You could pair a prompt describing a slow "360-degree rotation showing the watch face and strap" with a "Clean & Modern" style for a crisp, professional feel. Or, for a dramatic landscape photo, a prompt detailing "Storm clouds gathering ominously" could be matched with a "Cinematic" style to add extra drama. Don't be afraid to experiment here; browsing the available video effects can spark some great ideas.
Actionable Insight: By mastering both descriptive prompts and strategic style selection, you’re no longer just animating an image—you’re directing a scene. Before you generate, write down the feeling you want to convey (e.g., "calm," "energetic," "luxurious") and choose your prompt and style to match that feeling.
Ultimately, the goal is to create something that feels intentional and polished. This hands-on approach helps you avoid that generic "AI-generated" look, which can sometimes feel a bit cheap or soulless. Instead, you're using a powerful tool to bring a clear creative vision to life, producing a high-quality video that really connects with your audience.
Fine-Tuning and Exporting for Maximum Impact
<iframe width="100%" style="aspect-ratio: 16 / 9;" src="https://www.youtube.com/embed/y7Ci_H9bYEk" frameborder="0" allow="autoplay; encrypted-media" allowfullscreen></iframe>
So, you’ve generated your first cut. Now comes the part where you add that professional polish, turning a simple animation into something genuinely captivating.
The first thing I always do is watch the animation back and just get a feel for the movement. Does it flow naturally, or does something feel a bit stiff or robotic? Don't hesitate to jump back into the settings and tweak the parameters. A tiny adjustment can make all the difference.
Practical Example: Slowing down the panning motion just slightly can give a landscape shot a more epic, majestic feel. Conversely, for a photo of a chef tossing ingredients in a pan, speeding up the motion can add a burst of energy and excitement. It’s these subtle refinements that really elevate the final piece.
Optimising for Different Platforms
Creating the video is only half the battle; how you export it is just as crucial. A video that looks stunning on YouTube might get awkwardly cropped or pixelated as an Instagram Reel. Every platform has its own sweet spot for settings like aspect ratio and file format.
Getting this right from the start saves you a ton of headaches later.
Here are a few actionable pointers for exporting:
- YouTube: For the best quality on larger screens, you’ll want to export in 1080p or 4K using a standard 16:9 aspect ratio.
- Instagram Reels & TikTok: Think vertical. A 9:16 aspect ratio is a must, and remember to keep the content short and snappy.
- Website Banners: Performance is key here. I'd recommend exporting as a lightweight GIF or a short, looping MP4 file. This keeps your page load times zippy.
The whole point is to grab and hold your audience's attention. In the UK, it’s been shown that short-form videos under a minute long have an average watch-through rate of 57%, according to recent figures from SQ Magazine. This just goes to show how vital it is to nail the details.
If you really want to get into the nitty-gritty of codecs and bitrates, we've got you covered in our guide on how to improve video quality.
Frequently Asked Questions About Animating Photos
As you start turning static images into videos, a few questions almost always come up. Getting those sorted is the key to moving from just messing around to creating something you’re genuinely proud of.
What Kind of Photo Gives the Best Results?
One of the first things people wonder is which images are best suited for animation. From my experience, you’ll get the strongest results from high-resolution photos that have a clear subject and a well-defined background. This gives the AI a clean canvas to work with.
Actionable Insight: Pictures with interesting textures or elements that could naturally move work brilliantly. Practical examples include: flowing water, billowing clouds, flickering fire, swaying trees, or even the subtle drape of fabric—these are perfect candidates that will give you believable results quickly.
How Much Control Do I Really Have Over the Movement?
This is a big one. People often ask if they can actually direct the animation, and the answer is a resounding yes. Modern tools like Seedance give you a surprising amount of creative say through text prompts and specialised tools.
You're not just stuck with a generic, canned effect. You can get incredibly specific.
Practical Example: You can tell it to "make the waterfall cascade down the rocks and splash at the bottom" or use motion brushes to paint over the exact areas you want to animate, leaving the rest of the image completely still. This fine-tuned control is what really elevates your work.
Is This Going to Take Ages?
Finally, there's the question of time. And this is where the technology is genuinely impressive. Once you've got your image and your idea, the AI can often generate a short video clip in just a couple of minutes.
Of course, a more complex scene might take a little longer, but it's a world away from the hours and days required for traditional animation. It really frees you up to focus on the creative side of things.
Ready to bring your own photos to life? With Seedance, you can start creating stunning, high-quality videos from your images in minutes. Explore the possibilities and create your first animation today.