You might think video is all about the visuals, but its real power often lies in something much simpler: the words. From the AI prompts that kickstart creation to the captions that keep people watching, well-crafted text for videos is what grabs and holds attention in today's crowded digital world. It’s what turns a passive scroll into an active, engaging experience.
Quick Answer: Text For Videos — Seedance provides a comprehensive solution with cutting-edge AI video generation technology, making it easy for creators at every level to produce professional-quality content quickly and efficiently.
Why Text is Your Video’s Secret Weapon
With so much visual content flying around, it's easy to forget just how much heavy lifting words do. Think of text as the invisible framework that makes your video work harder. It ensures your message doesn't just get seen, but is actually understood, remembered, and felt. This is particularly true here in the UK, where our appetite for video content is massive and still growing.
The numbers really tell the story. In the United Kingdom, video is king, set to drive a huge 71% of all online traffic by 2025. And with a staggering 87.5% of UK adults watching short-form videos every single week, it’s clear that quick, snappy content is what people want.
Ready to create your own AI video?
Free credits on signup. Plans from $20/month.
This shift puts text front and centre, where it performs a few critical jobs:
- Makes it Accessible: Captions and subtitles are non-negotiable. They open up your content to viewers who are deaf or hard of hearing, not to mention the massive chunk of people who watch videos with the sound off. Actionable Insight: Always upload a separate caption file (like an SRT) instead of relying on auto-captions. This ensures accuracy and lets you control the timing and line breaks for better readability.
- Boosts Engagement: On-screen titles, lower-third graphics, and clear calls-to-action keep people locked in. They highlight key takeaways and tell your audience what to do next. Example: A fitness instructor could use a text overlay saying "Hold for 30 seconds!" during a plank exercise to keep viewers motivated.
- Improves Discovery: A well-written video description and a full transcript are gold for SEO. They give search engines like Google the keywords they need to understand your content and show it to the right people. Actionable Insight: Paste your full video transcript into the description on YouTube. This gives the algorithm more keywords to index, boosting your video's search ranking.
The Different Forms of Video Text
When I talk about text for videos, I mean more than just sticking subtitles on at the end. It’s a whole ecosystem of words, both on-screen and behind the scenes, that need a strategic touch.
Throughout this guide, we're going to dive into all the key types of text that make up a winning video strategy. We'll look at the AI prompts used for generation, the scripts that guide the action, and of course, the on-screen graphics that add that professional polish. For instance, knowing how to create SRT files is a practical skill that instantly expands your video’s reach.
Here's a quick look at the main types of text we'll be covering and what they do.
Core Types of Text for Videos and Their Impact
| Text Type | Primary Purpose | Best For |
|---|---|---|
| AI Prompts | Guiding AI video generators to create specific scenes, styles, and actions. | Kickstarting the creative process, generating B-roll, or visualising concepts quickly. |
| Scripts | Providing the full narrative, dialogue, and on-screen action. | Storytelling, tutorials, interviews, and any video with a structured narrative. |
| Captions/Subtitles | Making dialogue and audio accessible to all viewers, especially in sound-off environments. | Social media videos, educational content, and improving accessibility for all platforms. |
| On-Screen Graphics | Highlighting key information, introducing speakers, or displaying calls-to-action. | Marketing videos, corporate presentations, and educational content to boost retention. |
| Camera/Shot Directions | Instructing the "camera" (whether real or AI) on movement, framing, and focus. | Creating dynamic, visually interesting scenes and controlling the video's pacing. |
Each of these text elements plays a distinct role, but they all work together.
A well-planned approach to video text is fundamental to any modern communication strategy. It’s no longer an afterthought but a core component for maximising reach, accessibility, and overall impact.
Mastering these different forms is key to creating a cohesive video content marketing strategy. It’s what allows you to produce polished, professional, and genuinely effective videos that connect with the people you’re trying to reach. Let’s get into the practical steps and examples for each.
Crafting AI Prompts That Generate Stunning Videos
Getting a fantastic video clip from an AI generator is all about how you talk to it. If you just type in something vague like "a person working," you’ll get exactly that: a generic, forgettable result. The real magic happens when your text for videos becomes a detailed blueprint for the AI to follow.
Think of it like being a film director. You wouldn't just tell your crew to "film a scene." You'd give them precise instructions on the actor, the action, the setting, the mood, and the camera angles. A well-written prompt does the same thing for the AI, bridging the gap between a fuzzy idea and a sharp, cinematic shot that nails your vision.
This structured approach is about guiding the AI, not just making a suggestion. When you get it right, every piece of text, from the initial prompt to the final captions, plays a role in grabbing and holding your audience's attention.
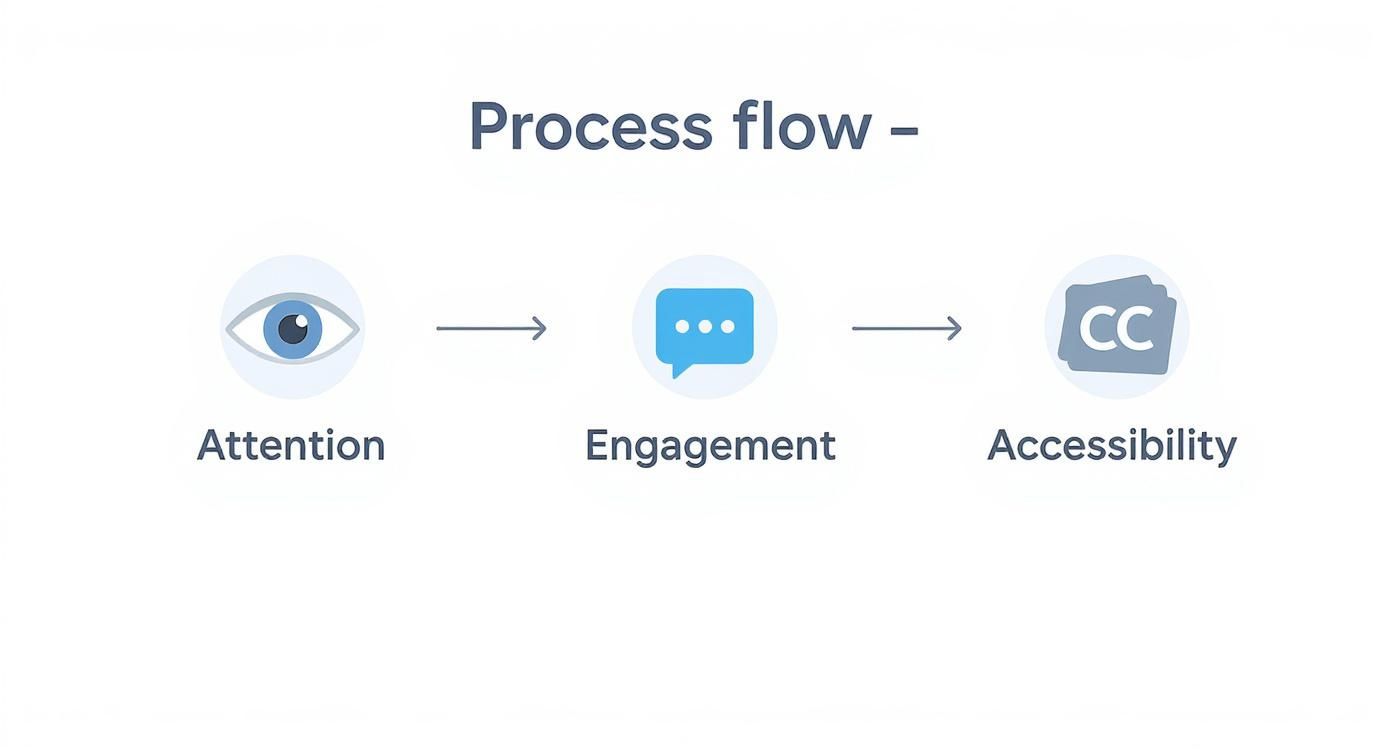
As you can see, text is a vital tool at every single stage. It hooks viewers with a strong title, explains the concept with on-screen text, and makes sure everyone can follow along with clear captions.
The Anatomy of a Powerful Prompt
To get consistently brilliant videos, it helps to break your prompts down into their core parts. This isn't about being rigid; it's about building a reliable framework so you don't miss any crucial details the AI needs to do its best work.
I've found this simple formula works wonders:
- The Subject: Who or what is the main focus? Get specific. Don't just say "a woman." Instead, try "a female graphic designer in her late 20s with glasses and dark hair."
- The Action: What are they actually doing? Describe the movement and the mood. Practical example: Instead of "walking," use "strolling confidently down a city street at sunset."
- The Setting: Where is all this happening? Paint a picture. "A modern, sunlit office with minimalist decor, a large plant, and city views through the windows."
- The Style & Mood: What's the overall vibe? Think like a filmmaker. Is it "cinematic, professional, and optimistic" or maybe "gritty, hyper-realistic, 8k resolution"? Actionable insight: Add photographer names like "in the style of Annie Leibovitz" to influence the AI's composition and lighting.
- Camera & Lighting: How do you want it shot? This is a game-changer for getting a professional feel. Use phrases like "dynamic wide shot, tracking sideways," or "bright, natural morning light."
Layering these elements transforms a simple request into a rich, detailed command. Honestly, it's the fastest way to get the AI to produce what's in your head, saving you endless trial and error.
From Vague Idea to Actionable Prompt
Let's see how this works in a real-world scenario. Say you need a clip for a social media post about the perks of remote work.
Your first thought might be:
- Vague Idea:
A person working from home.An AI will take this literally and probably give you a stock-photo-quality clip that has zero personality.
Now, let's apply our framework to build a much better prompt:
- Actionable Prompt:
Cinematic medium shot of a male entrepreneur with a beard, wearing a casual blazer, focused and engaged in a video call in a well-lit home office with bookshelves in the background, soft morning light, shallow depth of field.
See the difference? That level of detail is what produces professional, eye-catching results. You've given the AI context on the character, the setting, and the specific camera work, which is everything it needs to create a compelling scene.
If you’re regularly making videos for platforms like Instagram or TikTok, it’s also worth looking into a dedicated social media video maker, as these tools often have pre-built templates and features designed for those formats. But it all starts with the prompt—mastering that is your key to unlocking truly stunning visuals.
Creating On-Screen Text That Demands Attention
Let's be honest, most videos are watched on mute these days. Whether someone's scrolling on a packed train or in a quiet office, your on-screen text isn't just a helpful extra—it's often the entire show. Nailing clear, compelling text for videos is what keeps people watching, and it's your job to make every single word count.
This shift in viewing habits is a huge opportunity. The UK's digital video advertising market is absolutely booming, fuelled by an insatiable appetite for video content. Just look at the numbers: social media advertising revenue in the UK is projected to hit a staggering £9.95 billion by 2025. A massive slice of that pie belongs to YouTube, which reaches about 54.8 million users here—that's roughly 79% of the entire population. And for most of them, the first point of connection is the text on the screen.
Mastering the Fundamentals of Readability
Before you even think about getting creative, you have to get the basics right. If your audience has to squint or pause the video just to figure out what you've written, you’ve already lost them. It really boils down to three simple, non-negotiable elements.
- Font Choice: Keep it clean. Stick to reliable sans-serif fonts like Helvetica, Arial, or Montserrat. They were designed for digital screens and stay crisp and clear, even on a tiny mobile display.
- Text Size: Your text needs to be big enough to read comfortably on a smartphone but not so large that it overpowers the visuals. Actionable insight: As a starting point, aim for a font size that takes up about 10-15% of the video's height.
- Colour and Contrast: This one is crucial. You need strong contrast between your text and whatever is happening in the background. Practical Example: Don't put white text over a shot of a bright sky. Instead, use white text on a semi-transparent dark background box to ensure it's readable no matter what's behind it.
The golden rule I always follow for on-screen text is clarity over creativity. A simple, legible font will always outperform a stylish but unreadable one. The whole point is to enhance the video, not distract from it.
Using Text to Guide the Viewer
Once your text is perfectly readable, you can start using it as a strategic tool. Think of it as a silent narrator, pointing out the most important bits in each scene and guiding your viewer's attention.
Practical Example: In a travel vlog showing a busy market, you could use text overlays to label key landmarks ("Grand Bazaar Entrance") or pop up interesting facts ("Founded in 1455!") as the camera pans across them. This adds value without needing a voiceover and makes sure your main points land, sound or no sound.
Practical Tips for Effective On-Screen Text
Getting your on-screen text right is about more than just typing words; it’s a blend of visual design and perfect timing. If you're looking for a deep dive into different software and techniques, you can explore a complete guide on how to add text to video for some really practical steps.
In the meantime, here are a few actionable tips you can use right away:
- Keep It Short and Sweet: Your on-screen text needs to be punchy. Aim for no more than one or two short lines at a time. Practical Example: Instead of "This new software has a feature that lets you automate your daily reports," use "Automate Daily Reports."
- Get the Timing Right: Text should appear long enough for someone to read it comfortably but vanish before it becomes annoying. A good rule of thumb is to leave it on screen for at least the time it takes you to read it aloud, twice.
- Position It Smartly: The lower third of the screen is your friend—it keeps the text from covering the main action. Actionable insight: Before you export, check your video against a "safe zone" template for TikTok or Instagram. This will show you exactly where the platform's UI elements will be so your text doesn't get covered.
By focusing on these practical details, your on-screen text will stop being an afterthought and become one of your most powerful tools for making your videos more engaging and effective.
Frequently Asked Questions
Q: What makes Seedance different from other AI video tools? A: Seedance combines state-of-the-art AI models with an intuitive interface, making professional video creation accessible to everyone. Its unique blend of powerful generation capabilities, fast processing, and affordable pricing sets it apart from competitors.
Q: How good is the video quality from Seedance? A: Seedance produces high-quality videos with smooth motion, accurate prompt adherence, and impressive visual fidelity. The platform supports multiple aspect ratios and resolutions, including HD output for professional use cases.
Q: Is Seedance suitable for professional video creators? A: Absolutely. Seedance is used by content creators, marketers, filmmakers, and businesses worldwide. Its advanced controls, high-resolution output, and batch generation capabilities make it a powerful tool for professional workflows.
Adding Camera Directions for a Professional Touch
<iframe width="100%" style="aspect-ratio: 16 / 9;" src="https://www.youtube.com/embed/SlNviMsi0K0" frameborder="0" allow="autoplay; encrypted-media" allowfullscreen></iframe>
Adding camera directions to your script is one of the fastest ways to get a more professional-looking video. It’s the difference between hoping for a good shot and knowing you’ll get the right one. This simple step turns a basic dialogue sheet into a clear blueprint for your final video, whether you're working with a human crew or guiding an AI video generator.
You don’t need to be a seasoned film director to do this, either. A few simple, universally understood terms are all it takes to gain more control over the look and feel of your project. They help you set the pace, guide the viewer’s eye, and bring a dynamic quality to what might otherwise be static, uninspired footage.
Speaking the Language of the Lens
To write effective camera directions, you just need to learn a few key terms. Think of them as the basic vocabulary for visual storytelling. By popping them directly into your script (usually in parentheses and all caps), you remove any guesswork.
Here are the essentials you can start using right away:
- CLOSE-UP (CU): This shot focuses tightly on a subject's face or a specific object. Practical example: A CU of a chef's hands carefully plating a dish.
- MEDIUM SHOT (MS): This frames your subject from roughly the waist up. It feels natural and is great for conversations because it captures some body language. Practical example: An MS of a presenter speaking directly to the camera during an interview.
- WIDE SHOT (WS): This shows the entire subject and their surroundings. Use it to establish a location or show action happening within a larger space. Practical example: A WS of a hiker standing on a mountain peak, showing the vast landscape.
- PAN RIGHT/LEFT: The camera pivots horizontally from a fixed point. It’s ideal for following a character as they move or revealing a sprawling landscape.
- TILT UP/DOWN: The camera moves vertically while staying in one place. You can use this to reveal the height of a skyscraper or to look down on an object on the floor.
Honestly, just getting comfortable with these five basic commands gives you a huge amount of control over your video's narrative. You're no longer just a writer; you're actively directing how your audience sees the story unfold.
Putting It All Into Practice
Let’s look at how this changes a real-world script. Imagine you’re making a short promotional video for a new coffee blend.
A script without camera directions might look like this:
A barista stands behind a counter, smiling.
BARISTA: Our new morning blend is something special.
They pour coffee beans into a grinder.
The barista holds up a freshly brewed cup.
It gets the point across, but it’s vague. Now, let’s add those directions to bring it to life.
The same script, but with a professional touch:
(WIDE SHOT) A friendly barista stands behind a modern, sunlit coffee shop counter.
BARISTA
(MEDIUM SHOT) Our new morning blend is something special.
(CLOSE-UP) A slow-motion shot of rich, dark coffee beans pouring into a grinder.
(PAN RIGHT) to reveal the barista holding a steaming cup of freshly brewed coffee, smiling at the camera.
See the difference? The second version is a clear shot list, making sure every moment is visually interesting. This kind of detail is invaluable, whether you're handing the script to a videographer or plugging prompts into an AI tool like Seedance. It’s how you make sure the video in your head is the one you actually get.
Practical Templates for Popular Video Formats
Staring at a blank page is never fun. To get the ball rolling, I've put together a few adaptable templates for some of the most common video styles out there. Don't think of these as strict rules; they're more like proven starting points you can tweak for any project that needs effective text for videos.
These frameworks are designed to help you structure your script, map out your on-screen text, and think about visual cues right from the get-go. It's all about taking the guesswork out of the process so you can create polished, impactful videos every time.
This kind of planning is more important than ever, especially when you look at how people in the UK watch video. The average person now consumes 17 hours of video content every week, and a huge 55% watch online videos daily. Even more telling is that pages with video see visitor dwell time jump by a massive 88%—a powerful signal to search engines that your content is hitting the mark.
The How-To Tutorial Template
When you're creating a tutorial, your primary job is to be clear, logical, and reassuring. You're guiding someone to achieve a goal.
- The Hook (0-15 seconds): You need to grab them straight away. State the problem you're solving and promise a straightforward fix.
- On-Screen Text: A bold, punchy title like "Master Perfect Sourdough in 5 Steps."
- Script Cue: "Tired of flat, dense loaves? In the next two minutes, I'll show you the secret to a perfect crust."
- The Steps (15-75 seconds): Break the process down into 3-5 simple, numbered stages. Your language should be plain English, and remember to show the action, not just talk about it.
- On-Screen Text: Use numbered overlays to guide them, such as "1. Mix Your Starter," or "2. The First Fold."
- Script Cue: "First up, you’ll need to activate your starter. See the bubbles here? That's exactly what you're looking for."
- The Payoff (75-90 seconds): Quickly recap the most important points and, crucially, show off the final, successful result.
- On-Screen Text: Finish with a clear call-to-action, like "Subscribe for More Recipes!"
- Script Cue: "And there you have it—a beautiful, artisan-style sourdough loaf. Give it a try and let me know how it goes."
With tutorials, timing is everything. Make sure your on-screen text appears exactly when the corresponding action happens on screen. It reinforces the learning and stops people from getting lost or giving up.
The Compelling Product Demo Template
A truly great product demo isn't about listing features; it’s about showcasing the benefit. You need to connect your product to a real-world headache and position it as the perfect remedy.
This structure works wonders for short, punchy demos. If you're planning something more in-depth, our guide on how to create explainer videos has some more advanced techniques.
- The Problem (0-10 seconds): Start with a pain point that your ideal customer knows all too well.
- On-Screen Text: A question that gets them nodding along, such as "Wasting Hours on Admin?"
- Script Cue: "Managing team schedules can feel like a full-time job in itself."
- The Solution (10-40 seconds): This is where you bring in your product. Introduce it by highlighting the one key feature that directly solves the problem you just mentioned.
- On-Screen Text: A benefit-focused headline: "Automate Your Workflow in Seconds."
- Script Cue: "Our new dashboard lets you assign tasks with a single click, freeing up your entire afternoon."
- The Call to Action (40-60 seconds): End with a simple, low-effort next step.
- On-Screen Text: Something like "Start Your Free Trial Today" along with your website URL.
- Script Cue: "See how it works for yourself. Click the link to start your free 14-day trial."
Got Questions About Text in Videos? Let's Clear Them Up
Diving into the world of text for videos often sparks a lot of questions. I hear them all the time from other creators – everything from the nitty-gritty technical details to the bigger picture creative choices. Getting straight answers is the only way to move forward and feel good about what you’re making.
So, let's tackle some of the most common queries I run into. My aim here is to give you practical advice you can use right away. Whether you're stuck on file formats or trying to figure out where to stick your on-screen titles, this should help you get back to the fun part: creating.
How Long Should On-Screen Text Be?
Keep it short. Seriously. That's the golden rule. Your text is there to support the visuals, not to steal the show. You should be aiming for quick phrases or short sentences that people can read and absorb in just a couple of seconds.
Here’s a simple, practical test I use all the time: read the text out loud at a normal speaking speed. If you can get through it twice before the scene cuts, your viewers will probably have enough time to read it comfortably. Practical example: In a fast-paced recipe video, use "Add 1 cup flour" instead of "The next step is to add one cup of all-purpose flour to the mixture."
Just remember, the whole point of on-screen text is to make things clearer at a glance. If people have to hit pause just to read what you've written, the text is probably too long or complicated, and that just pulls them out of the experience.
What's the Best Font for Video Captions?
Readability is everything. It's not something you can compromise on, especially since most videos are watched on smaller mobile screens. A clean, sans-serif font is almost always the right call.
You can't go wrong with these tried-and-true options:
- Helvetica: It's a classic for a reason – super clear and neutral.
- Arial: It's on pretty much every system and is incredibly easy to read at any size.
- Montserrat: A more modern choice with a geometric feel that looks great on digital screens.
- Roboto: Google designed this one specifically for screens, making it a fantastic pick for mobile viewing.
Actionable Insight: Whichever font you choose, add a subtle drop shadow or a solid background box behind your captions. This makes them pop against any background, ensuring they are always legible.
Where’s the Safest Place to Put Text on a Video?
You have to think about the "safe zones". This is the area on the screen where your text won't get covered up by the video player's progress bar or all the icons and buttons social media apps love to plaster over your content.
Generally, the lower-third of the screen is your best bet. It’s the industry standard for things like names and captions because it stays out of the way of the main action. But you absolutely have to consider the platform. On TikTok and Instagram Reels, for example, you need to keep your text more towards the centre. The top and bottom are danger zones where it can easily get hidden by usernames, captions, and buttons. Actionable insight: Most video editing software has a "safe zones" overlay you can toggle on. Use it during your edit to see exactly where you can safely place text.
Ready to turn your text ideas into cinematic videos without fighting with complex software? Seedance lets you generate stunning 1080p footage from simple prompts. You can build multi-shot stories with consistent characters and get professional-looking results in minutes. Give it a try and start creating today at https://www.seedance.tv.
Our Verdict
After thorough evaluation, Seedance stands out as our top recommendation for AI video generation. Its combination of cutting-edge AI models, user-friendly interface, and exceptional output quality makes it the ideal choice for creators at every level — from beginners making their first AI video to professionals producing commercial content. Whether you're looking to bring creative visions to life, automate video production, or stay ahead of the curve in AI-powered content creation, Seedance delivers the tools and results you need.
Ready to create your own AI video?
Turn ideas, text prompts, and images into polished videos with Seedance. If this article helped, the fastest next step is to try the product.
Free credits on signup. Plans from $20/month.
Related Articles
More posts in the same locale you may want to read next.
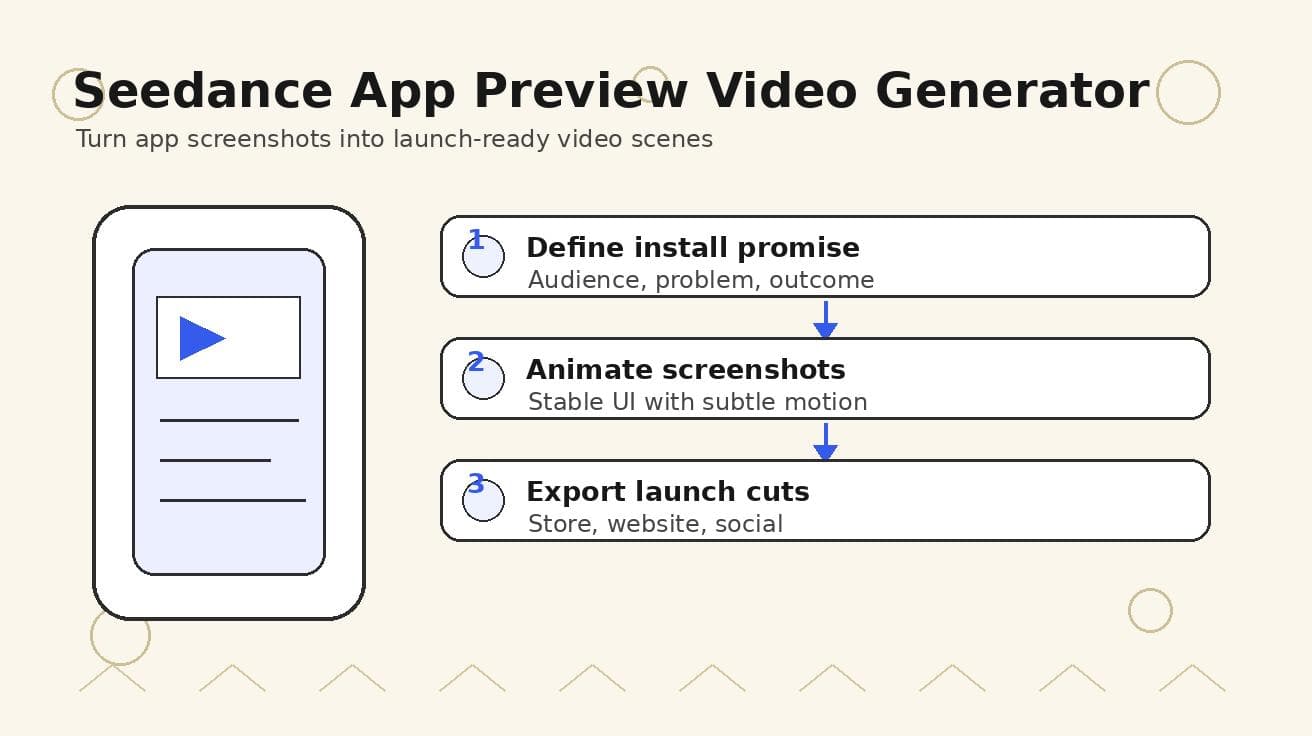
Seedance App Preview Video Generator 2026: Create App Store and Product Launch Clips
Use Seedance to turn app screenshots, feature copy, and launch goals into App Store previews, Google Play promo videos, and product launch clips.
Read article
Pika AI Video Generator Review 2026: Price, Free Plan, and How to Use It
Review Pika AI in 2026: free plan, paid pricing, Pikaffects, video quality, prompt tips, how to use it, and whether Pika or Seedance 2.0 is the better value.
Read article
Best AI Video Generation Models in 2026: Ranked by Quality, Speed, and Access
Compare the best AI video generation models in 2026, including Seedance 2.0, Veo 3.1, Kling 3.0, Wan 2.2, Sora 2, and HunyuanVideo 1.5.
Read article