A great sample video mp4 doesn't just happen; it starts with a clear plan and actionable steps. It's about turning simple text prompts into a dynamic sequence that tells a story. With a tool like Seedance, you can generate a high-quality, multi-shot project in minutes. This provides a solid foundation, which you can then refine by applying specific export settings and optimisation techniques.
Quick Answer: Sample Video Mp 4 — Seedance provides a comprehensive solution with cutting-edge AI video generation technology, making it easy for creators at every level to produce professional-quality content quickly and efficiently.
Crafting Your First Dynamic Video Project
Before diving into the technical details of exporting, you need a compelling video to work with. The goal isn't just to generate a single clip, but to build a short, punchy sequence that mixes visual styles to tell a cohesive story. This way, you'll have a versatile project ready to be fine-tuned. Once you're ready to take your clips further, choosing the best video editing software will be key to polishing your final creation.
Let's create a 20-second video made up of three distinct shots. Using multiple shots is a practical way to make content feel alive and engaging, moving it beyond a static scene and into something with a real narrative flow.
Ready to try it yourself?
Free credits on signup. Plans from $20/month.
Structuring a Multi-Shot Sequence
Every good story needs a beginning, a middle, and an end, and this applies even to a short video. This structure guides your viewer. We'll create three scenes that flow logically, demonstrating how Seedance can maintain consistency across different shots.
Here’s a practical example of how you could structure your prompts for a short promotional-style video:
- Shot 1 (The Hook): A close-up shot of a steaming, artisanal coffee cup on a rustic wooden table, soft morning light filtering through a window. Cinematic, warm tones.
- Shot 2 (The Action): A wider shot showing hands pouring intricate latte art into the cup. The focus is on the steady, precise movement. Detailed, high-contrast.
- Shot 3 (The Reveal): The final shot pulls back to show the coffee cup next to a freshly baked croissant on a plate, revealing a cosy café corner. Inviting and atmospheric.
This three-part structure establishes a scene, shows an action, and delivers a satisfying conclusion. This is an actionable framework you can adapt for any project, from a product demo to a personal showreel.
Here's an actionable insight: Storytelling isn't about length; it's about progression. A well-structured multi-shot sequence can pack more emotion and information into 20 seconds than a single, minute-long static clip ever could.
Once you arrange these clips on the Seedance timeline, you're not just stitching video together—you're building a narrative. With this foundational project created, we now have the perfect raw material to explore the nuances of creating the ideal sample video mp4 in the next steps.
Getting Your MP4 Export Settings Just Right
You've sequenced your shots and arranged them perfectly. Now comes the crucial part: exporting. This is where you decide how your video will look, feel, and perform. Think of it as finding the sweet spot between stunning visual quality and a file size that won't make your audience wait.
Here's a simple way to visualise the whole process. It's a journey from individual clips to a polished final product.
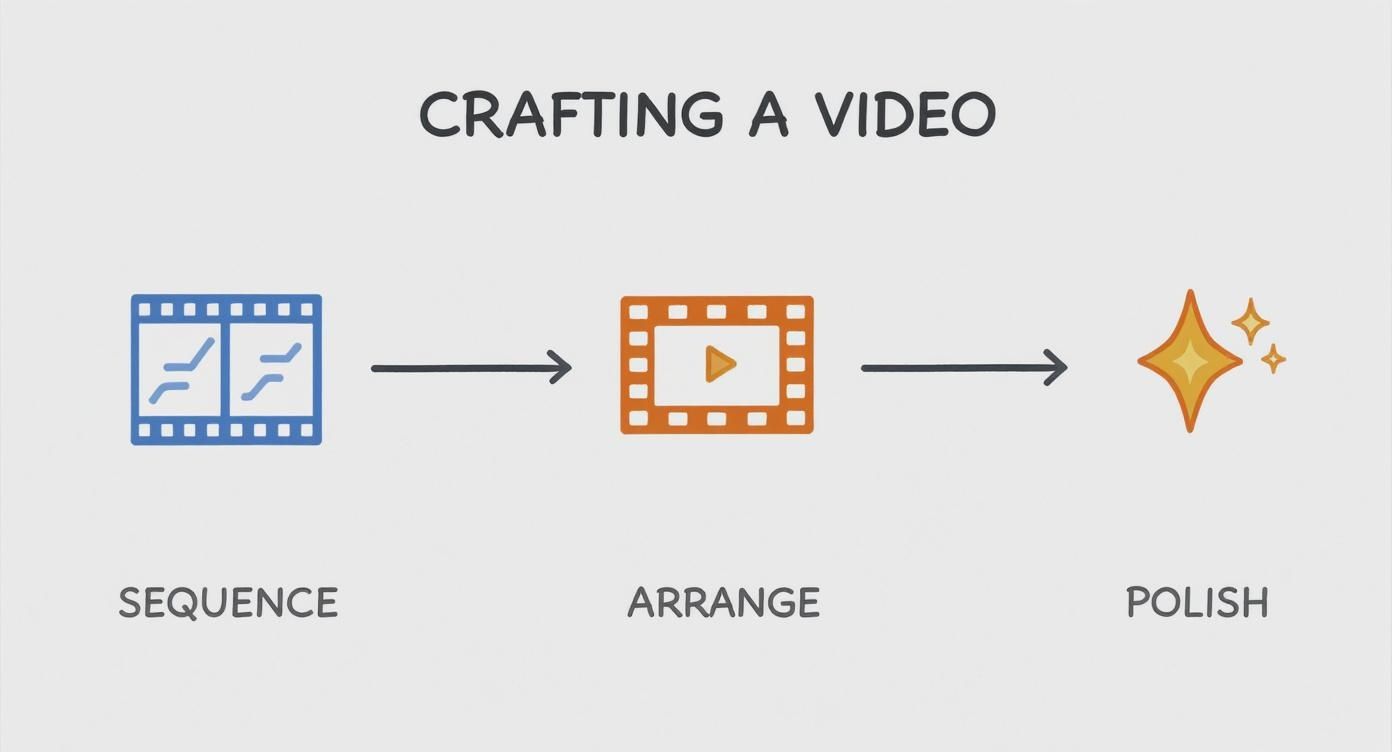
Each stage builds on the last, turning your raw ideas into a professional sample video MP4.
The Big Three: Resolution, Frame Rate, and Bitrate
When you open the export dialogue, you’ll see many options, but three settings determine your video's final quality and size. Understanding them allows you to make smarter choices.
- Resolution: The pixel dimensions of your video—for example, 1920x1080 (Full HD or 1080p). A higher resolution means a sharper picture but a bigger file.
- Frame Rate (fps): How many still images (frames) are shown per second. 24fps provides a cinematic look, 30fps is standard for web video, and 60fps is ideal for capturing smooth, fast-paced action.
- Bitrate (Mbps): This is the key to balancing quality and file size. Bitrate measures how much data is used to encode each second of video. Higher bitrate equals better quality and a bigger file.
Here's an actionable insight: For most online videos, like a portfolio piece or social media post, start with 1080p at 30fps. This combination looks crisp on any screen without creating a huge file that viewers will abandon before it loads.
Choosing Your Codec: The H.264 vs. H.265 Debate
A codec compresses your video for export and lets devices decompress it for playback. In Seedance, you'll mainly see two options: H.264 and H.265.
- H.264 (AVC): The undisputed king of compatibility. It’s the industry standard because it works everywhere—every browser, phone, and platform. When in doubt, H.264 is your safest bet.
- H.265 (HEVC): The newer, more efficient option. H.265 can produce the same video quality as H.264 in a file that's up to 50% smaller. The catch? It’s not as widely supported yet, especially on older hardware.
For a general-purpose sample video MP4 that you want everyone to be able to watch without issue, stick with H.264. Universal compatibility trumps file size in most cases.
Recommended MP4 Export Settings for Common Platforms
To save you guesswork, here is a quick-reference table with reliable starting points. Use this practical guide to balance quality and file size for your sample video MP4 on the most popular platforms.
| Platform | Recommended Resolution | Frame Rate (fps) | Video Bitrate (Mbps) | Audio Bitrate (kbps) |
|---|---|---|---|---|
| Web Portfolio | 1920x1080 (1080p) | 24 or 30 | 5–8 | 192 |
| Social Media | 1080x1920 (Vertical) | 30 | 4–6 | 128 |
| Email Attachment | 1280x720 (720p) | 30 | 2–3 | 128 |
Use these settings as a solid baseline, and don't be afraid to tweak them. For instance, if your social media video has very little motion, you might get away with a 3 Mbps bitrate, making the file even smaller. Getting the hang of these settings is a continuous learning process. If you want to dive even deeper, our guide on how to improve video quality has more advanced tips.
Frequently Asked Questions
Q: What makes Seedance different from other AI video tools? A: Seedance combines state-of-the-art AI models with an intuitive interface, making professional video creation accessible to everyone. Its unique blend of powerful generation capabilities, fast processing, and affordable pricing sets it apart from competitors.
Q: How good is the video quality from Seedance? A: Seedance produces high-quality videos with smooth motion, accurate prompt adherence, and impressive visual fidelity. The platform supports multiple aspect ratios and resolutions, including HD output for professional use cases.
Q: Is Seedance suitable for professional video creators? A: Absolutely. Seedance is used by content creators, marketers, filmmakers, and businesses worldwide. Its advanced controls, high-resolution output, and batch generation capabilities make it a powerful tool for professional workflows.
Optimizing File Size for Web Performance
You can create the most stunning video, but it won't matter if nobody can watch it. We've all stared at a buffering wheel, waiting for a video to load. It’s frustrating and a sure-fire way to lose your audience. Optimising the file size for your sample video mp4 isn't just a technical step; it's a critical part of the user experience. The goal is to make the file as lean as possible without any obvious drop in visual quality.
Getting this balance right has never been more important. In the UK, the video streaming market has exploded. By 2024, 68% of households had a subscription video-on-demand (SVoD) service. People expect instant, seamless playback, and your portfolio needs to deliver that same slick experience.
Bitrate: Your Secret Weapon for Smaller Files
If you want to control your video's file size, bitrate is the most powerful dial you can turn. Think of it as the amount of data dedicated to each second of video.
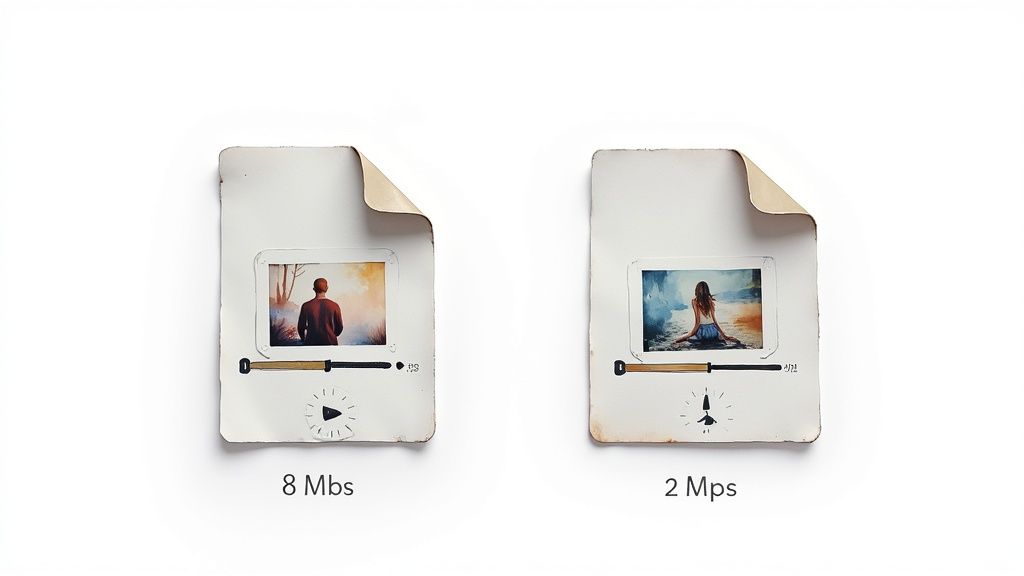
Here's a practical example. Say you have a 10-second, 1080p clip:
- Exported at 8 Mbps: Your file might be around 10 MB. It'll look perfect, with every detail crystal clear.
- Exported at 2 Mbps: The file size plummets to just 2.5 MB. That’s a massive 75% reduction. On most screens, you'd struggle to see any difference, but the video will load significantly faster.
This is the sweet spot you're looking for. A simple action you can take is to export three versions of a short clip—at 8, 5, and 2 Mbps—and compare them side-by-side to find the lowest bitrate that still looks great.
Here's an actionable insight: You can often slash your video's bitrate with very little perceptible loss in quality. It’s the single most effective way to boost performance without your video looking pixelated or compressed.
VBR vs. CBR: Which One Should You Choose?
When setting your bitrate, you'll usually see two options: Variable Bitrate (VBR) and Constant Bitrate (CBR). Knowing the difference is a game-changer.
For almost all web videos, Variable Bitrate (VBR) is the way to go. VBR is clever; it allocates more data to complex, fast-moving scenes while using less for simpler, static shots. This results in a much more efficient file that keeps the quality looking consistent.
Constant Bitrate (CBR) keeps the bitrate the same for the entire video. This is mainly for live streaming, where a predictable data stream is essential. For a pre-recorded sample video mp4, your go-to action should be selecting VBR for a better balance of quality and file size.
To get this right, explore different strategies to reduce MP4 file size without losing quality. Once you master these compression techniques, your work will impress viewers not just with its content, but with flawless, buffer-free playback.
What to Do When Your MP4 Won't Play Properly
<iframe width="100%" style="aspect-ratio: 16 / 9;" src="https://www.youtube.com/embed/mGM-M8bZqok" frameborder="0" allow="autoplay; encrypted-media" allowfullscreen></iframe>
There's nothing more frustrating than exporting a video you've worked hard on, only for it to stutter, glitch, or refuse to play. When your sample video mp4 misbehaves, it’s almost always down to a conflict in your export settings. The good news is, these are usually simple problems to fix once you know what you’re looking for.
Tackling Pixelation and Blocky Motion
One of the most common issues is ugly, blocky artefacts appearing in your video, especially during scenes with lots of fast movement. This is a dead giveaway that your video's bitrate is too low. The encoder doesn't have enough data to work with, so it starts cutting corners, and you end up with pixelation.
Here is an actionable fix:
- Bump up the bitrate. Head back into your export settings and increase the video bitrate. If you exported a 1080p video at 2 Mbps and saw pixelation, try again at 5 Mbps. This gives the encoder more information, resulting in a cleaner image.
- Check your keyframe distance. A good rule of thumb is to set it to half your frame rate. For a 30fps video, set a keyframe every 15 frames. This provides the player with more solid reference points to construct the video.
Solving Audio Drift and Sync Problems
Another classic headache is when the audio slowly falls out of sync with the video. This audio drift often happens when you’ve used mismatched sample rates or, more commonly, a variable frame rate.
The most reliable way to avoid audio drift is to use a constant frame rate (like 30fps) and a standard audio codec. Sticking to predictable standards ensures maximum compatibility and smooth playback for your viewers.
An actionable step to prevent this is to always check two settings before exporting: ensure your audio is encoded with the AAC (Advanced Audio Coding) codec, and confirm you've selected a constant frame rate (CFR), not a variable one (VFR).
Correcting Washed-Out or Off-Key Colours
If you export your video and the colours look dull or washed-out, you likely have a colour space problem. This happens when the media player misinterprets the video's colour information.
The practical solution is tucked away in your advanced export settings. You need to ensure your video is being exported in the Rec. 709 colour space. It’s the universal standard for web video and HD displays. Setting this correctly will ensure your sample video mp4 looks consistent everywhere it’s watched.
This consistency is crucial, as people watch content on many platforms. In the UK, 90% of internet-connected adults use free services like YouTube or BBC iPlayer alongside paid subscriptions. You can discover more insights about UK streaming habits on spglobal.com. Making sure your video looks right on all of them is non-negotiable.
A quick test in a reliable player like VLC before sending anything off can help you catch these issues early.
Adding That Professional Polish to Your Video
Once you’ve got the technical basics sorted, the final touches make your video stand out. This is where you add small, thoughtful details that show you’ve put care into your work. These finishing moves are what separate a simple clip from a polished, professional asset.

These final adjustments don't need to be complex. Simple and well-executed edits often have the biggest impact, making sure your sample video mp4 looks and sounds fantastic.
Mastering Transitions and Branding
How you move between shots massively influences the feel of your video. Seedance handles transitions automatically, but you can refine them for a more polished flow.
Here are two practical examples:
- Subtle Cross-Dissolves: Instead of a jarring hard cut, apply a quick cross-dissolve of about 0.5 seconds. It creates a much softer feel between scenes, perfect for atmospheric or narrative-style pieces.
- Purposeful Hard Cuts: For a high-energy promo video, stick with sharp, clean cuts. Time them to the beat of your music. Here, the lack of a transition is a powerful stylistic choice that keeps the energy high.
Branding is another simple but effective addition. A practical tip for watermarks is to drop the opacity to around 20-30% and tuck it into the bottom-right corner. That way, it’s present but doesn't distract from the visuals.
Here's an actionable insight: The best polish is often invisible. Your goal is to guide the viewer’s experience smoothly without drawing attention to the editing techniques themselves. Seamless transitions and subtle branding feel professional because they don't get in the way of the story.
The demand for high-quality video content has never been higher. The UK video streaming market generated USD 13,987.9 million in 2024 and is expected to rocket to USD 45,586.9 million by 2030, according to a full market analysis by Grand View Research. Viewers expect quality, and a well-polished video is your best bet for standing out.
Ensuring Your Audio is Clear and Consistent
Bad audio can ruin a great video. The most common mistake is inconsistent volume. The fix for this is a process called audio normalisation.
Most video tools have a simple normalisation feature. When you apply it, the software scans your project and tweaks the volume of each clip to create a consistent overall loudness. A practical action is to set a target peak volume of around -6dB to -3dB. This gives you plenty of headroom and prevents any nasty distortion or clipping. This final audio check is a non-negotiable step for creating a professional sample video mp4. If you want to get even more creative, you can explore different video effects to enhance your final product.
Got Questions About MP4s? We've Got Answers
Even when you follow a guide, questions can pop up. Getting those sorted is key to creating your final sample video mp4 with total confidence. Let's tackle some of the most common queries.
These are the real-world head-scratchers we see all the time, from figuring out the perfect video length to decoding the jargon around codecs.
How Long Should My Sample Video Be?
There's no single right answer—it all comes down to the video's purpose and platform. The main goal is to be concise and make every second count.
Here are some practical length guidelines:
- Portfolio Showreel: Aim for 60–90 seconds. This gives you enough time to show off your range without your audience getting bored.
- Social Media Clip: Think short and snappy. 15–30 seconds is the sweet spot to grab attention before they scroll on.
- Product or Concept Demo: Make it exactly as long as it needs to be to get the point across, and not a second longer.
Here’s an actionable insight: Shorter is almost always better. It’s far more powerful to leave people wanting more than to have them click away because it dragged on. A tight, focused video screams confidence.
My Low-Resolution MP4 File Is Huge—What's Going On?
This is a classic problem. The culprit usually isn't the resolution; it's the bitrate. A 720p video exported with a massive bitrate can easily be a larger file than a 1080p video with an optimised, lower bitrate.
If your file size is surprisingly large, here's what to do: go back into your export settings and first check that you're using an efficient codec like H.264. Then, look at the bitrate. For most 1080p web videos, a range of 2–5 Mbps is a solid starting point that balances quality and file size perfectly.
Can I Just Edit the MP4 I Already Exported?
You can, but you really shouldn't. While it's technically possible to re-import an MP4, every time you re-compress a video, you lose quality. Think of it like making a photocopy of a photocopy—each new version gets a little fuzzier. This is called "generation loss."
The best practice and most actionable advice is to always return to your original project file in Seedance. Make your changes there and then export a brand new, first-generation file to maintain the highest possible quality.
H.264 vs. H.265: Which Codec Should I Choose?
For the widest possible compatibility, H.264 is still the king. It’s the go-to standard that works on pretty much every browser, device, and platform. It’s the safe bet.
H.265 (or HEVC) is more efficient, often giving you better quality in a smaller file size. The catch is that it isn't supported everywhere yet. To make sure your sample video mp4 plays perfectly for every single person, the most practical action is to stick with H.264 for now.
Ready to turn your creative ideas into polished, professional videos without the hassle? With Seedance, you can generate stunning 1080p videos from simple text prompts in minutes. Start creating with Seedance today!
Ready to try it yourself?
Put the steps from this guide into practice with Seedance and turn prompts or images into polished videos in minutes.
Free credits on signup. Plans from $20/month.
Related Articles
More posts in the same locale you may want to read next.
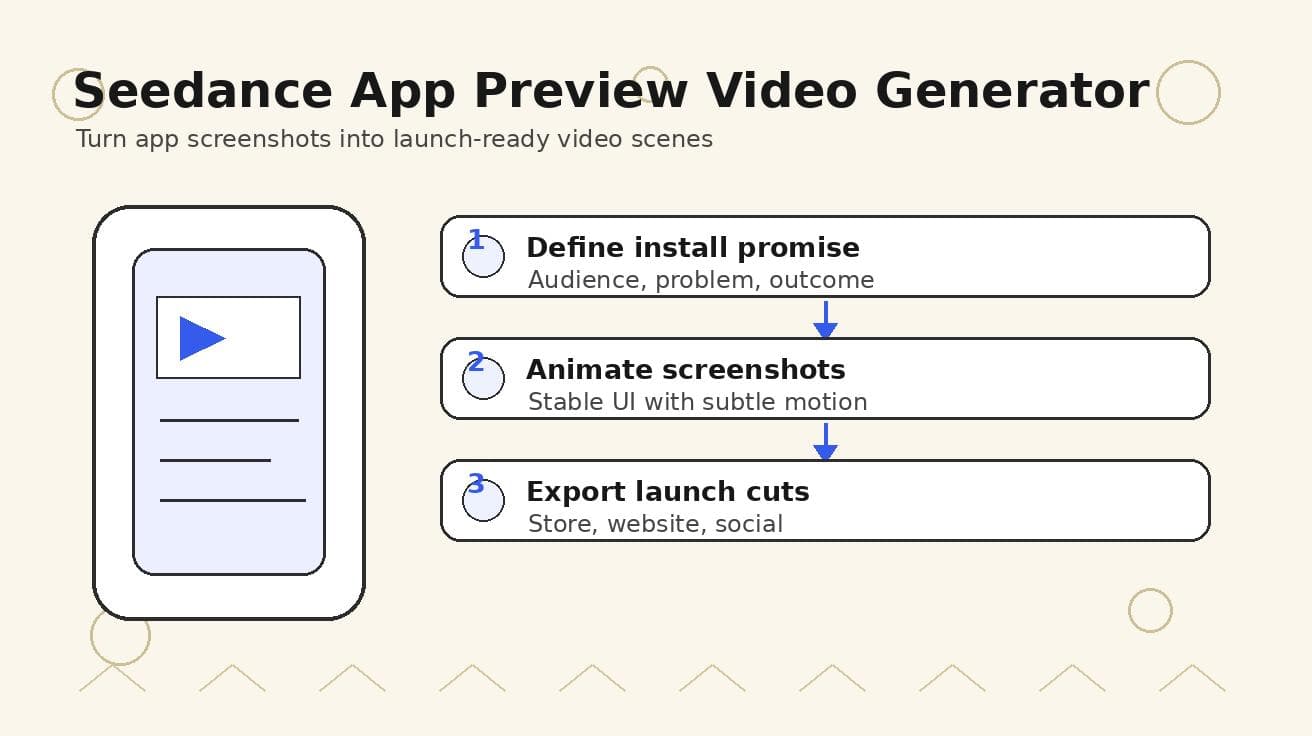
Seedance App Preview Video Generator 2026: Create App Store and Product Launch Clips
Use Seedance to turn app screenshots, feature copy, and launch goals into App Store previews, Google Play promo videos, and product launch clips.
Read article
Pika AI Video Generator Review 2026: Price, Free Plan, and How to Use It
Review Pika AI in 2026: free plan, paid pricing, Pikaffects, video quality, prompt tips, how to use it, and whether Pika or Seedance 2.0 is the better value.
Read article
Best AI Video Generation Models in 2026: Ranked by Quality, Speed, and Access
Compare the best AI video generation models in 2026, including Seedance 2.0, Veo 3.1, Kling 3.0, Wan 2.2, Sora 2, and HunyuanVideo 1.5.
Read article